Ever since I started reading other sewing blogs, I have seen the Sewaholic Cambie dress pop up everywhere, and I immediately popped it on my “to make” list… once I had a few projects under my belt and felt a bit more confident. I’m so massively late to the game, you guys are all like, “Oh that’s soooooo 2012…” Lol… Love the blogging world, I know everyone will actually be like “you go girl” 🙂
Enter, my first Cambie dress, and I am in lurrrvvveeeee!

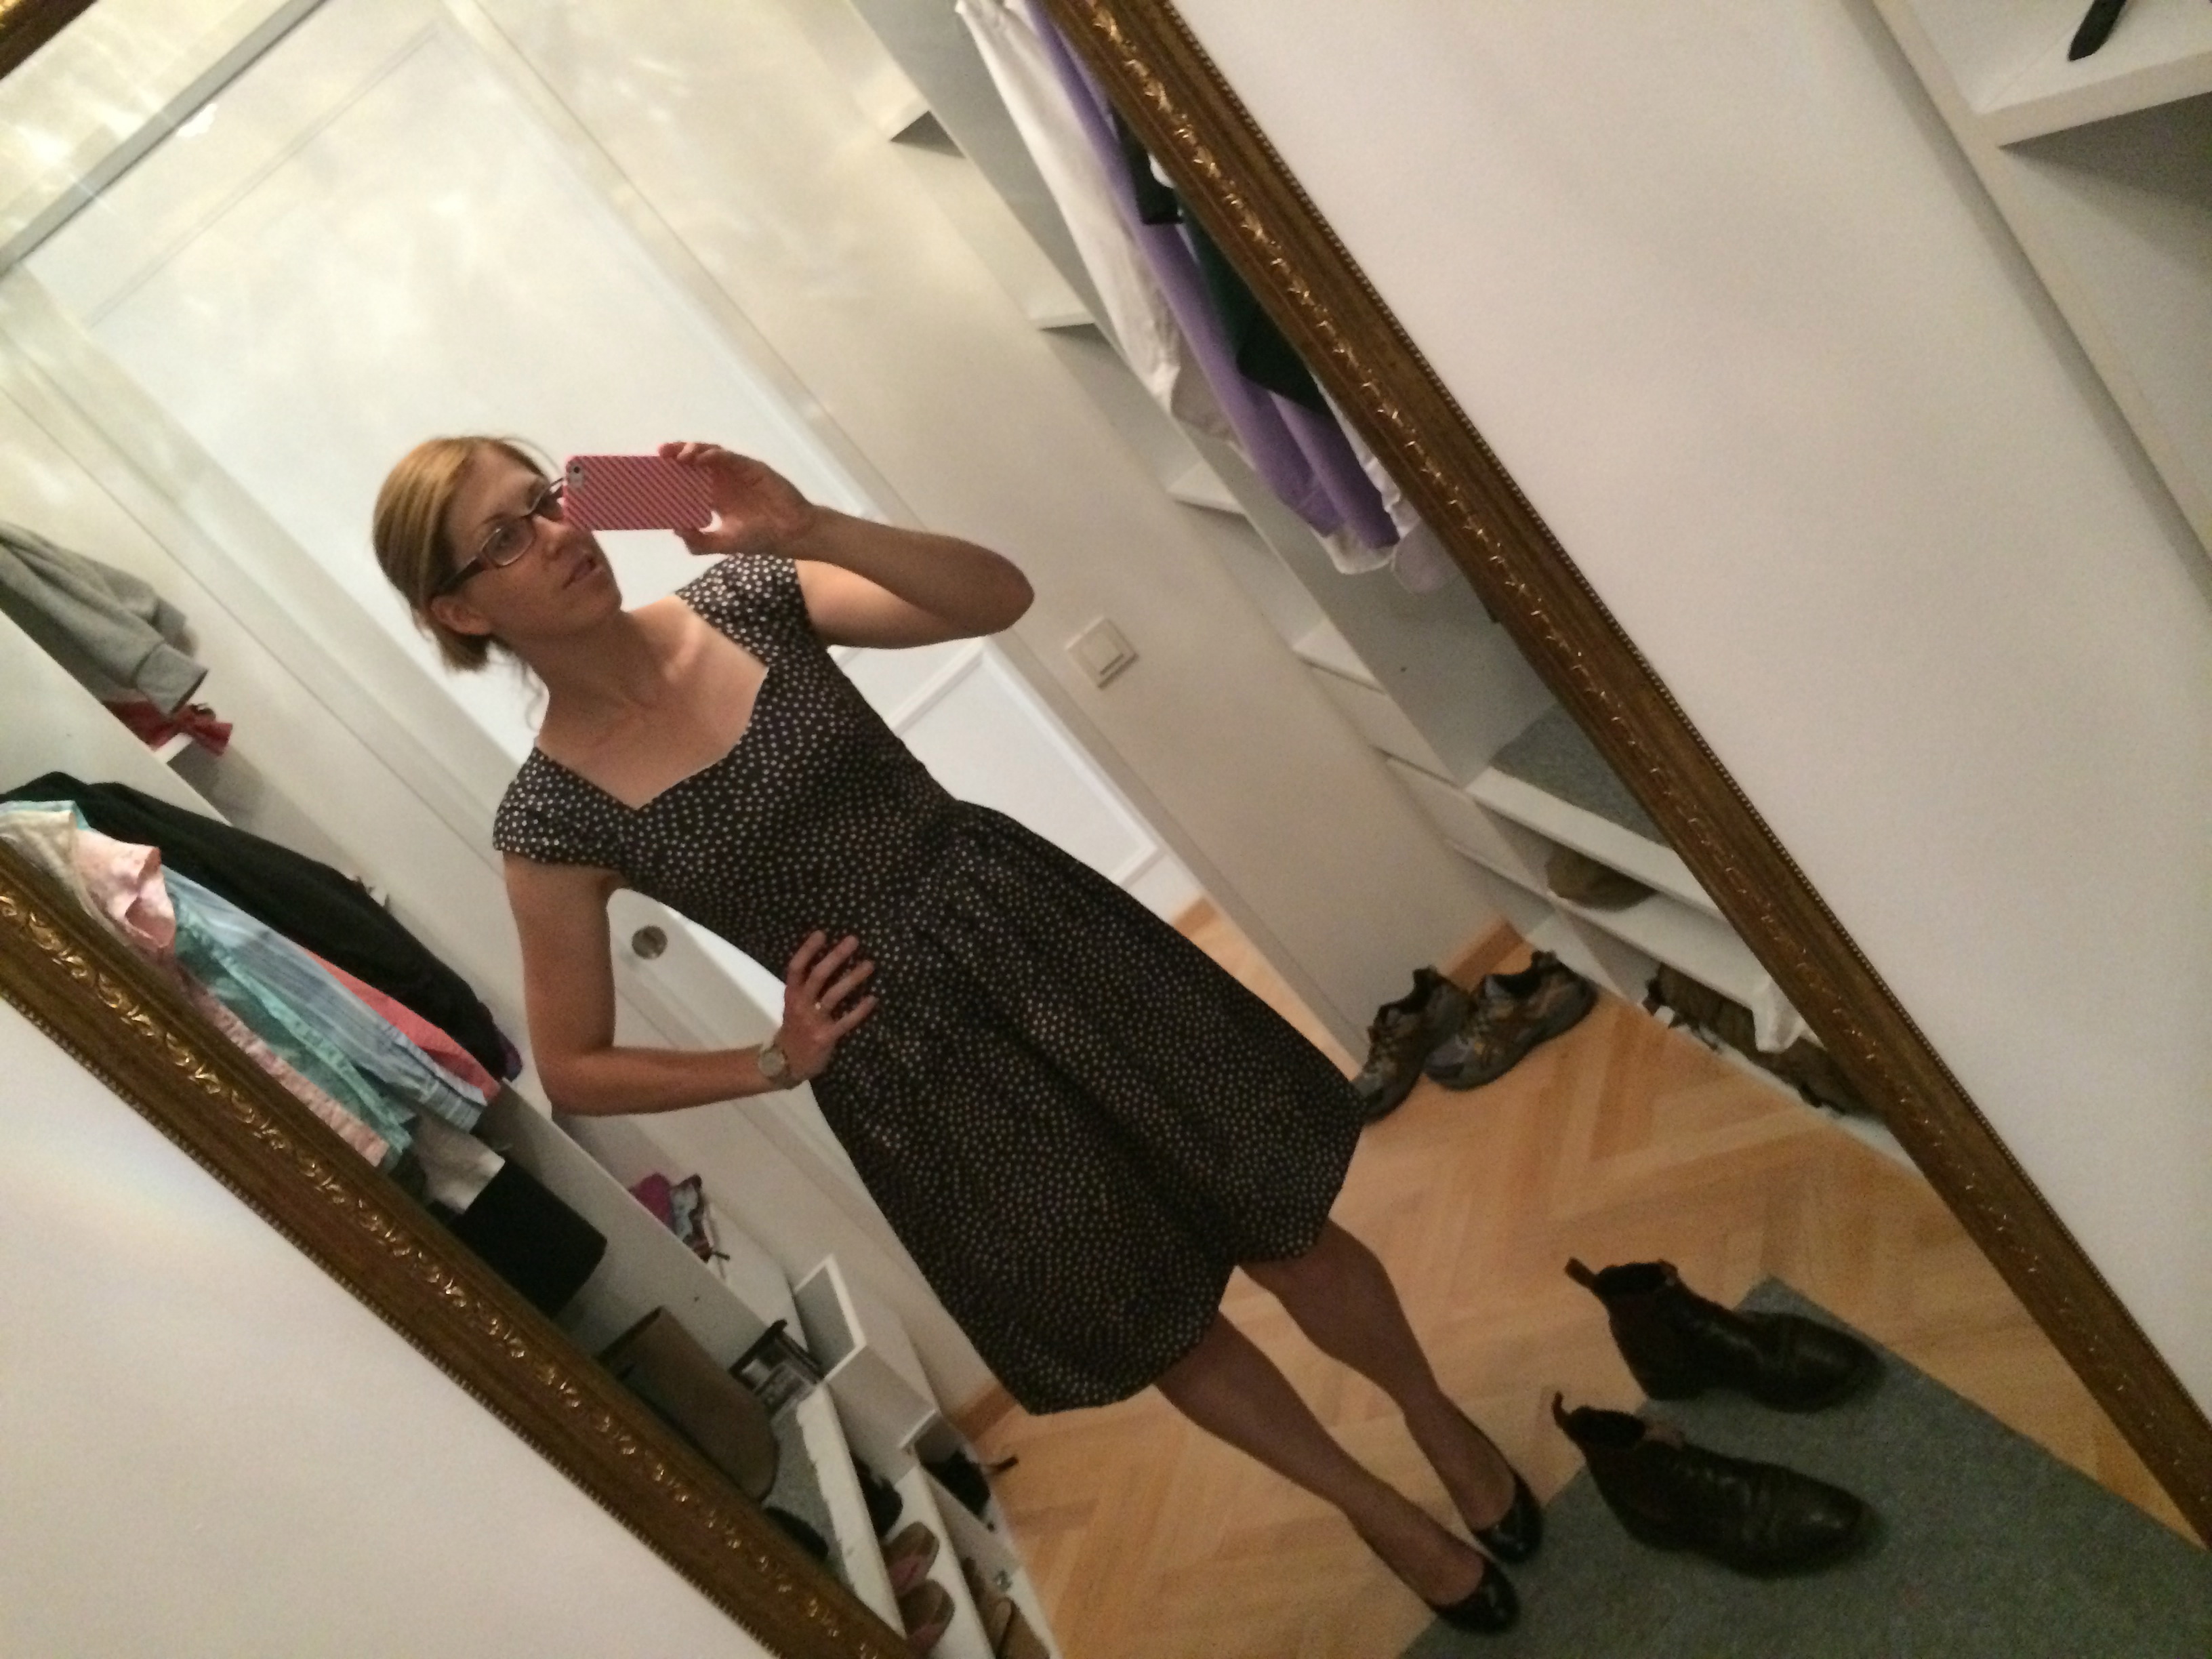
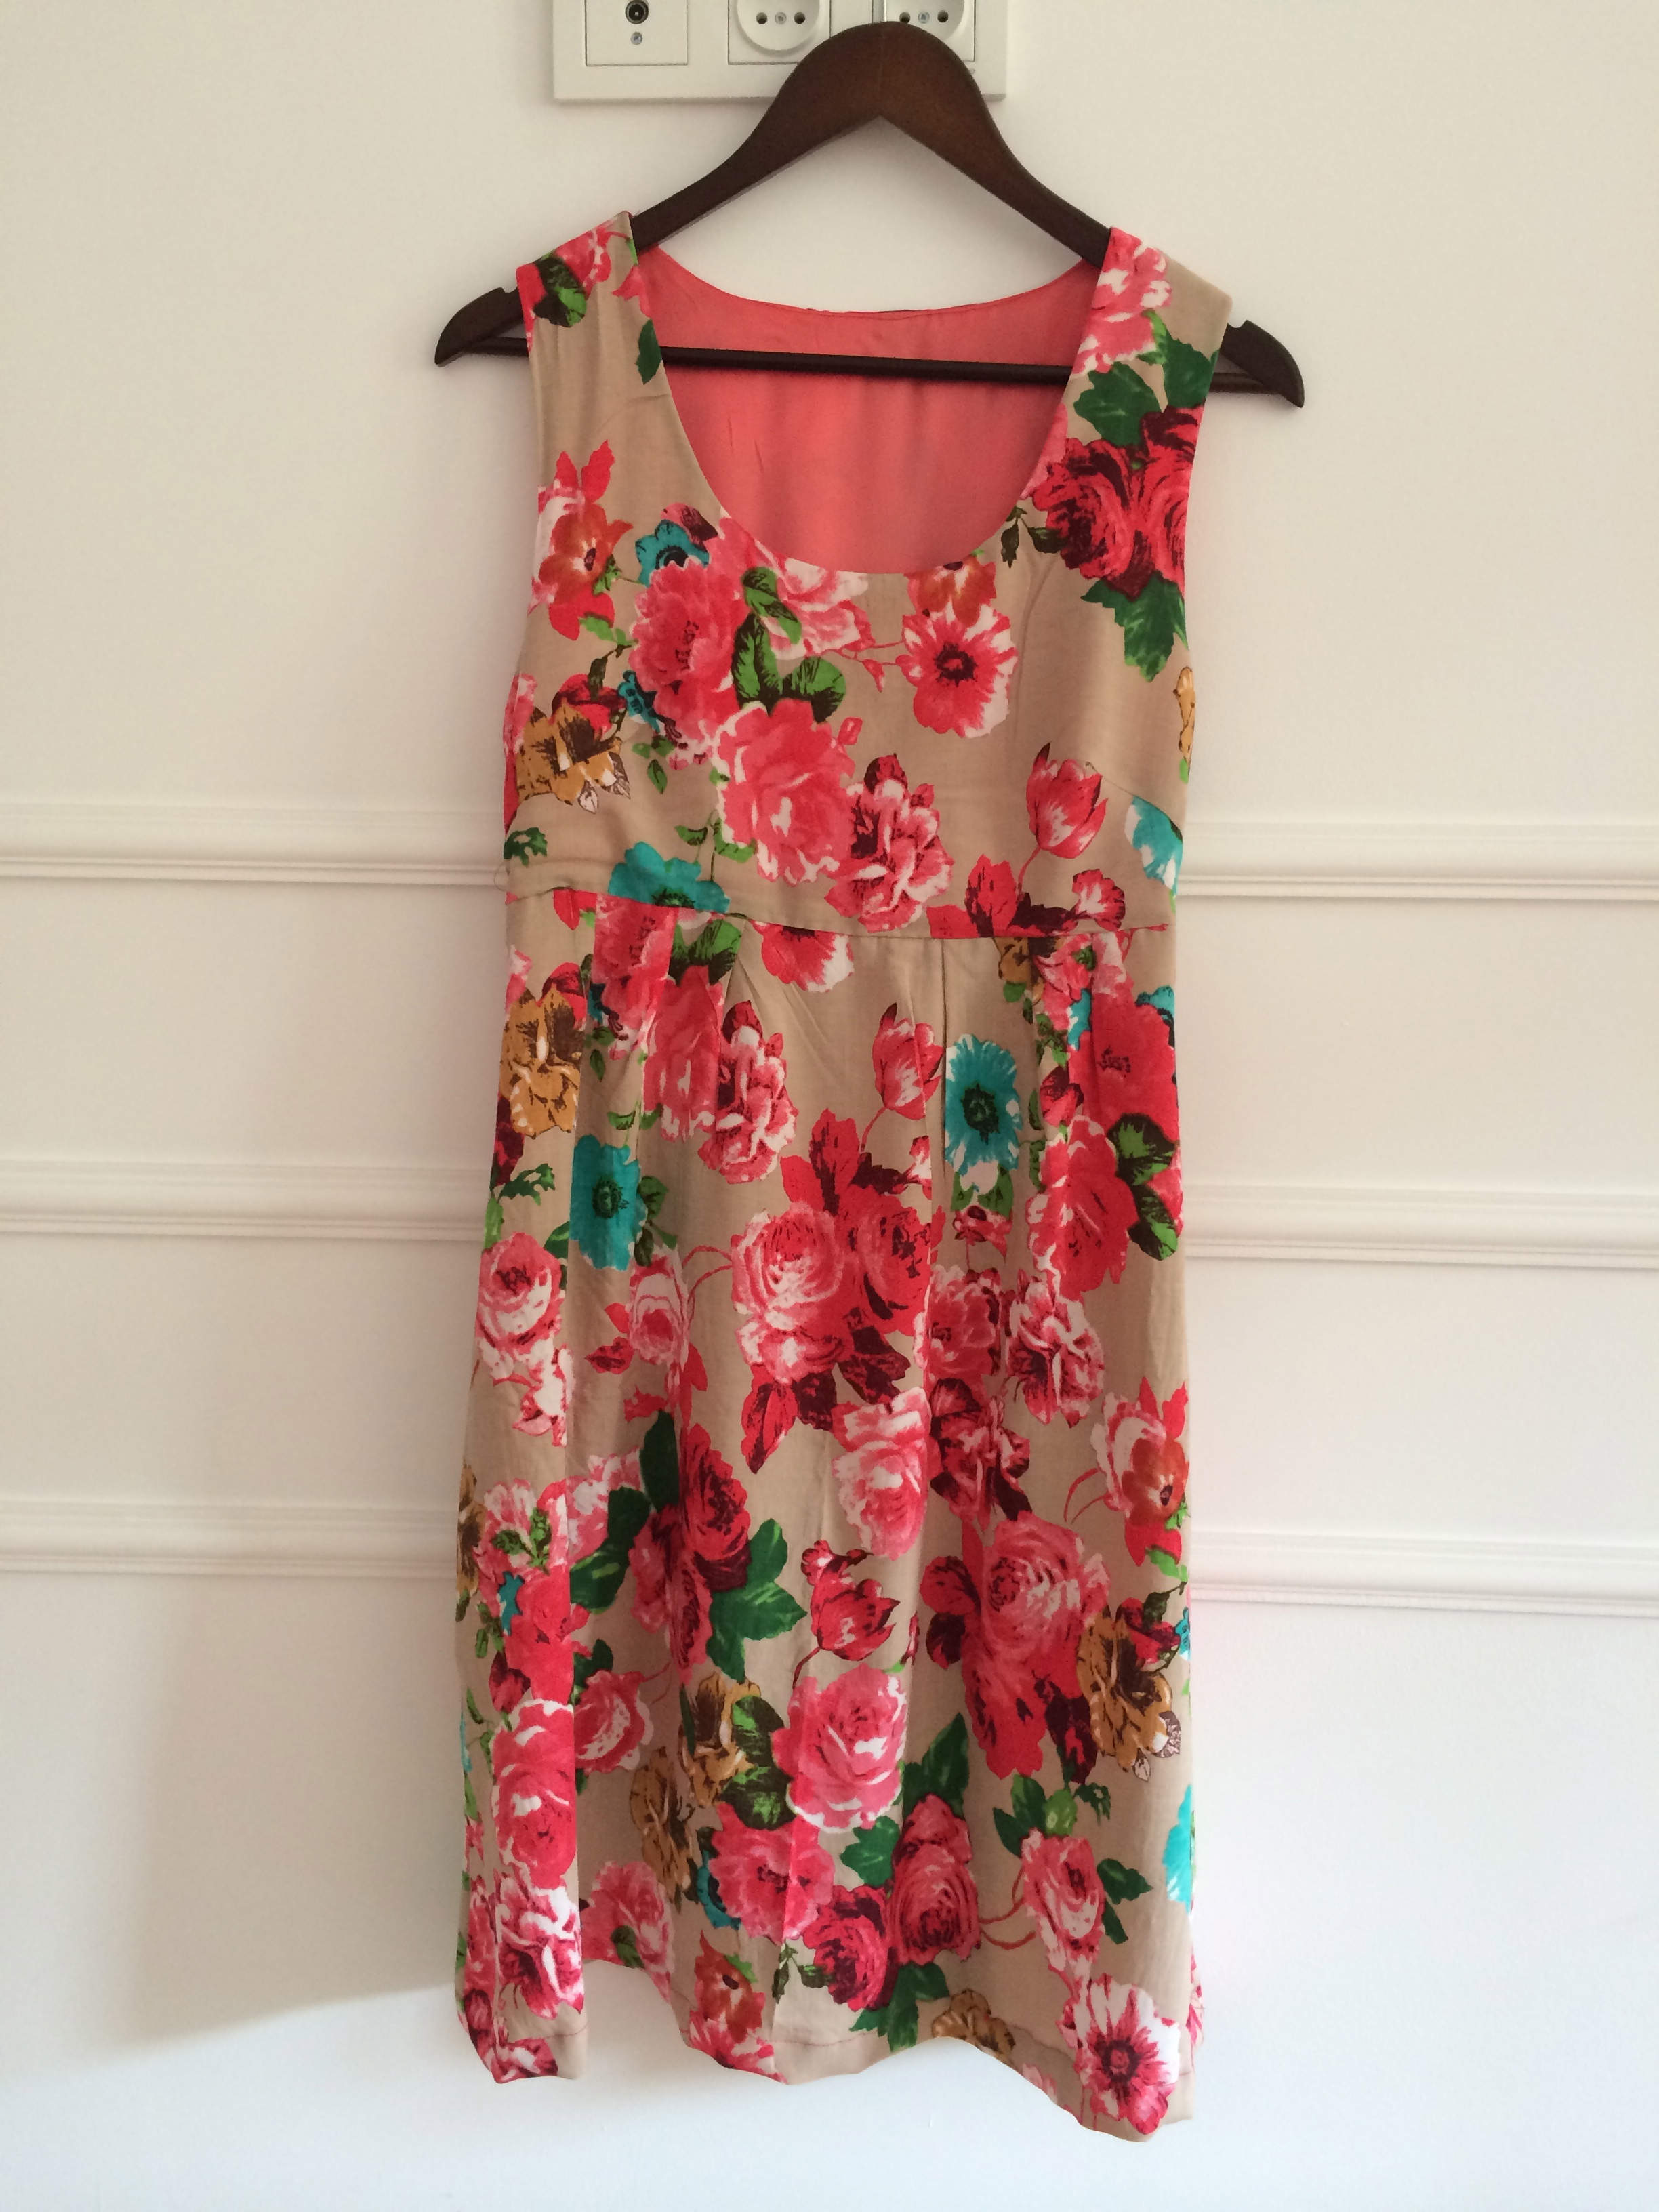
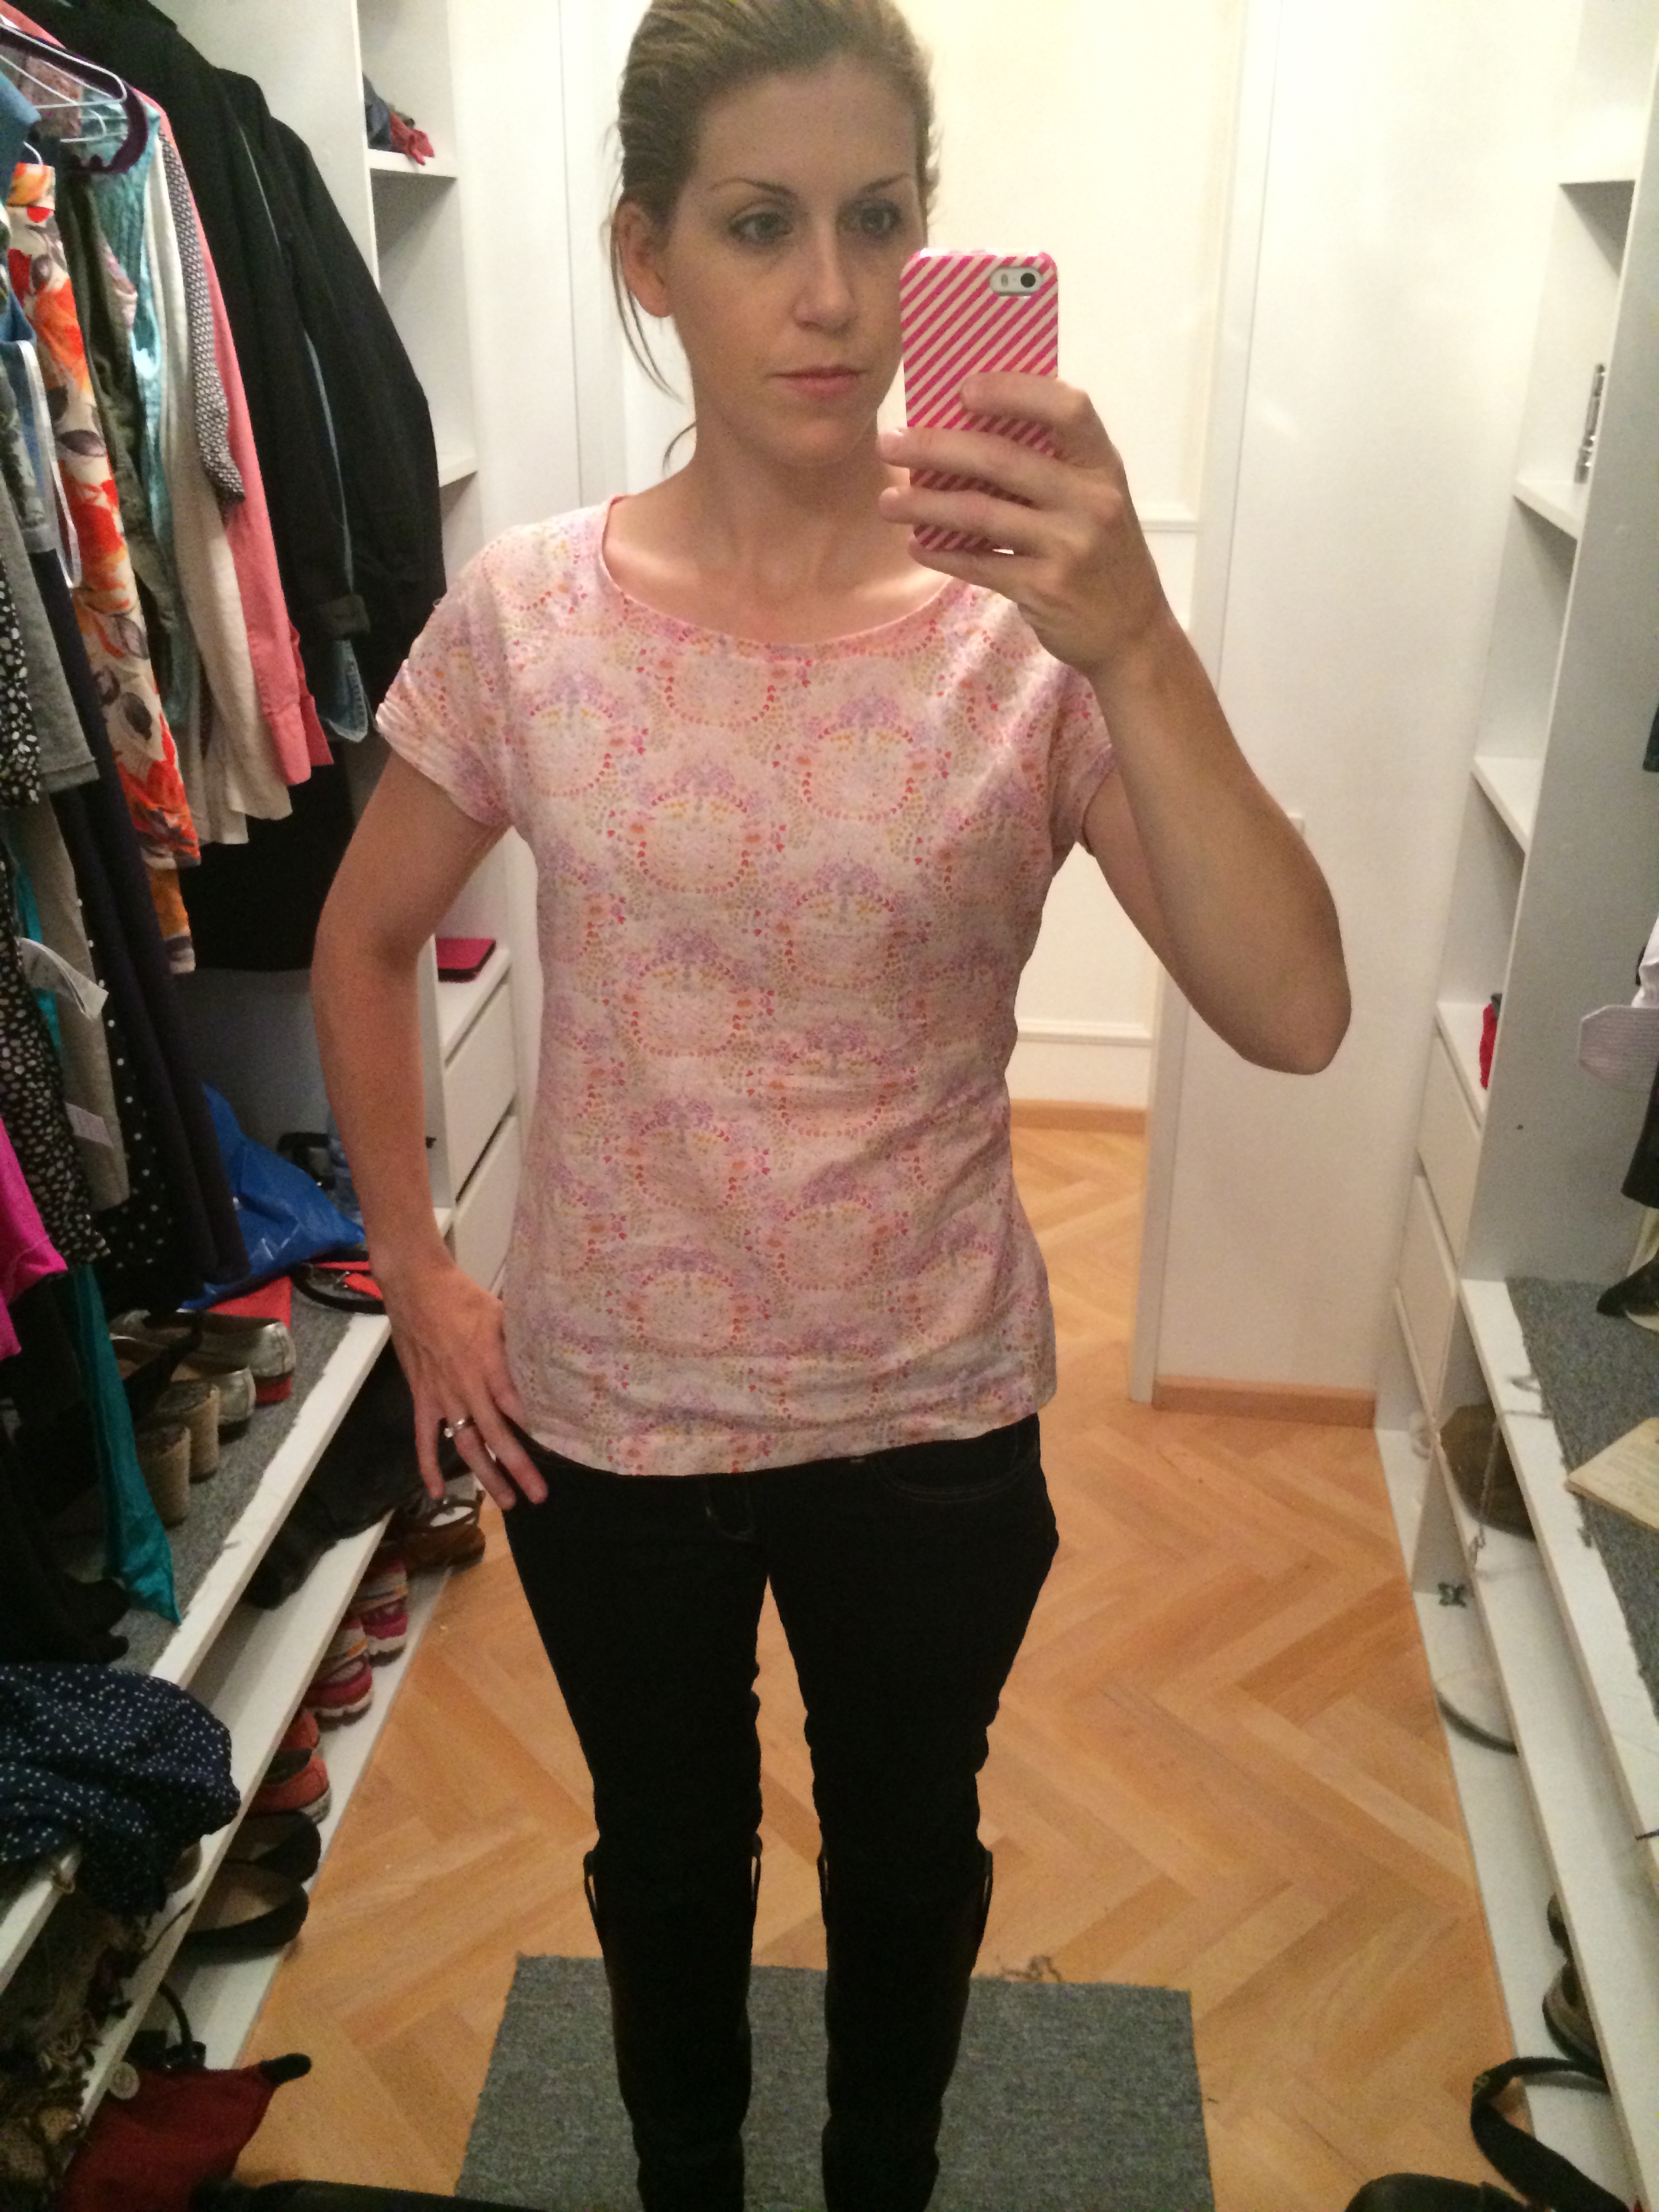
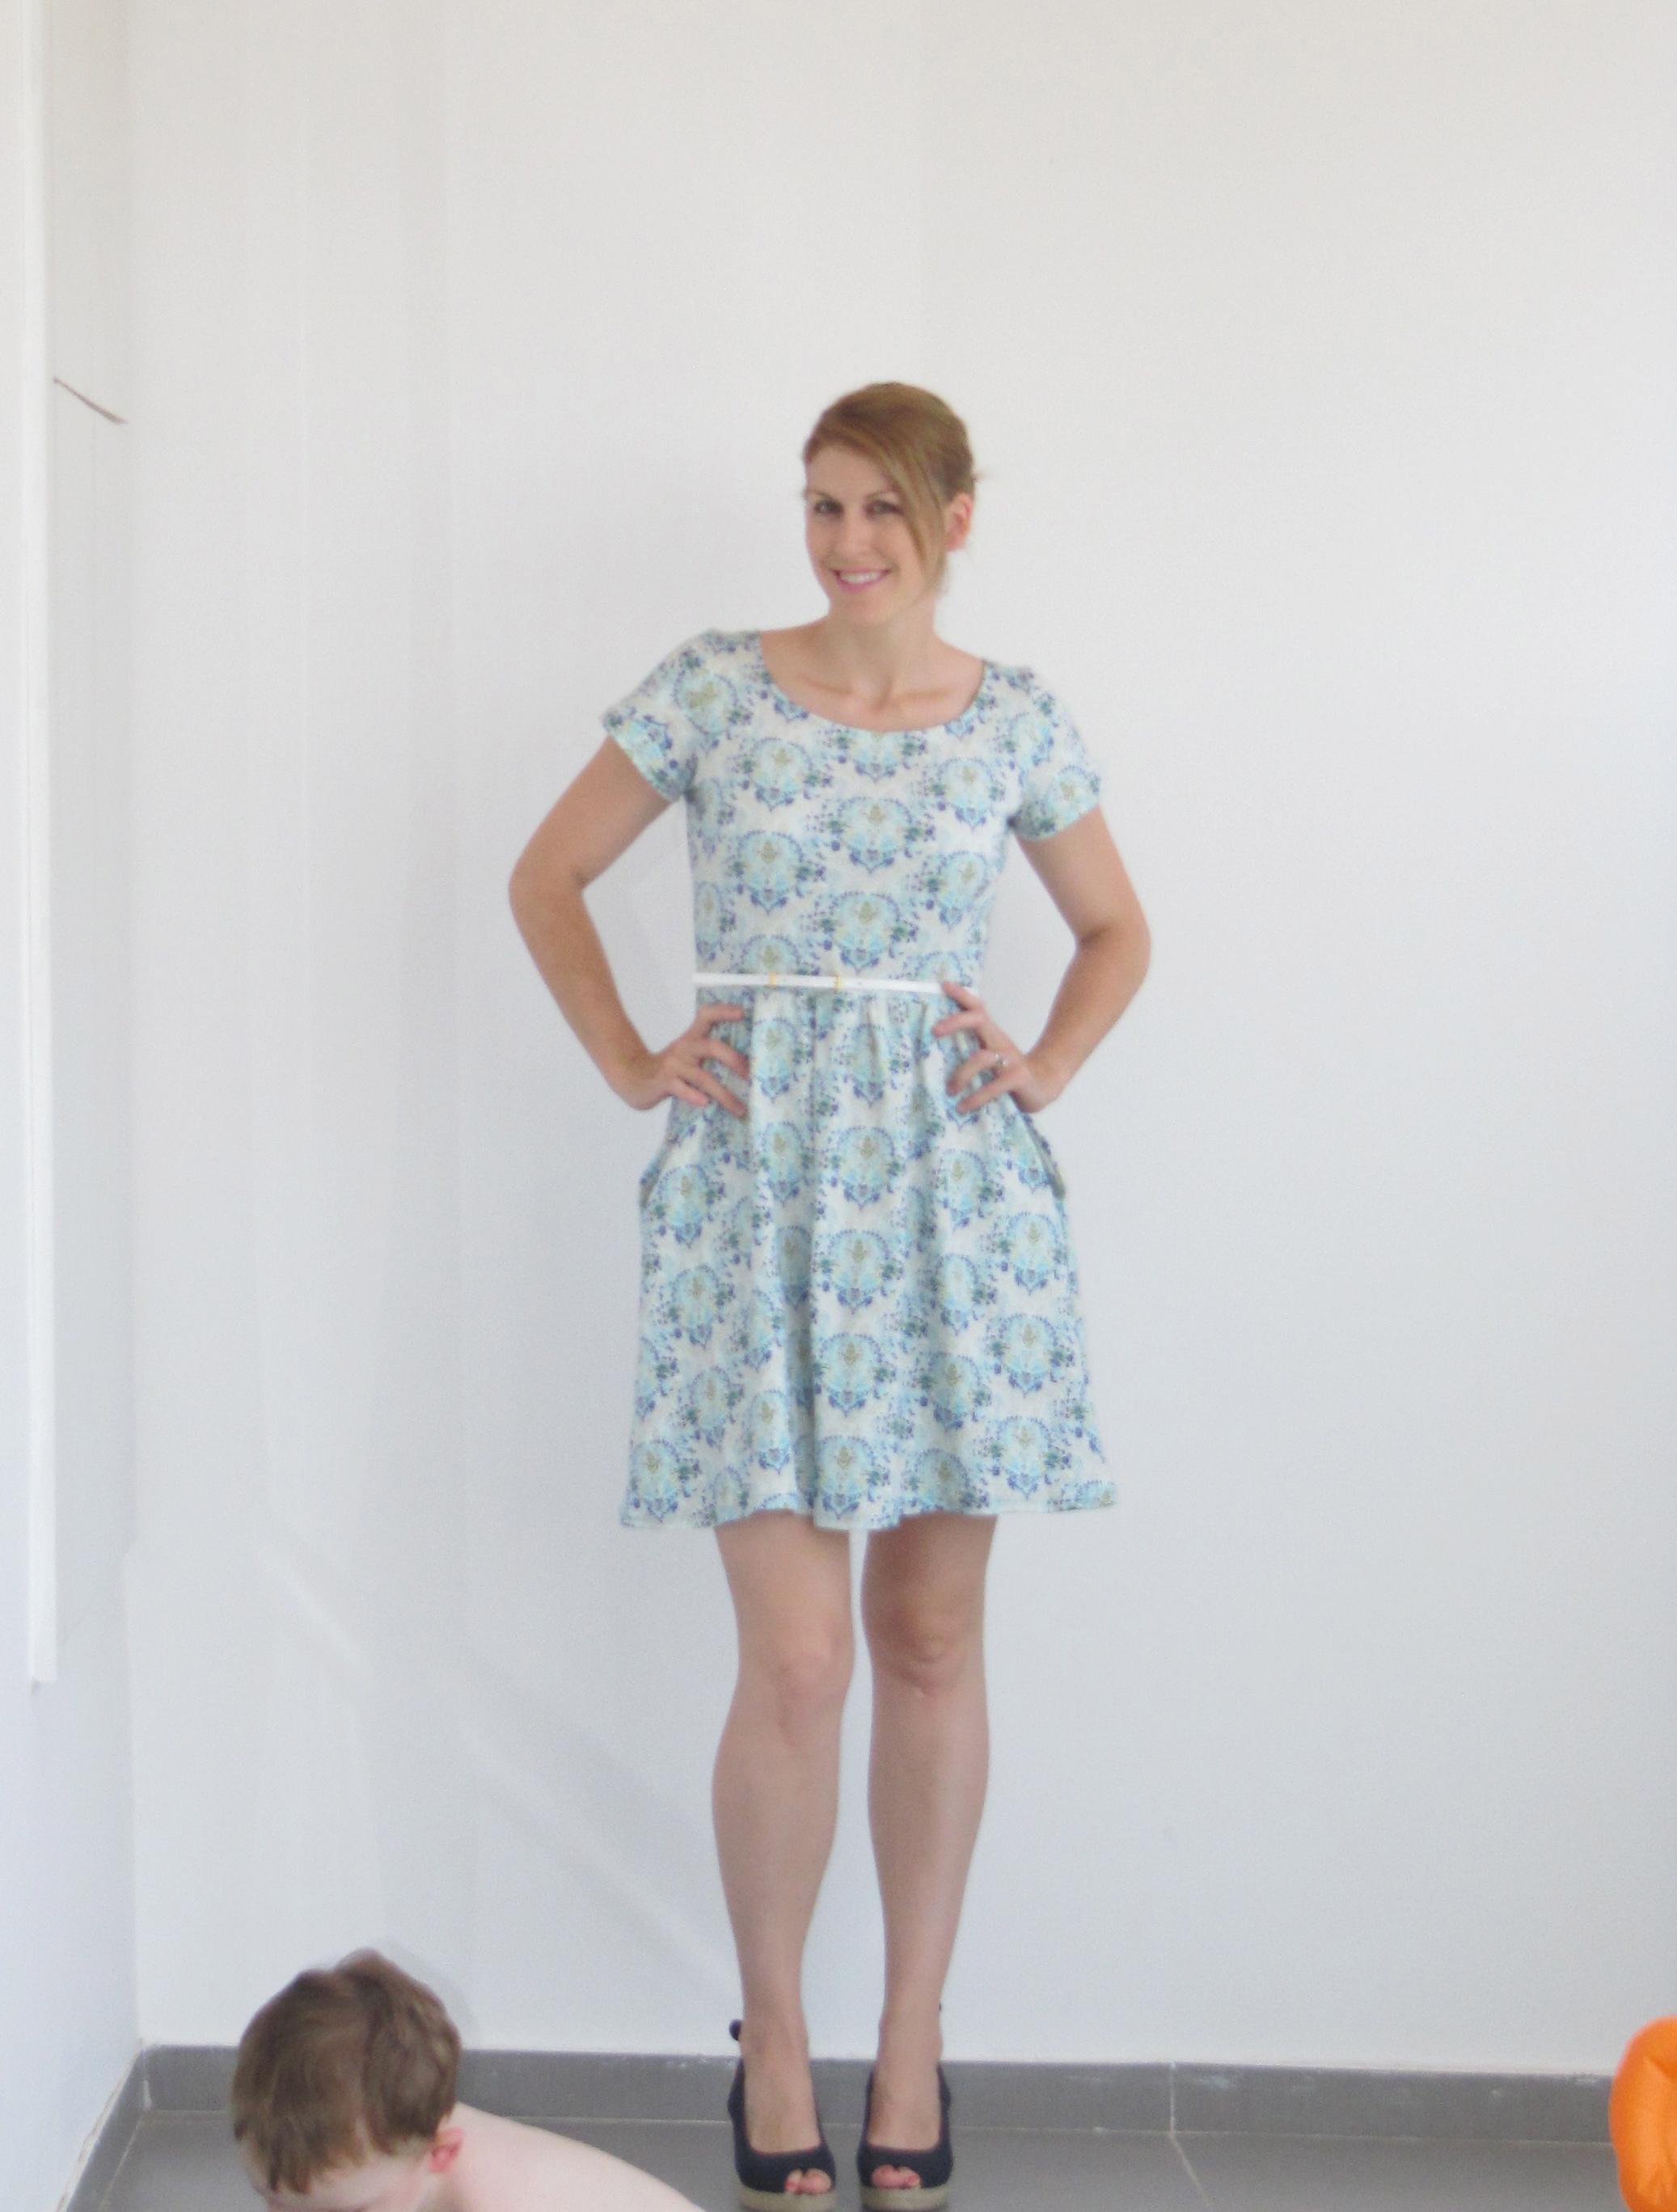
Usual shocking wardrobe selfie…
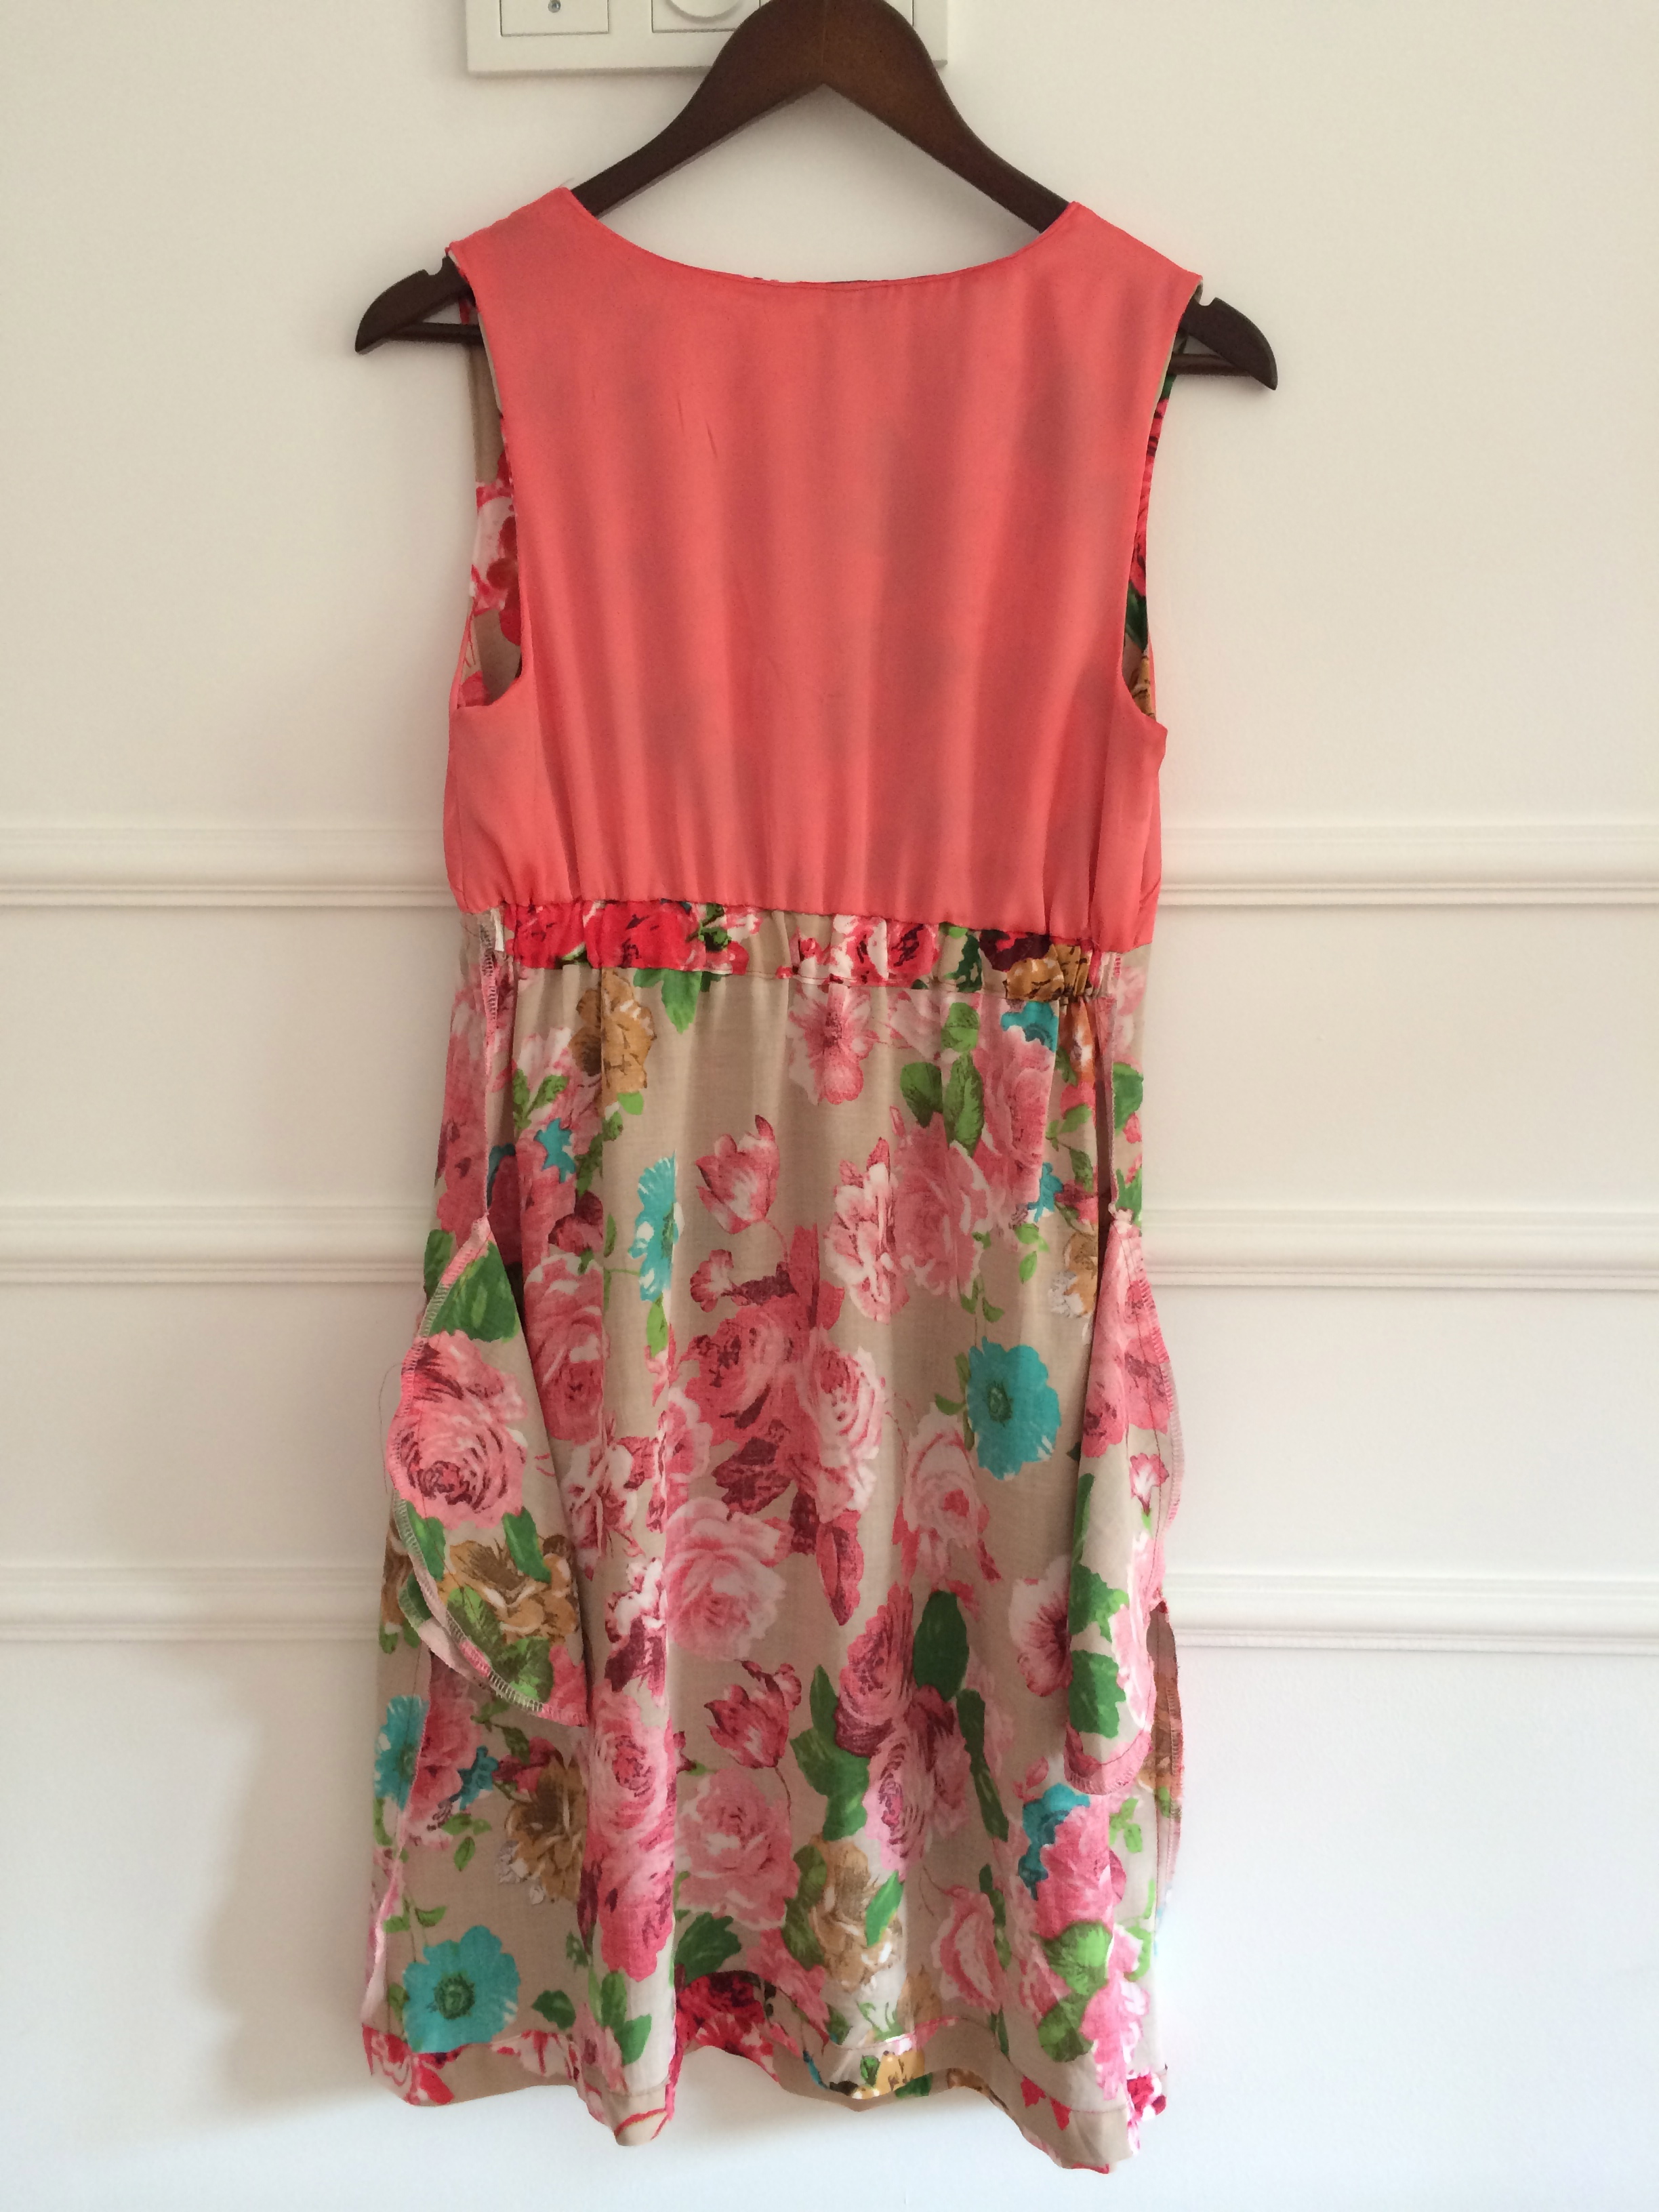
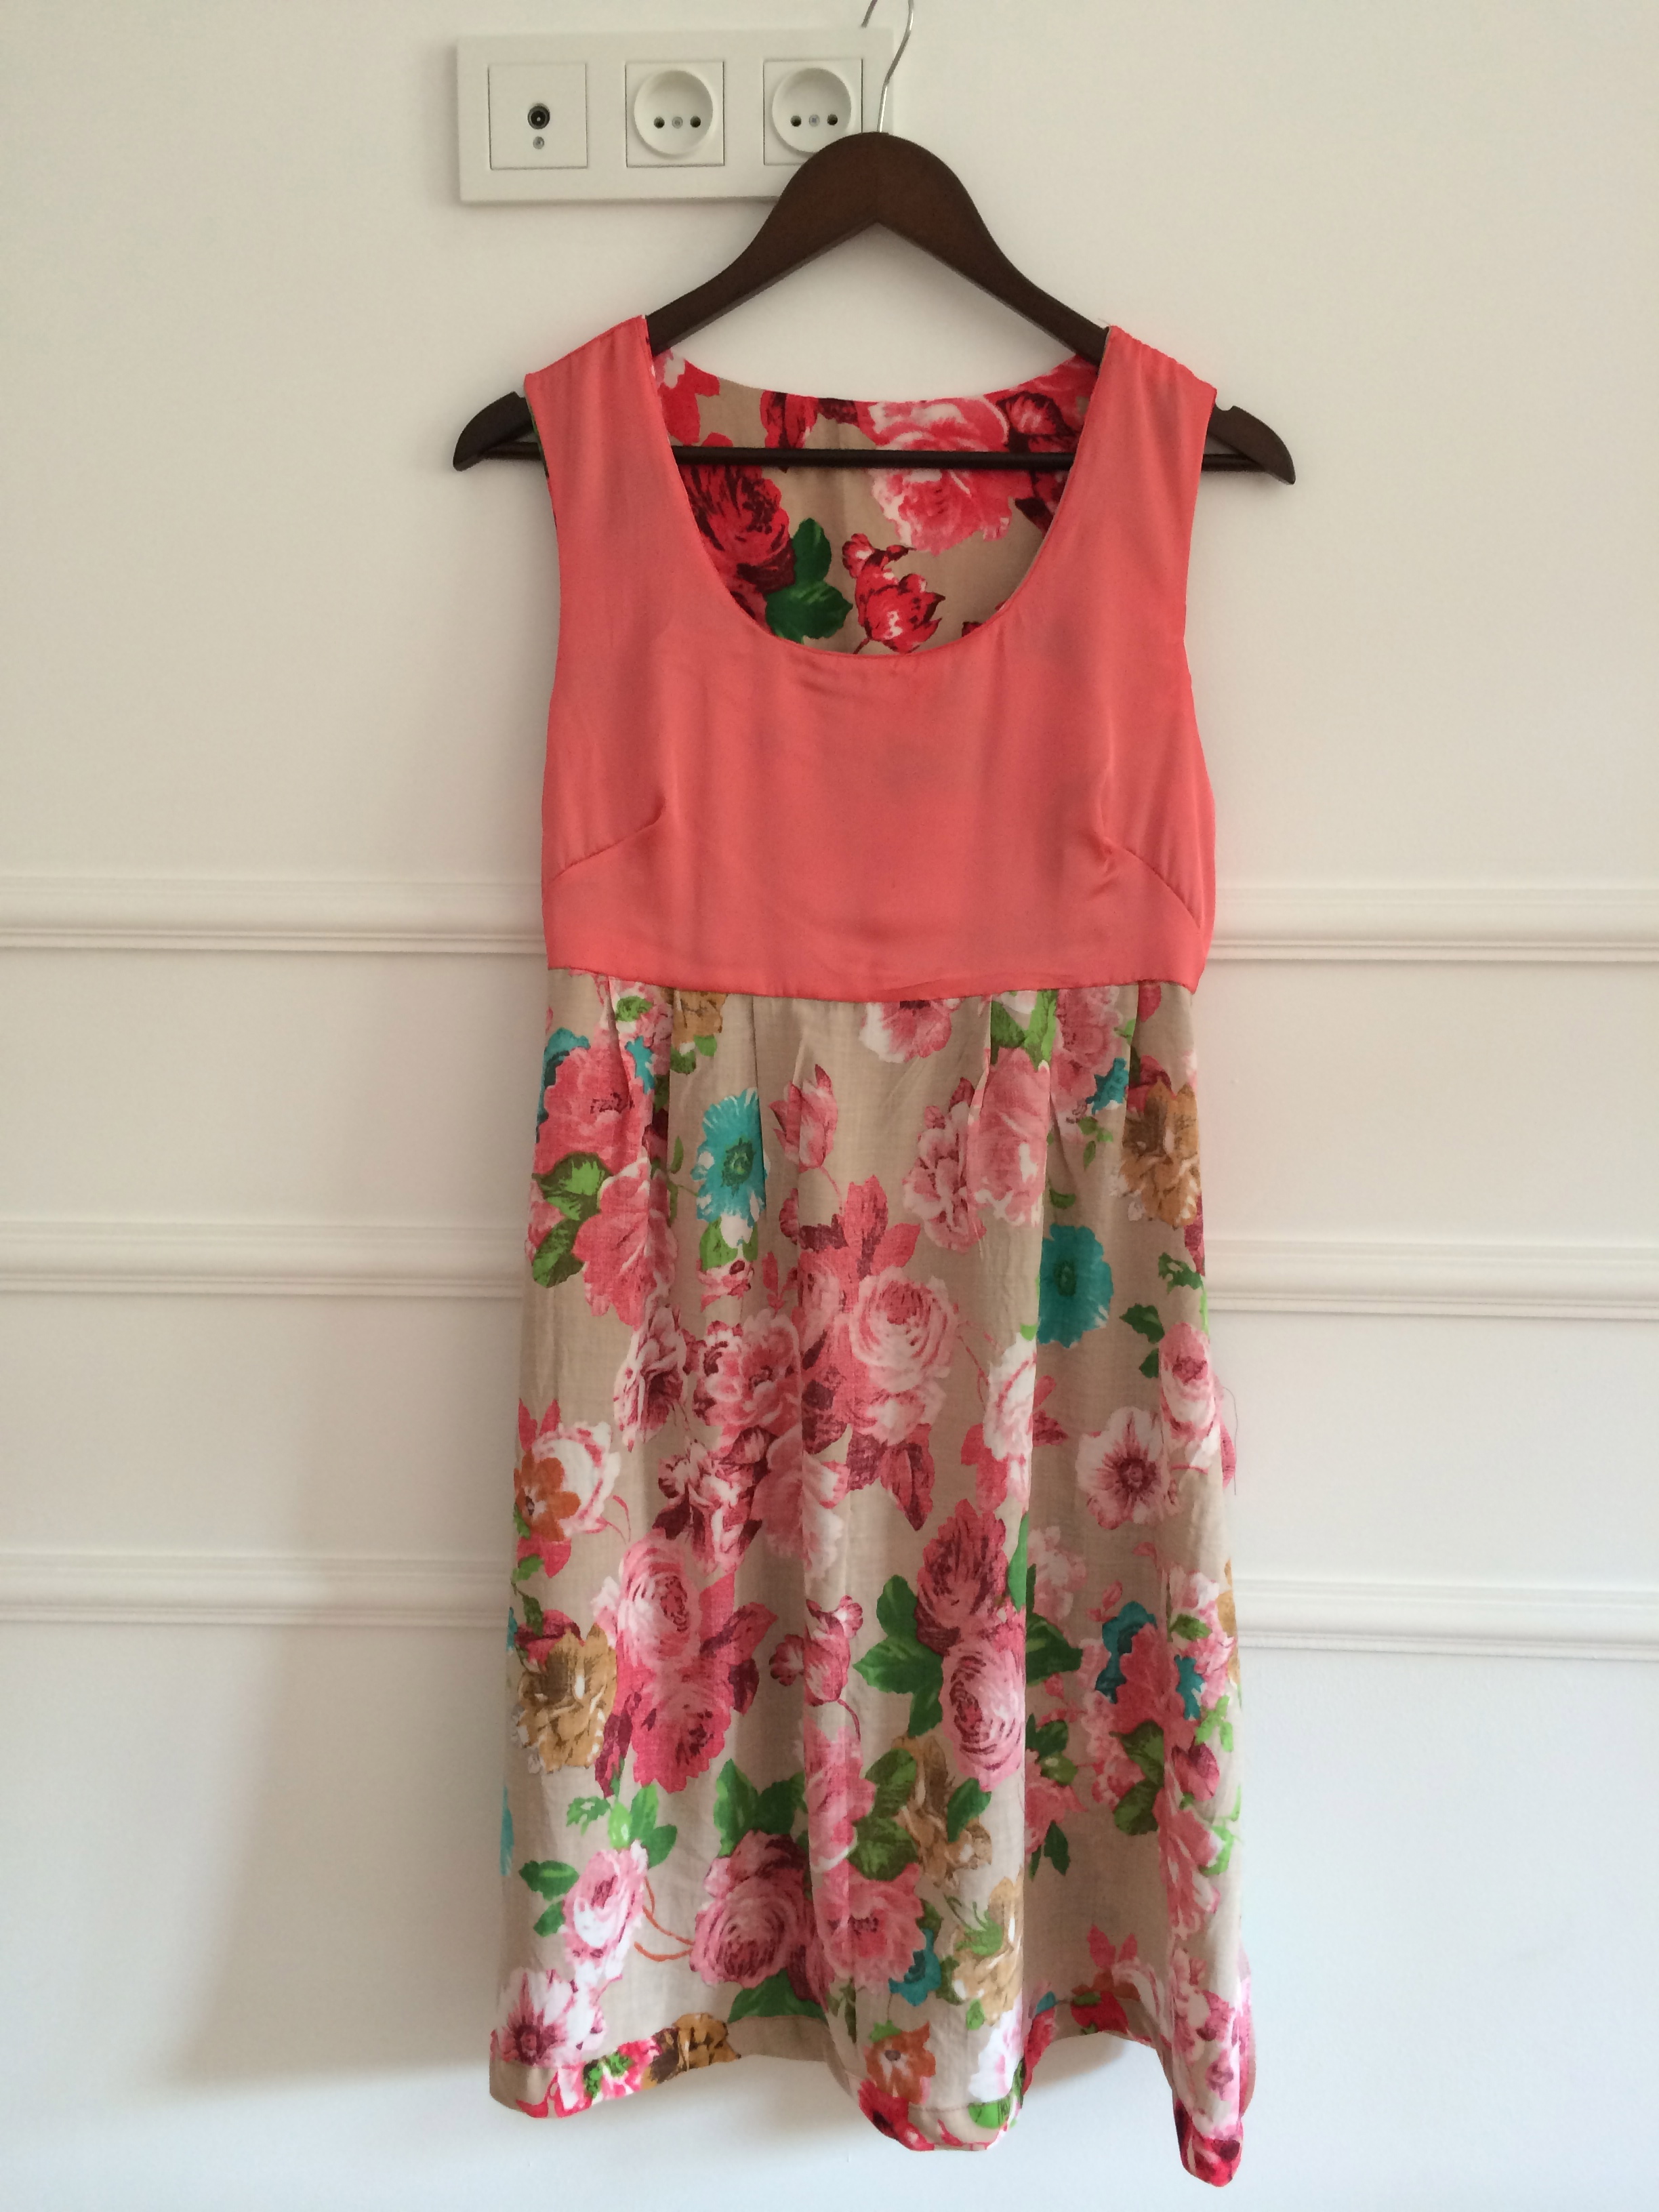
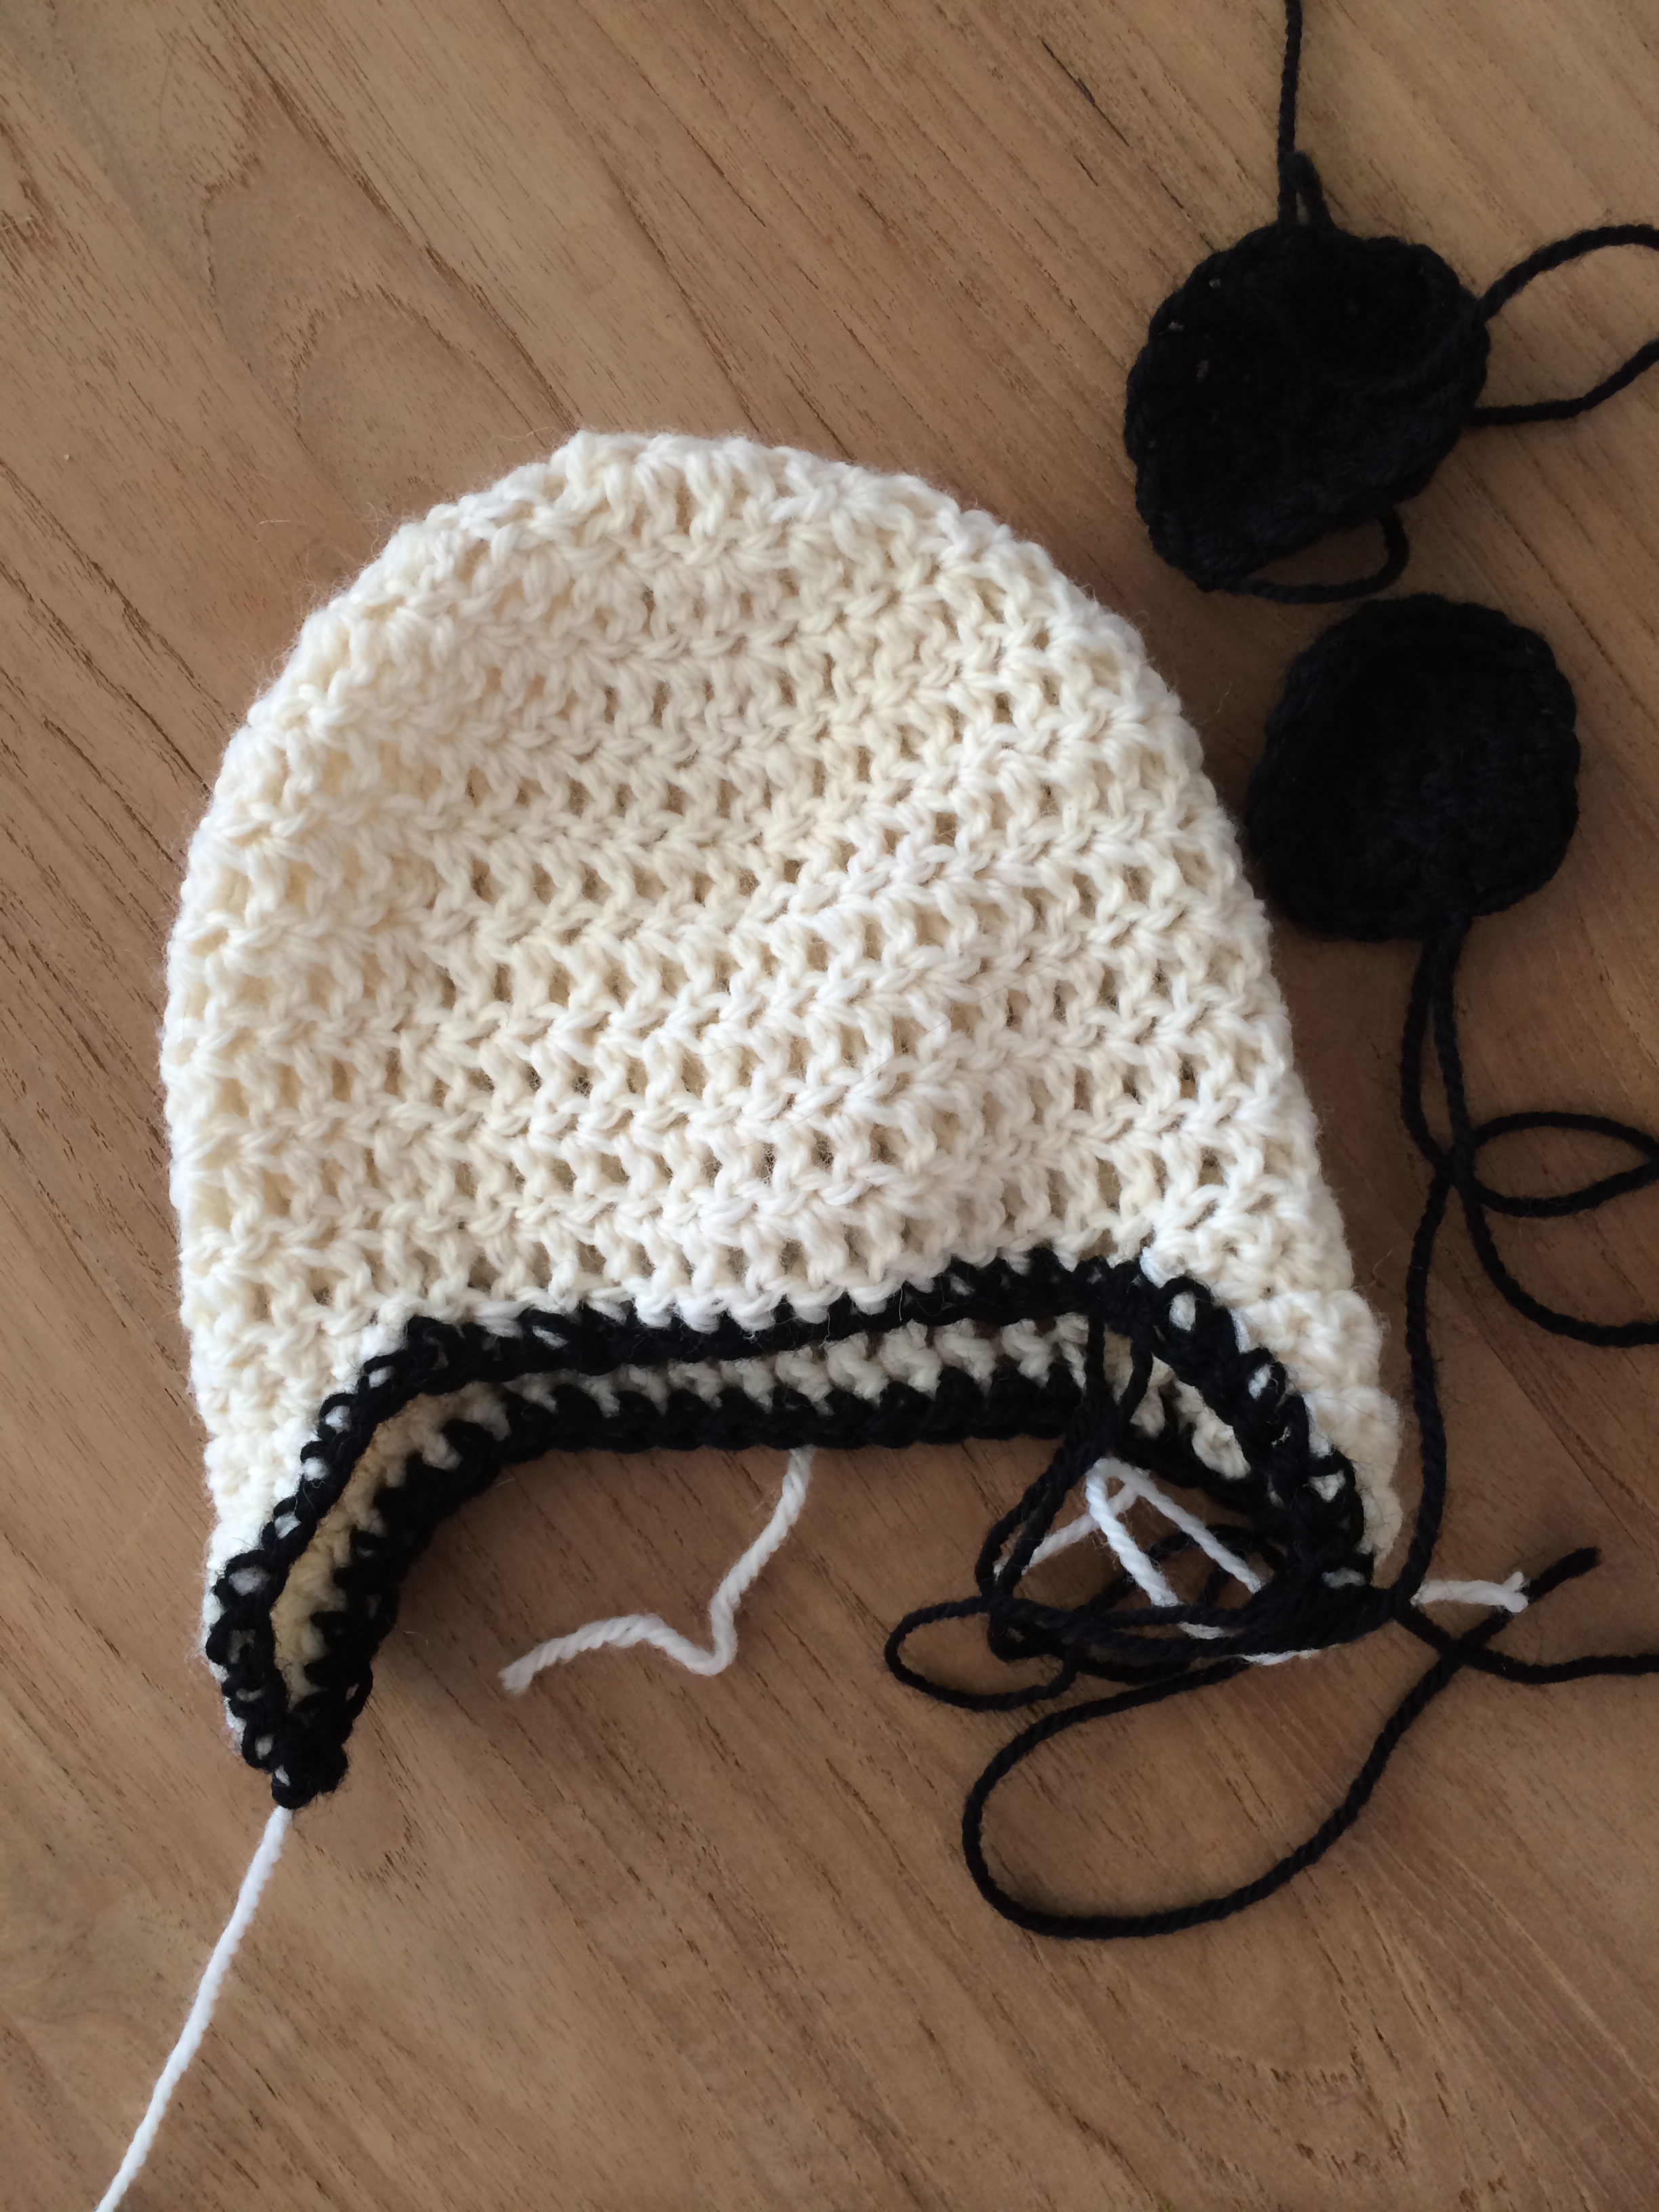
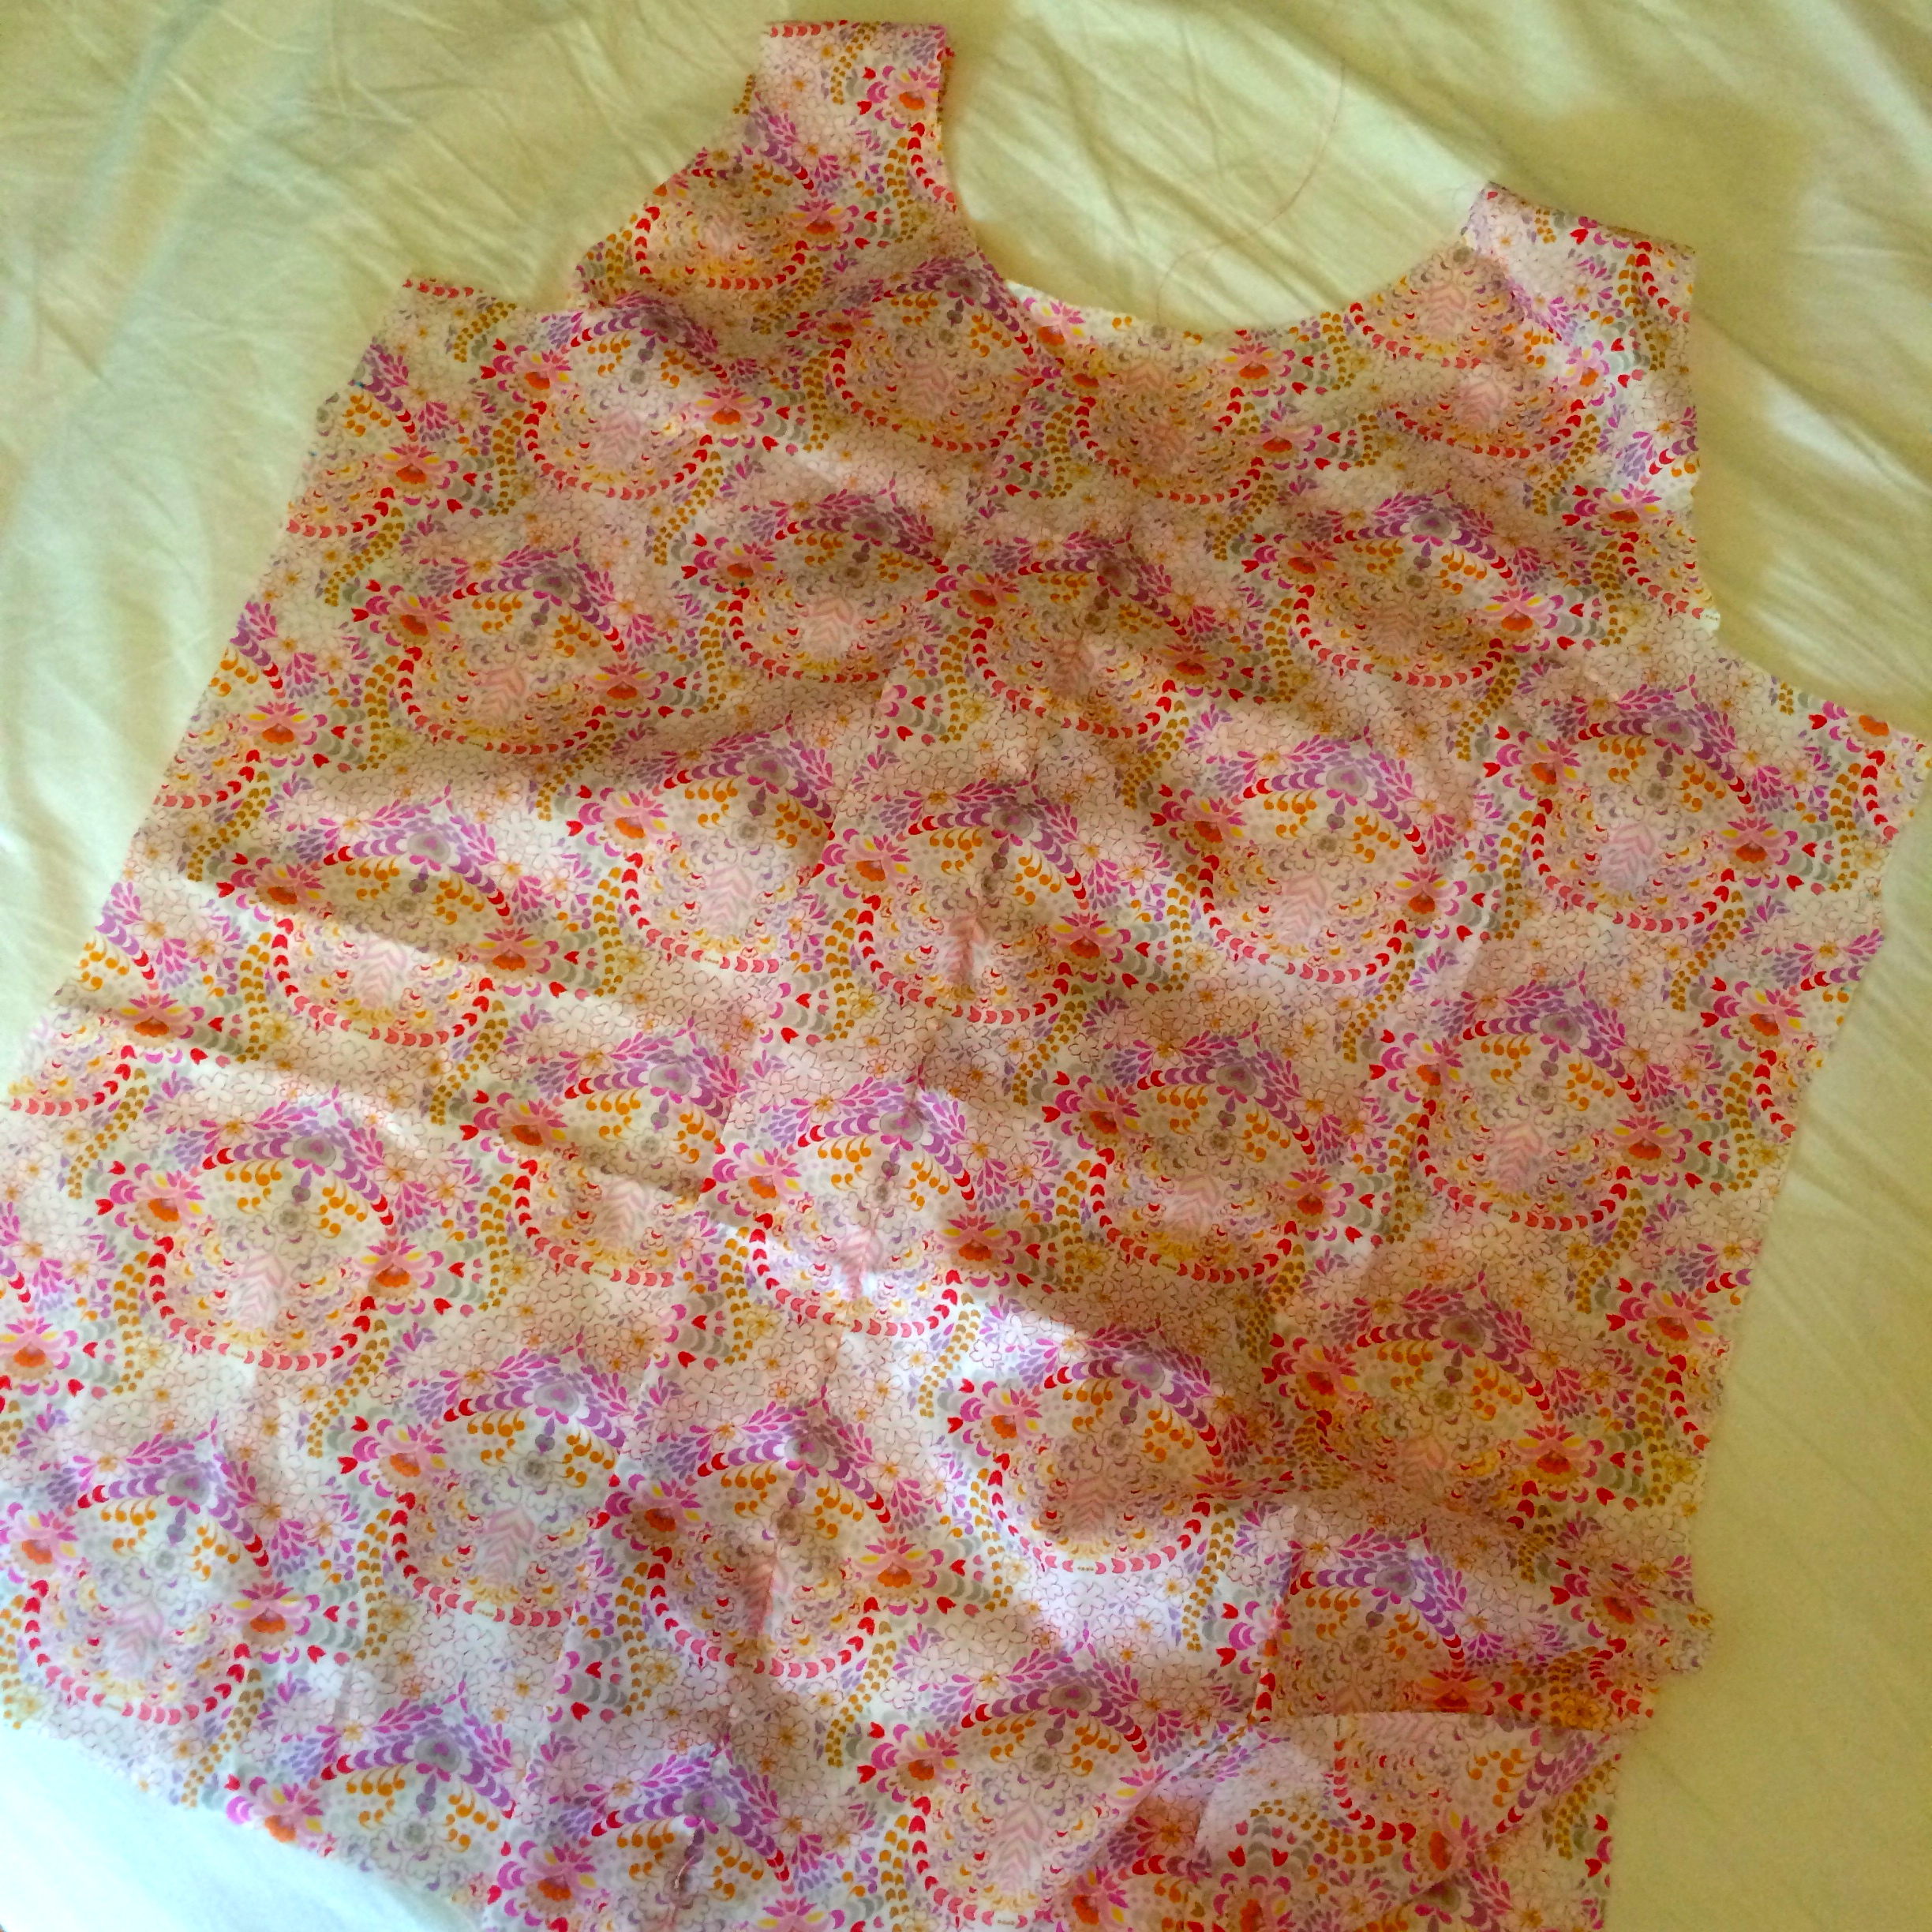
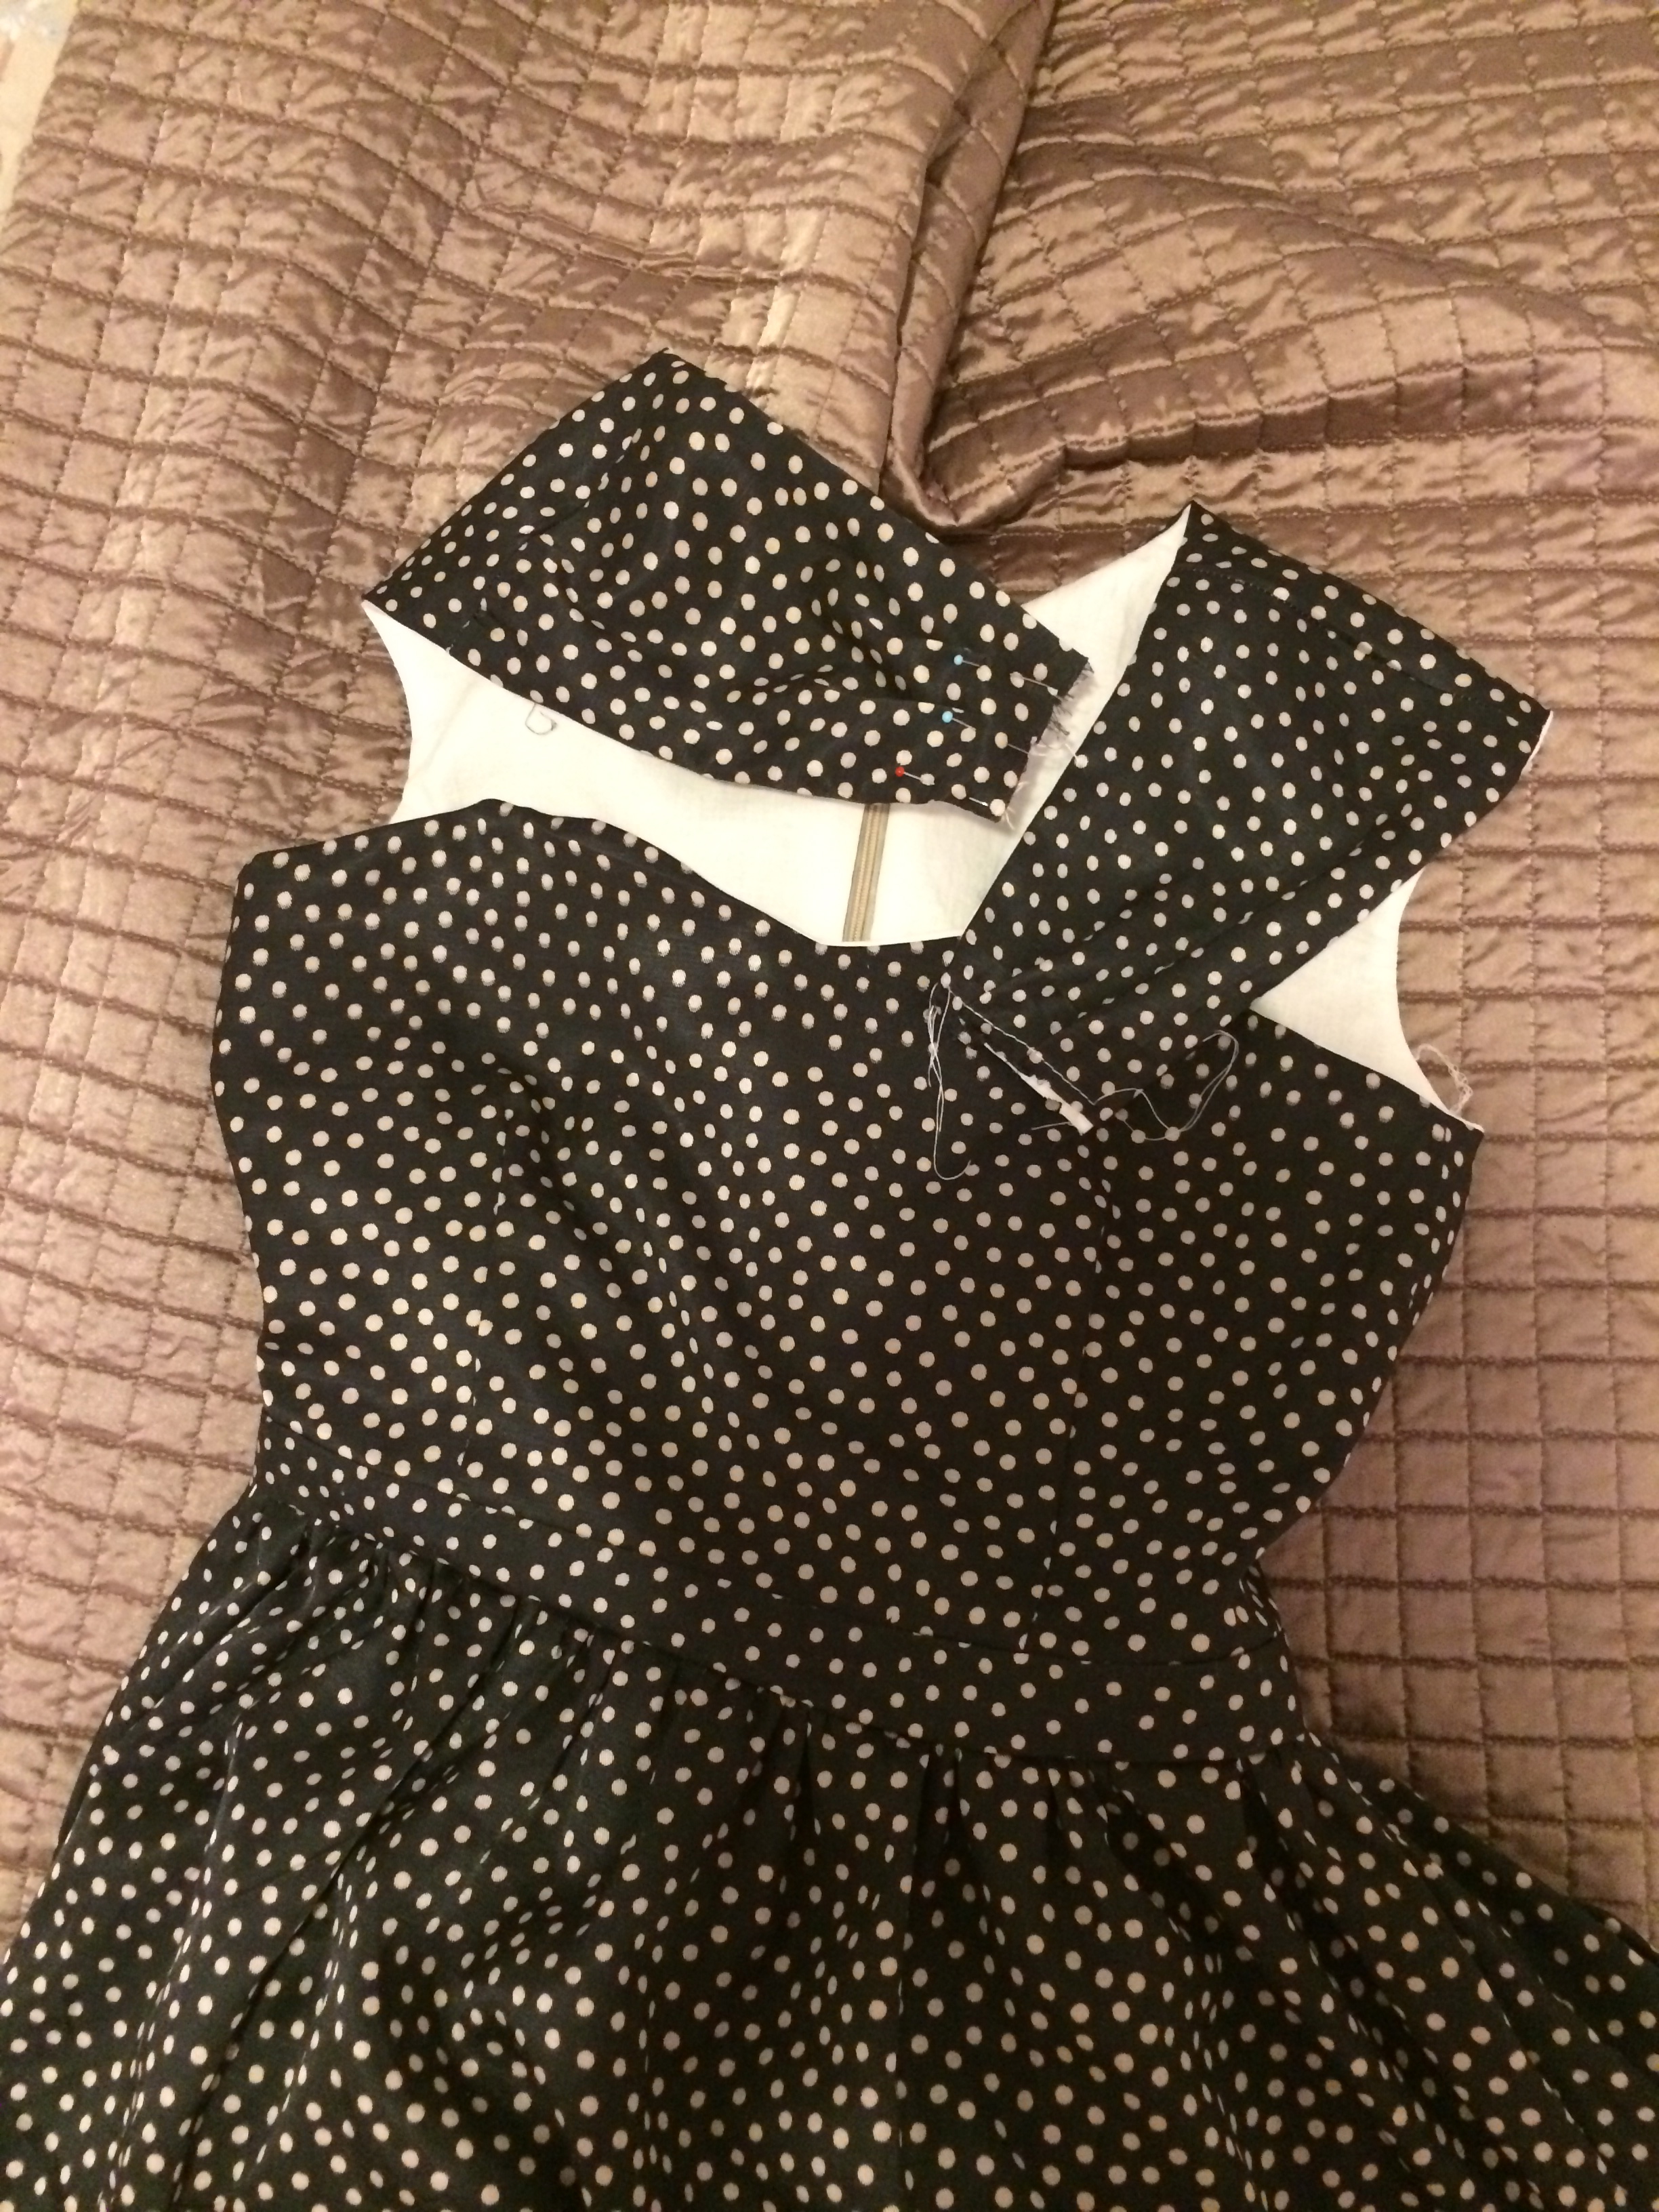
Luckily I did a test run with some scraps of quilting cotton, as for some reason I measured myself and cut out a size 10…. and when I tried the finished product on it was swimming on me & looked HORRIBLE… so re-measured myself and realised I should have actually made a 6. Don’t know what on earth was going on there. Lucky for muslins!
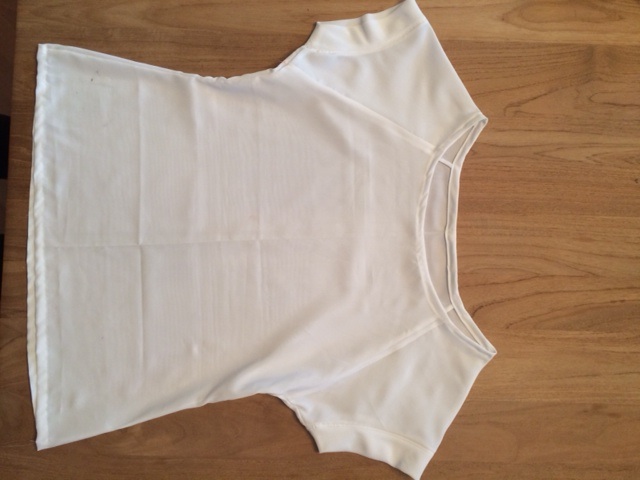
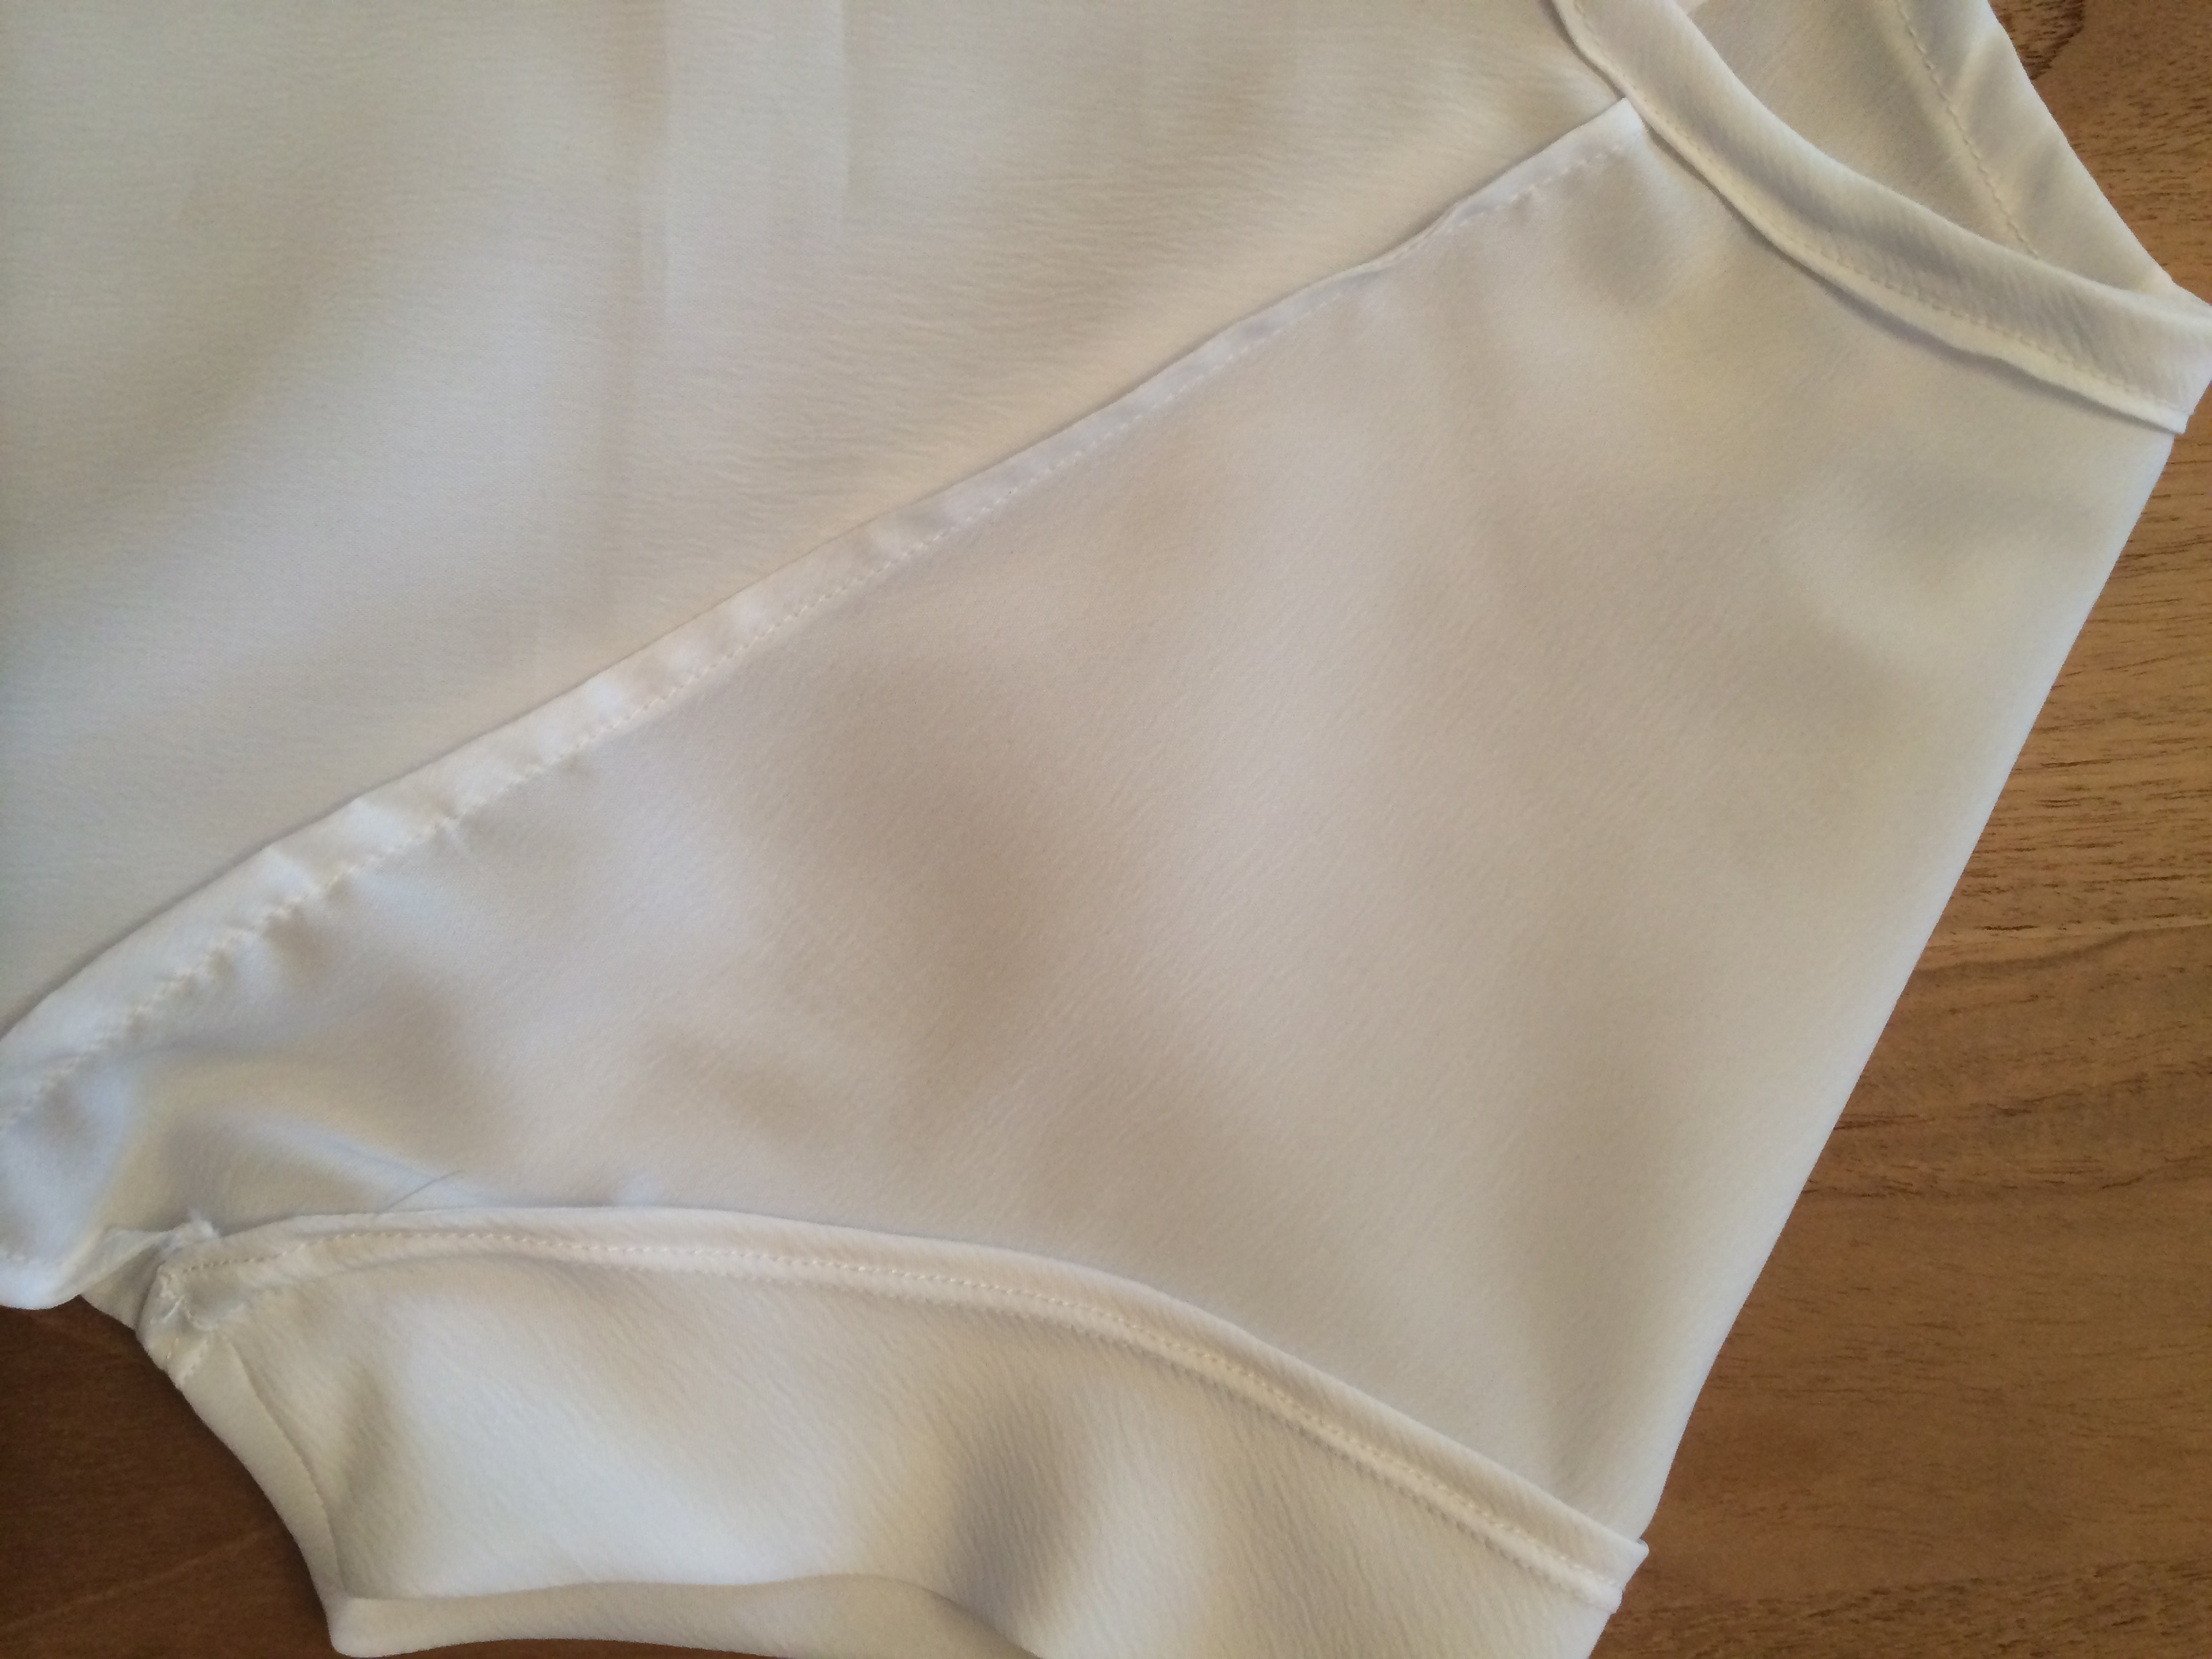
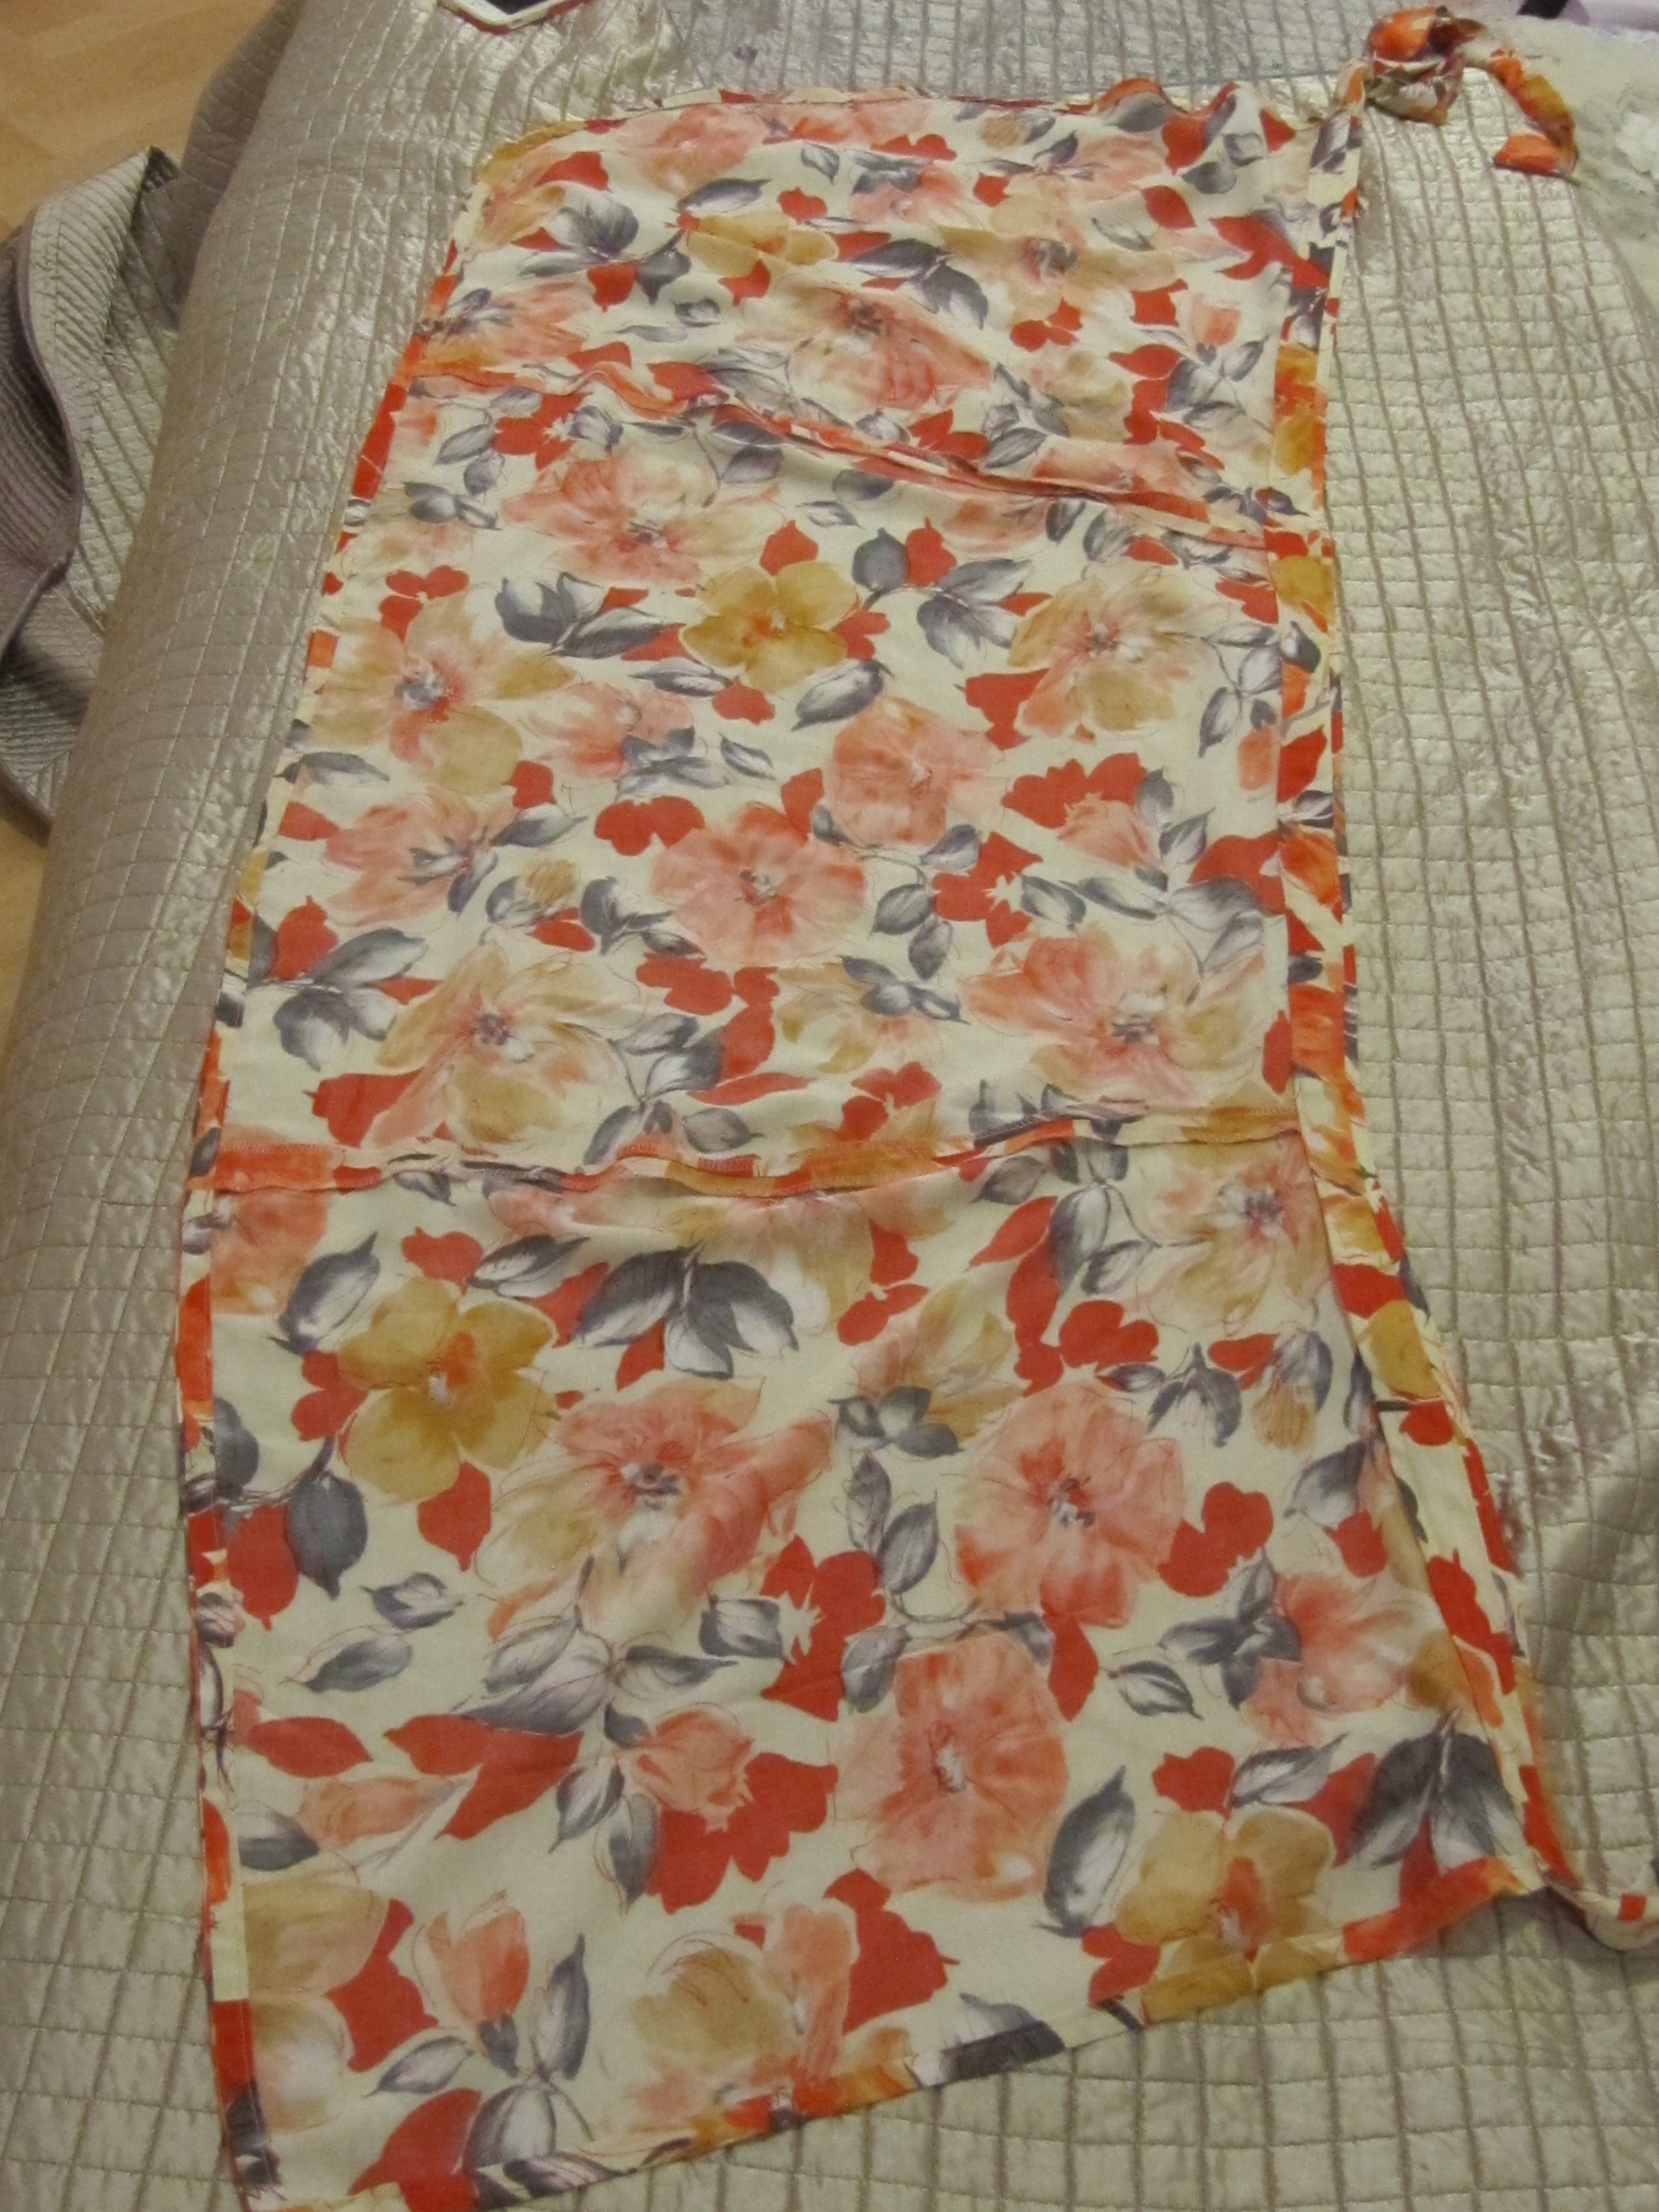
Test run with some scraps of quilting cotton!!
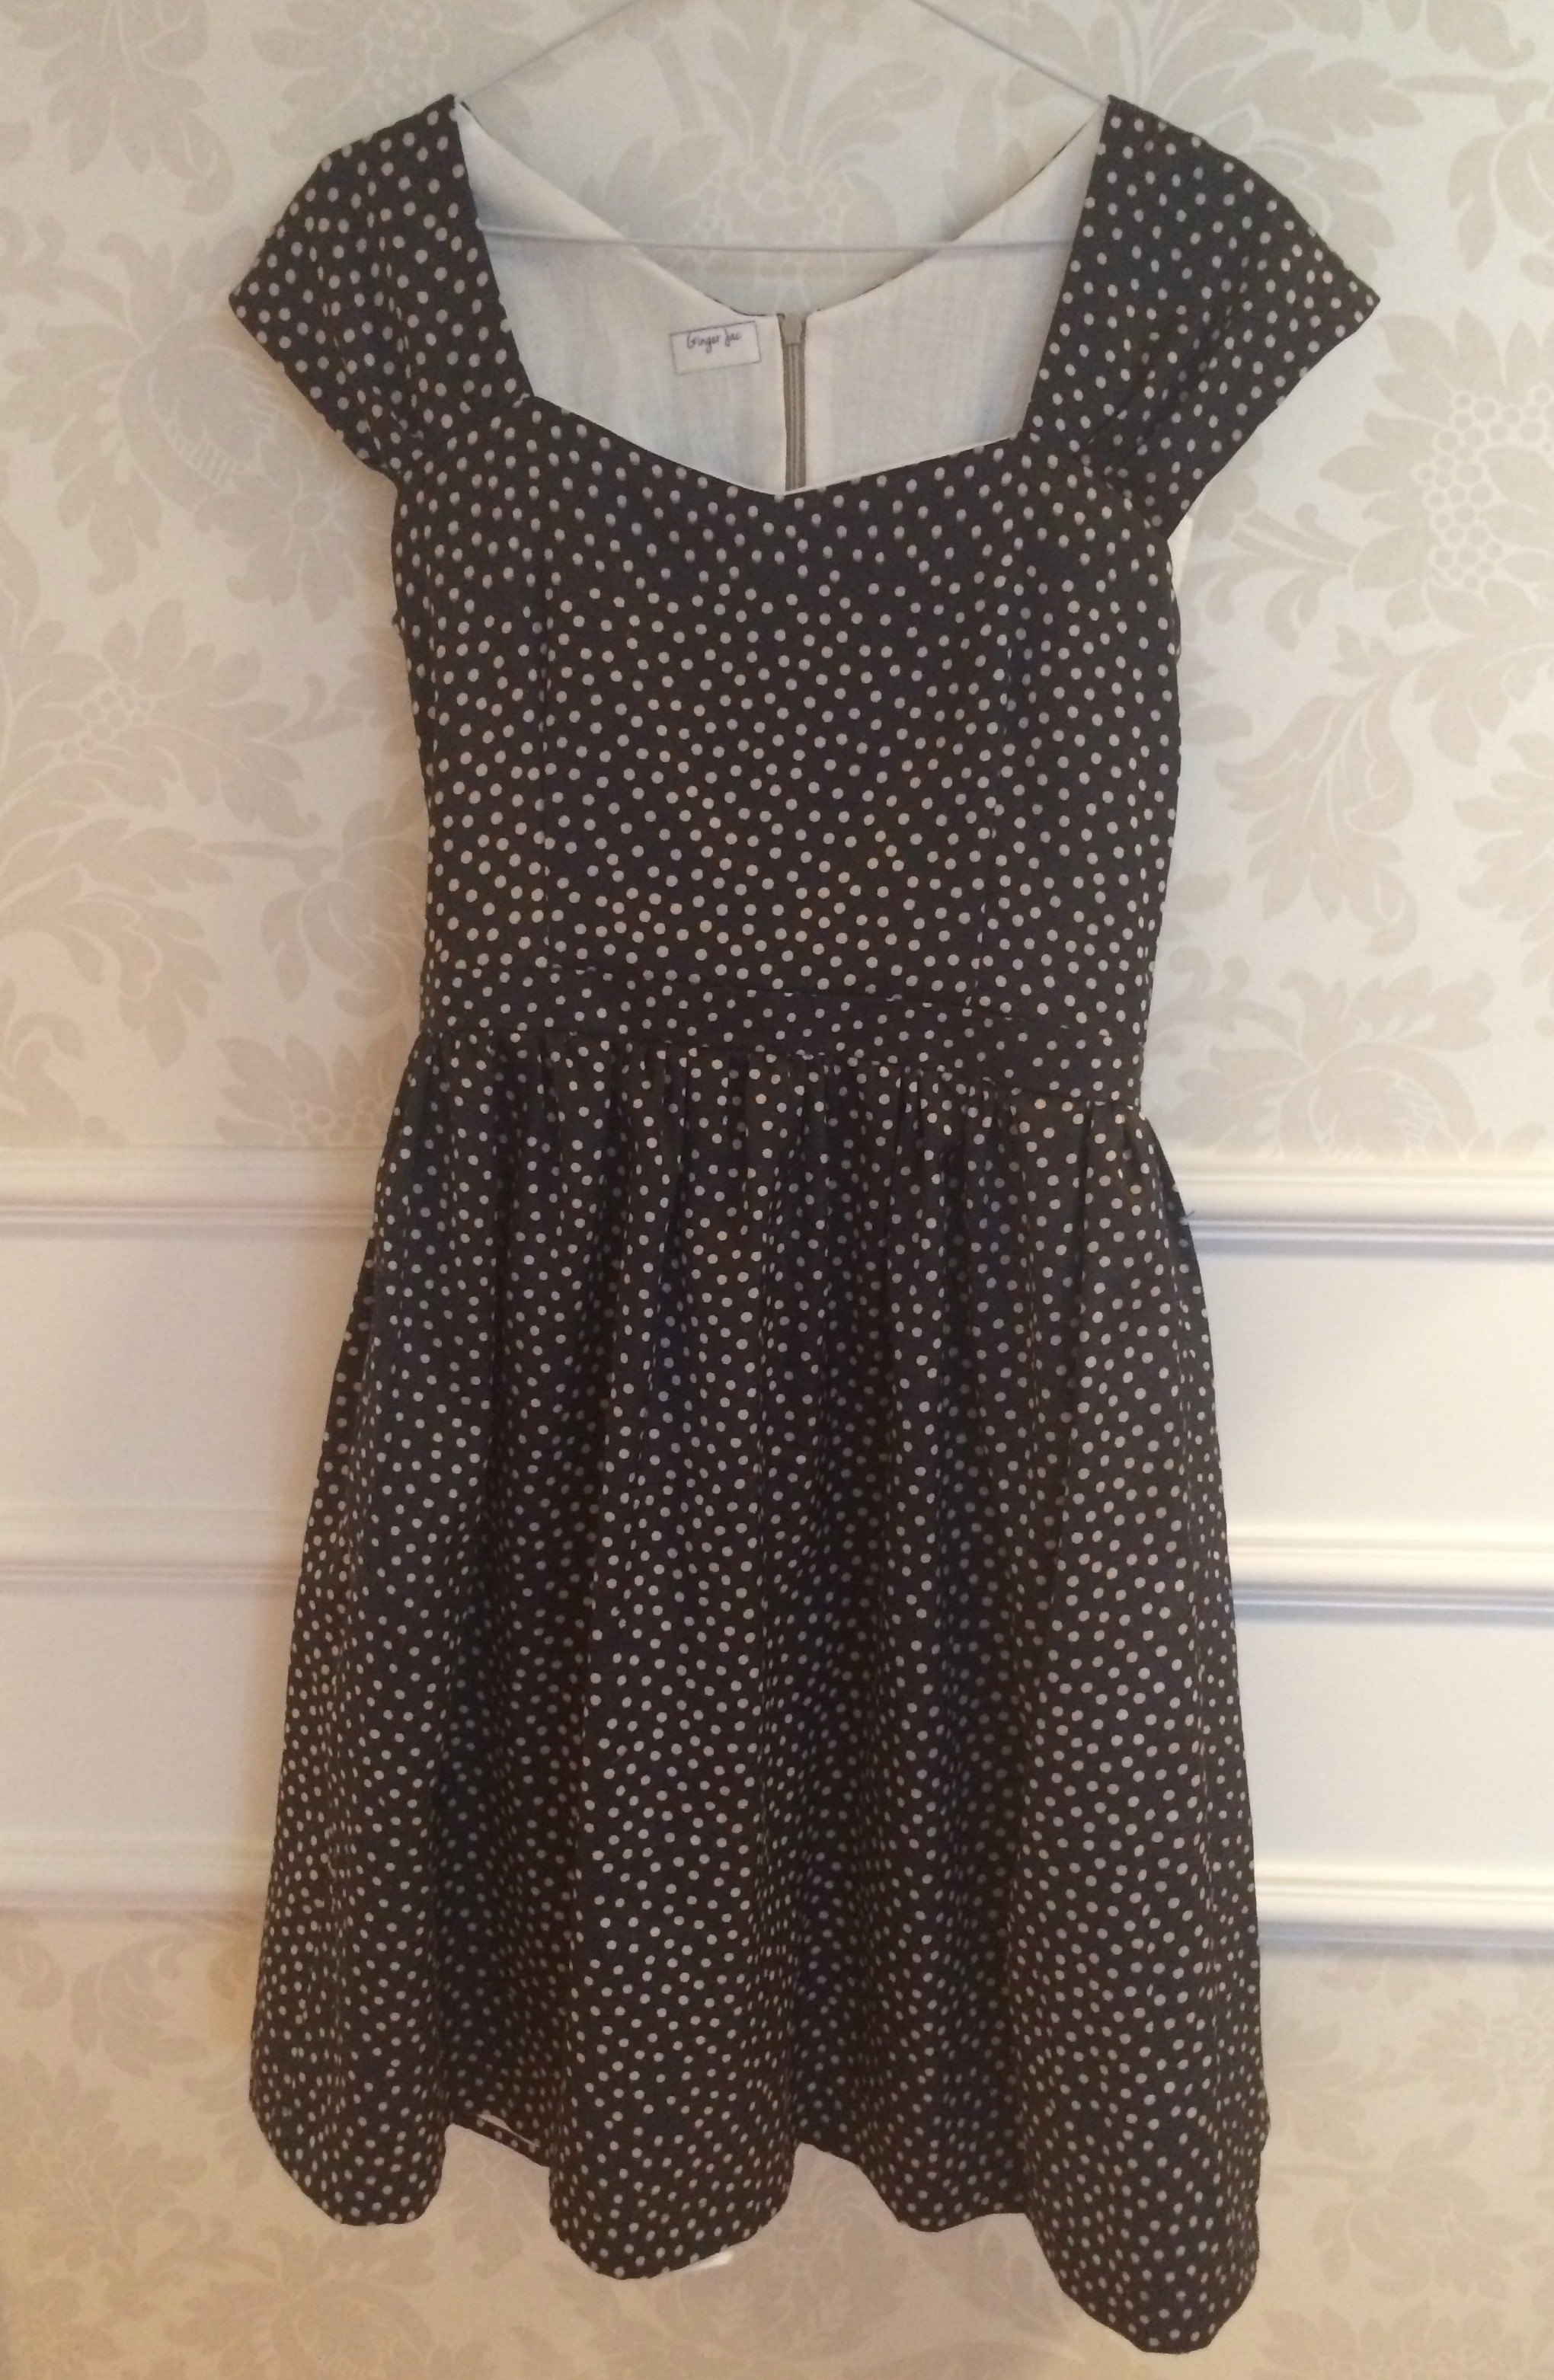
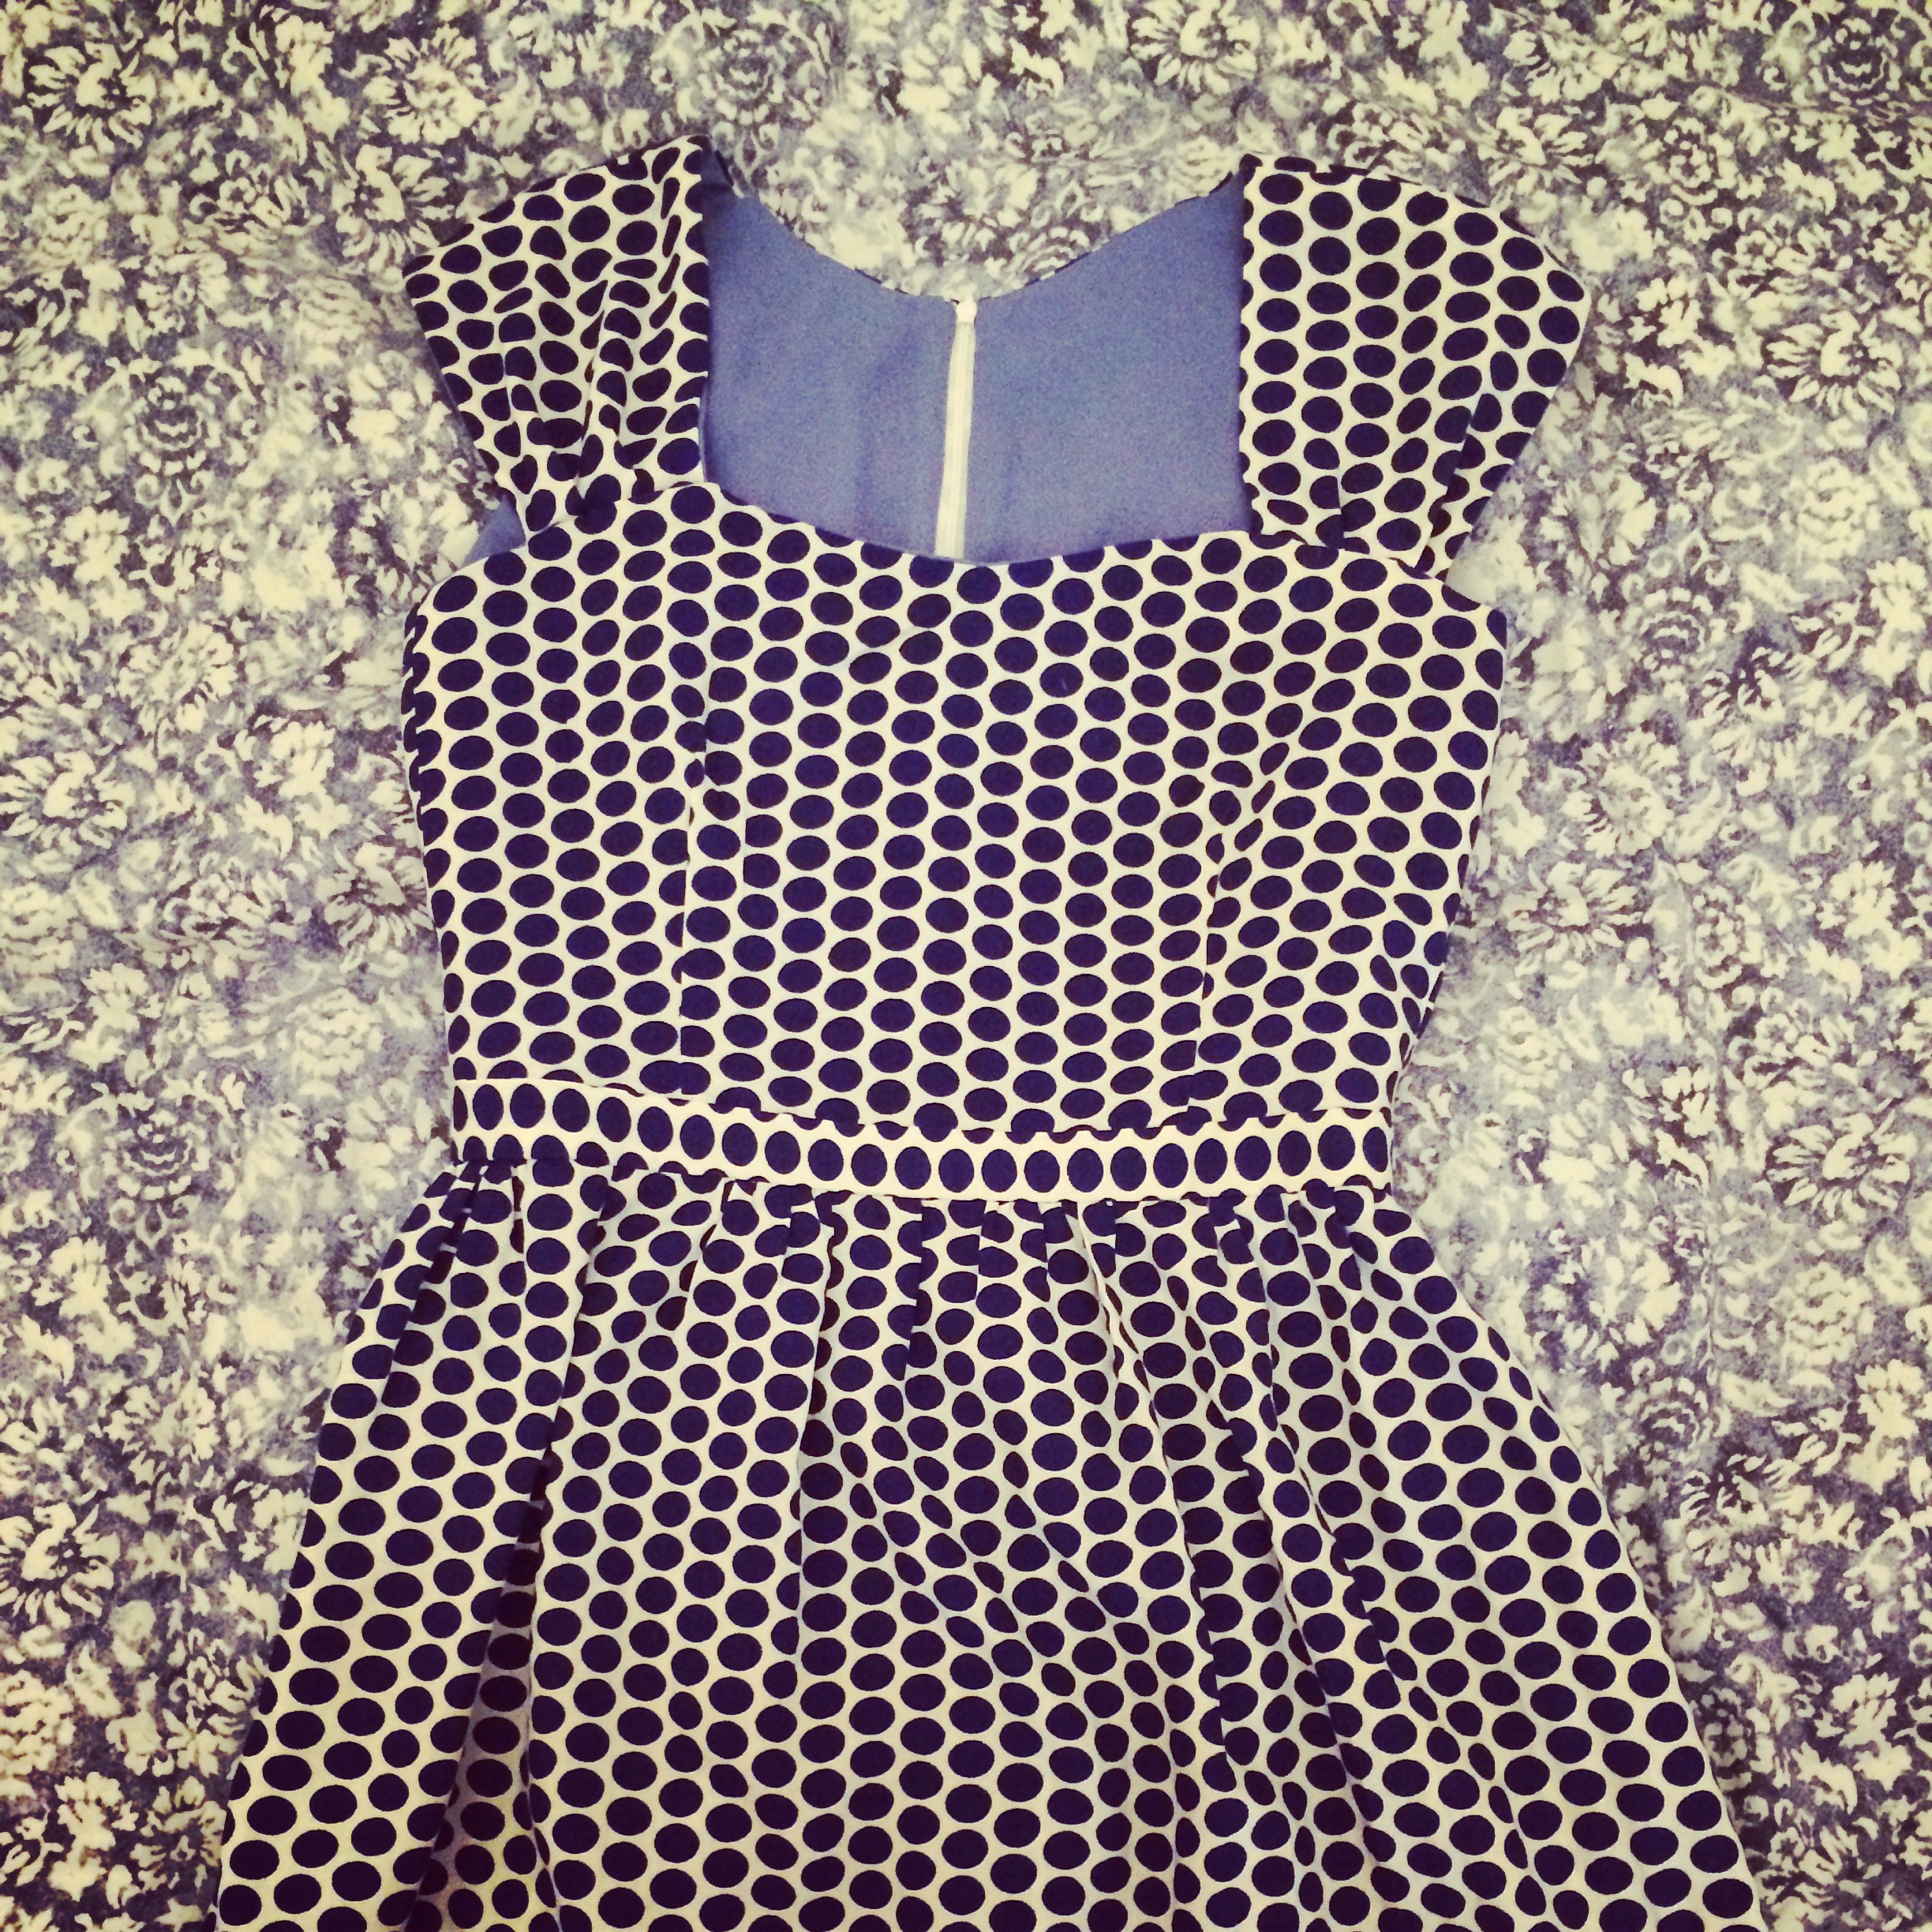
So my first wearable awesome Cambie (view A) I made out of a gorgeous Cotton Sateen (ok so the lady at the market was telling me “Cot-ton-ee, Cot-tonn-eee” so I’m guessing as much…) that I picked up for 4 Lari/m ($2.50/m). Massive Bargain, pity it was the last 3 metres 😦 I lined the whole thing with a white lightweight calico type fabric that feels just lovely against my skin.
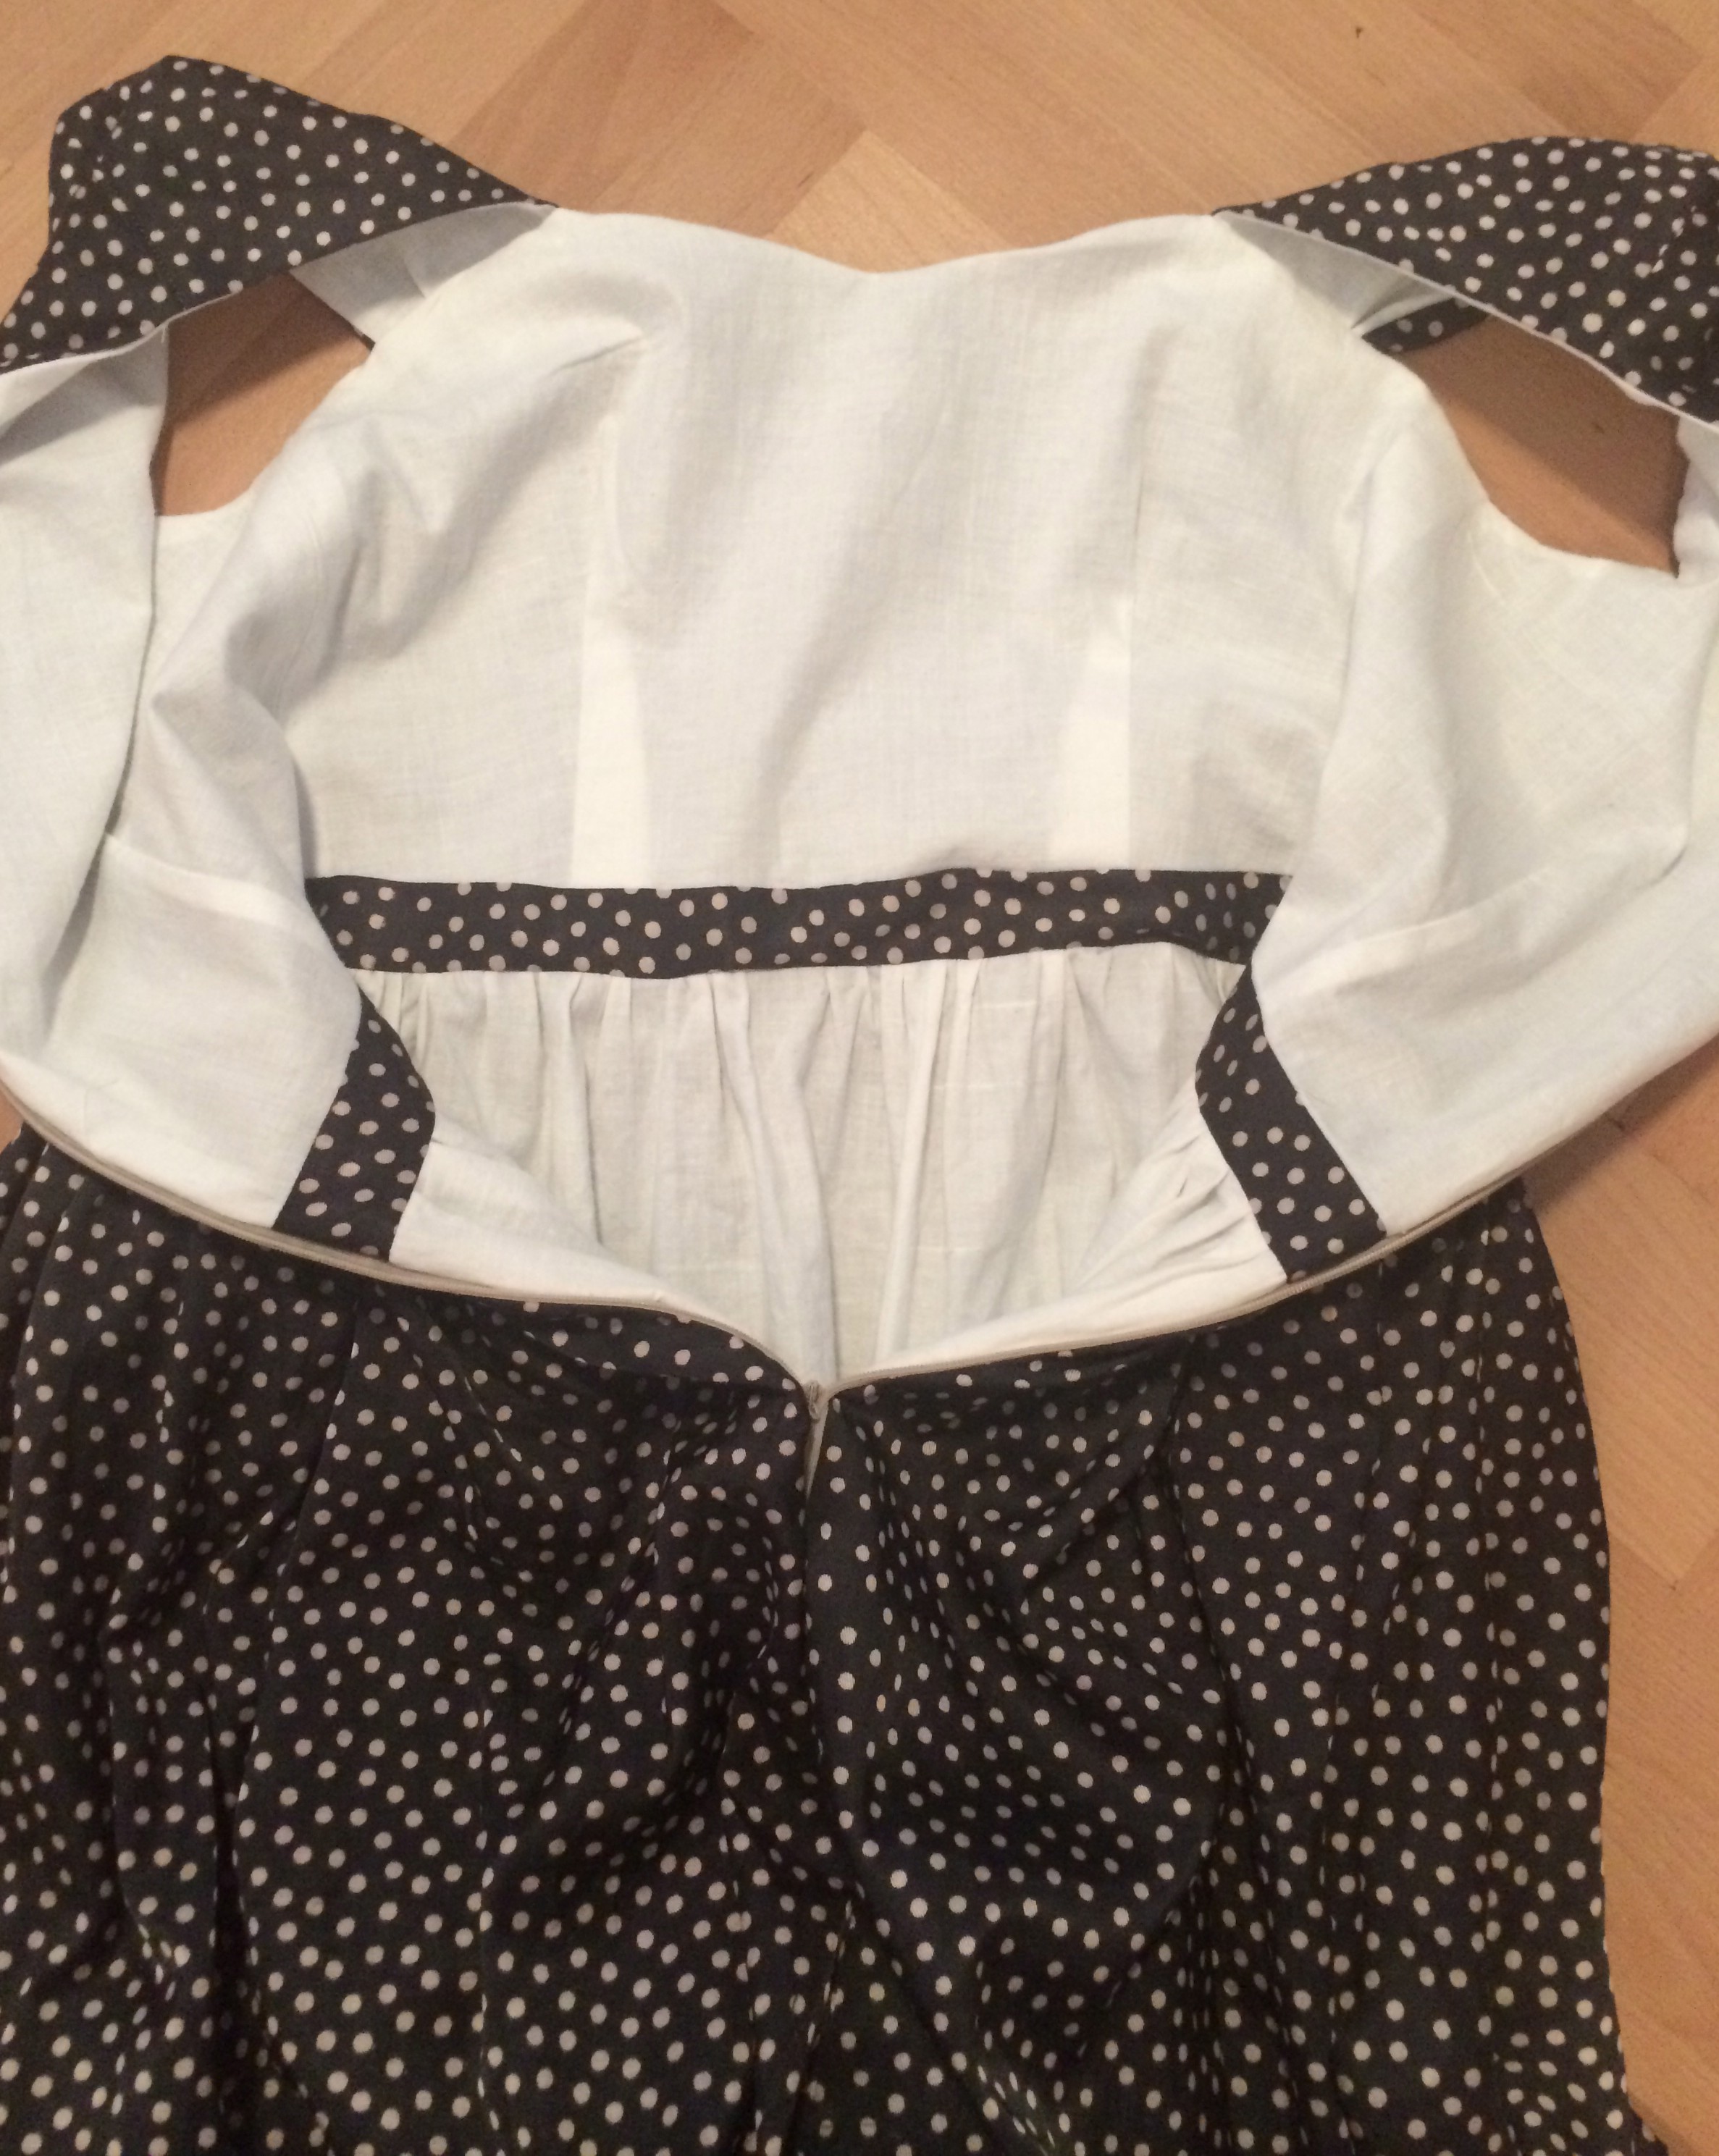
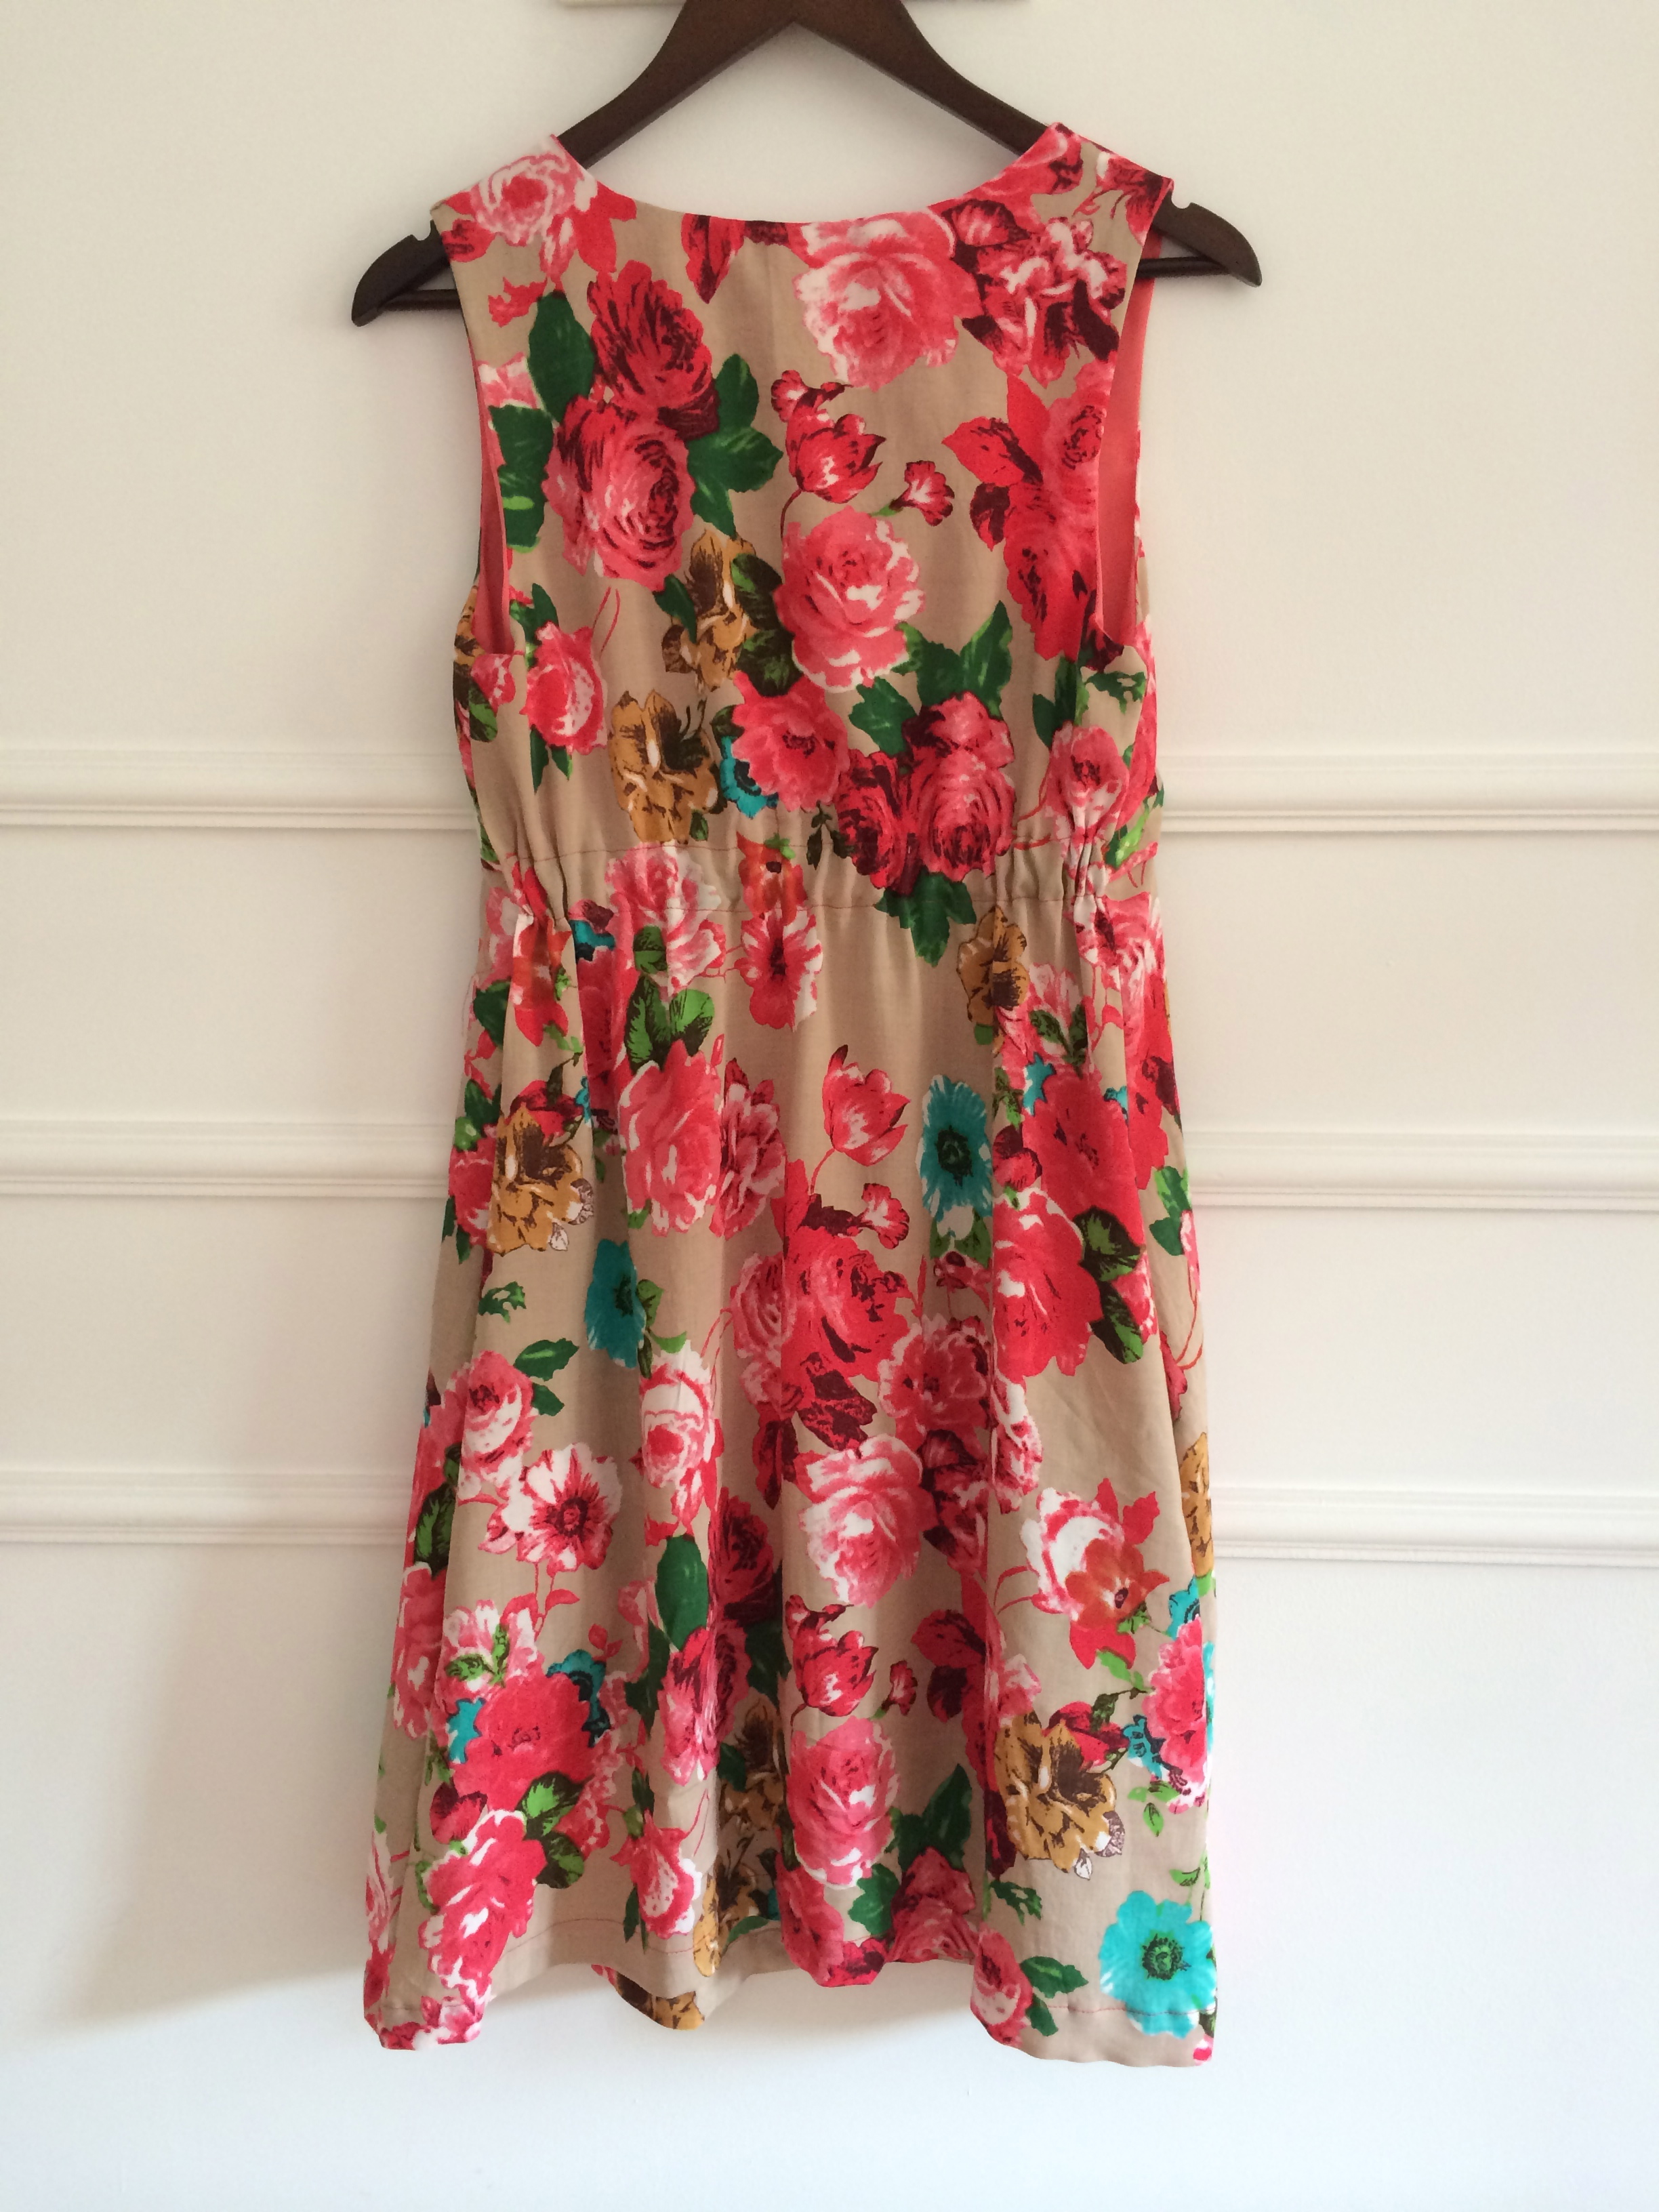
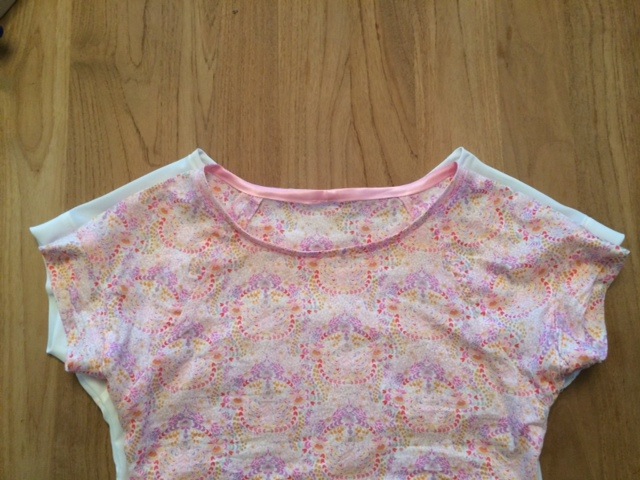
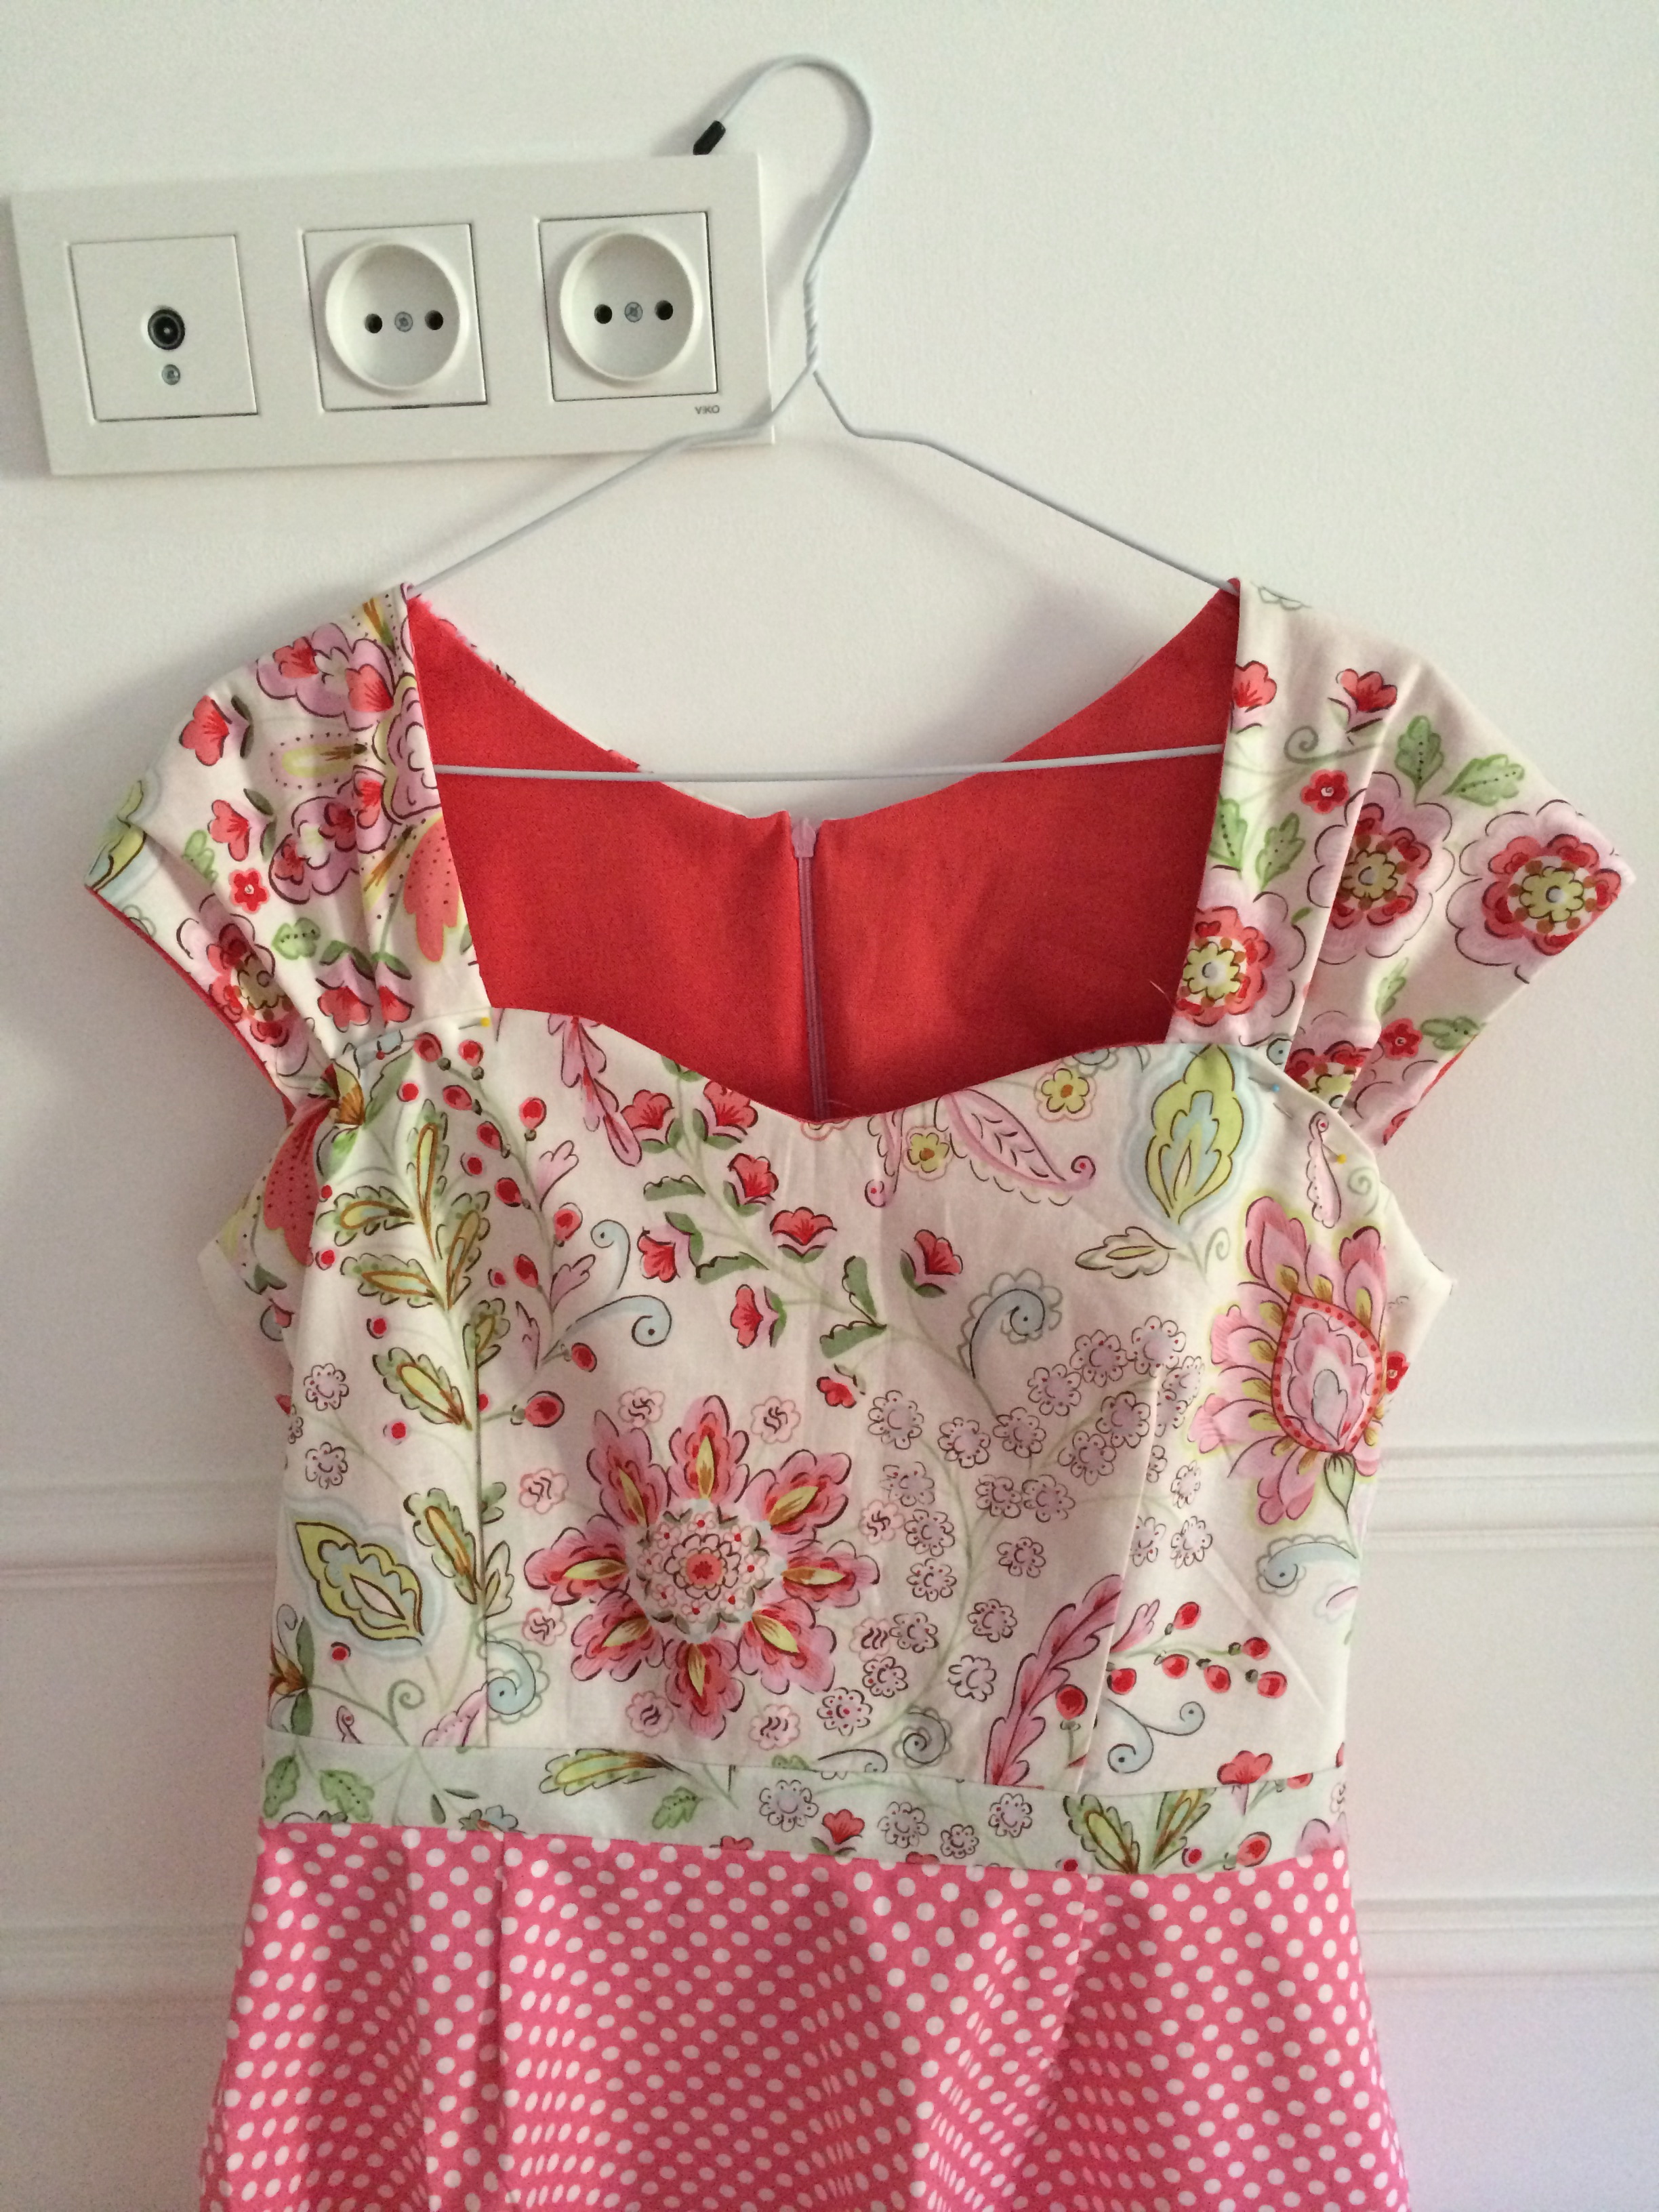
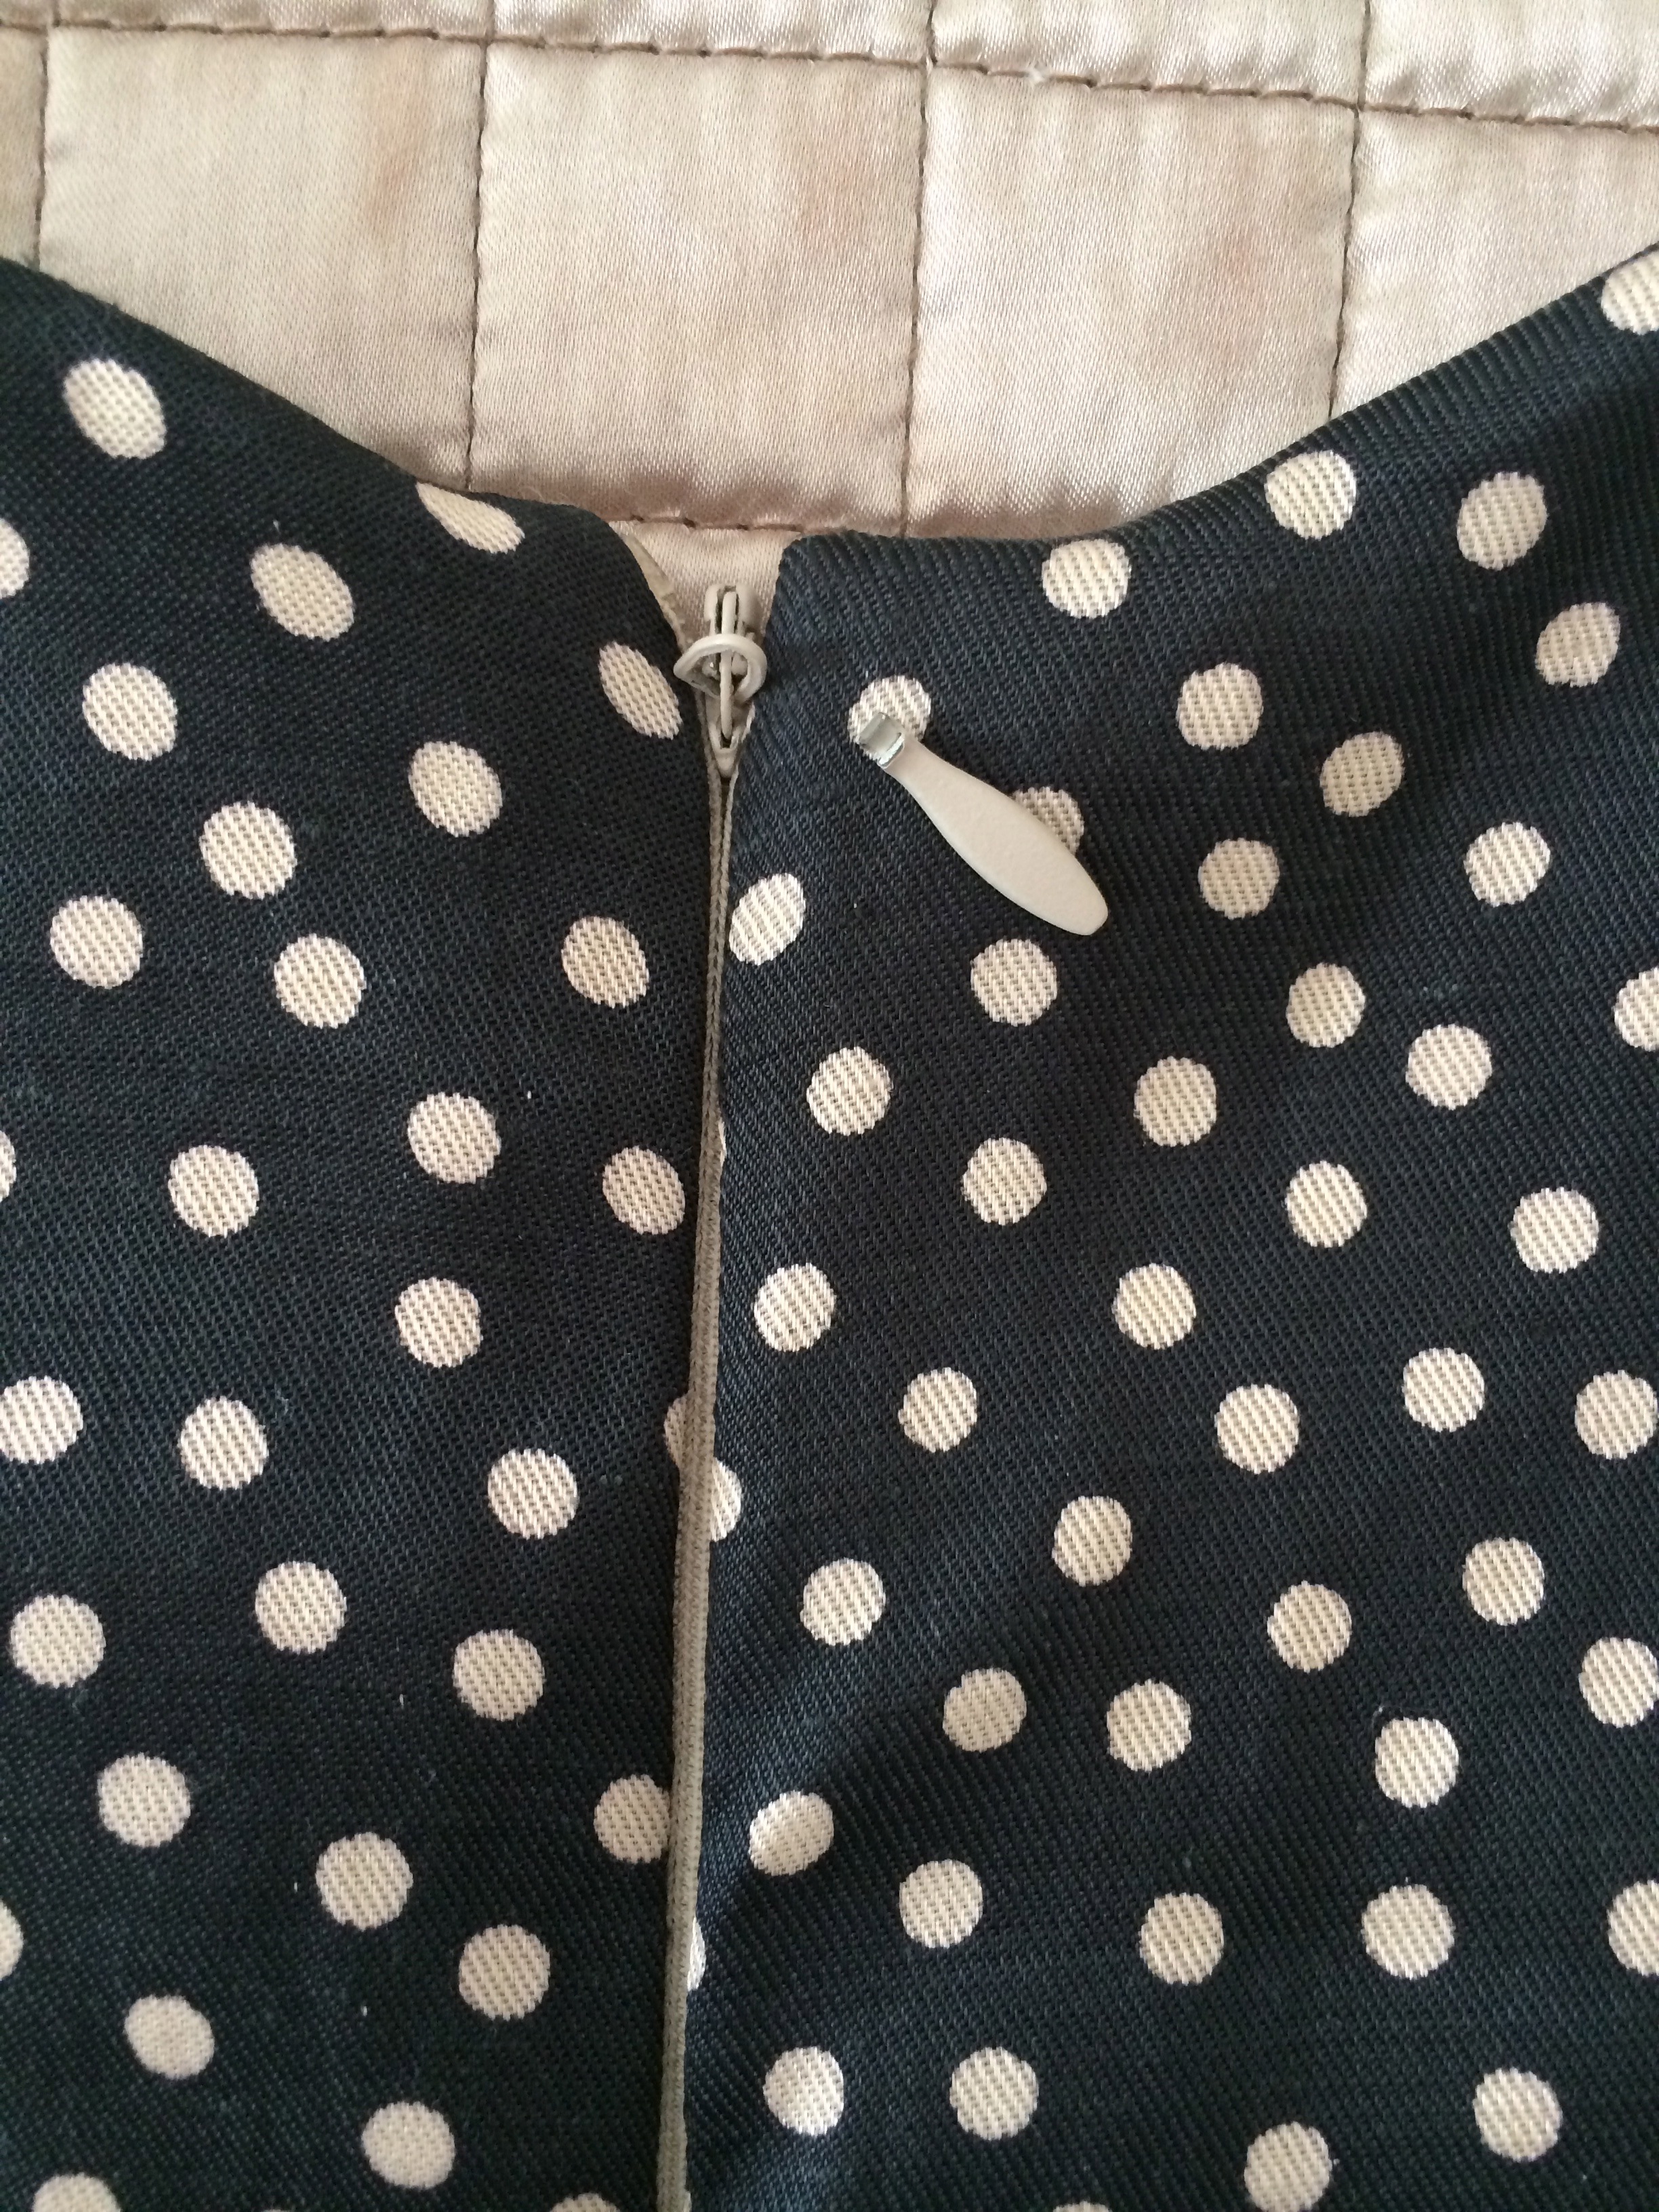
I love the inside of this dress! 🙂
The only changes to the pattern I made was cutting the back skirt pieces in the lining material a few inches ‘thinner’ than the pattern, as the lining material wasn’t wide enough to fit the pattern piece in the right direction, and I thought there would be enough bulk in the back anyway with the lining and material (especially since I ain’t pear shaped!). Also, as the sleeves get fitted last, it was easy to adjust these to fit perfectly, I found that they were about 1.5in too long. Oh also, I omitted the pockets. I’m not a massive pocket person…. I mean, I would do the pockets in the View B coz they’d look cool….
Just another pic of the inside. I love that the waistband strip is in the outer fabric!
I did find that when attaching the waistband strip to the bodice, it ended up about 1/2 inch shorter than the bodice, and I was SOOO pedantic about the seam allowances and dart measurements, so I’m not sure what happened there…. I just attached the skirt to the waistband and then serged the open back seam to line up to the waistband. I then just lined the zip up to the edge of the serged seam instead of 5/8in allowance.
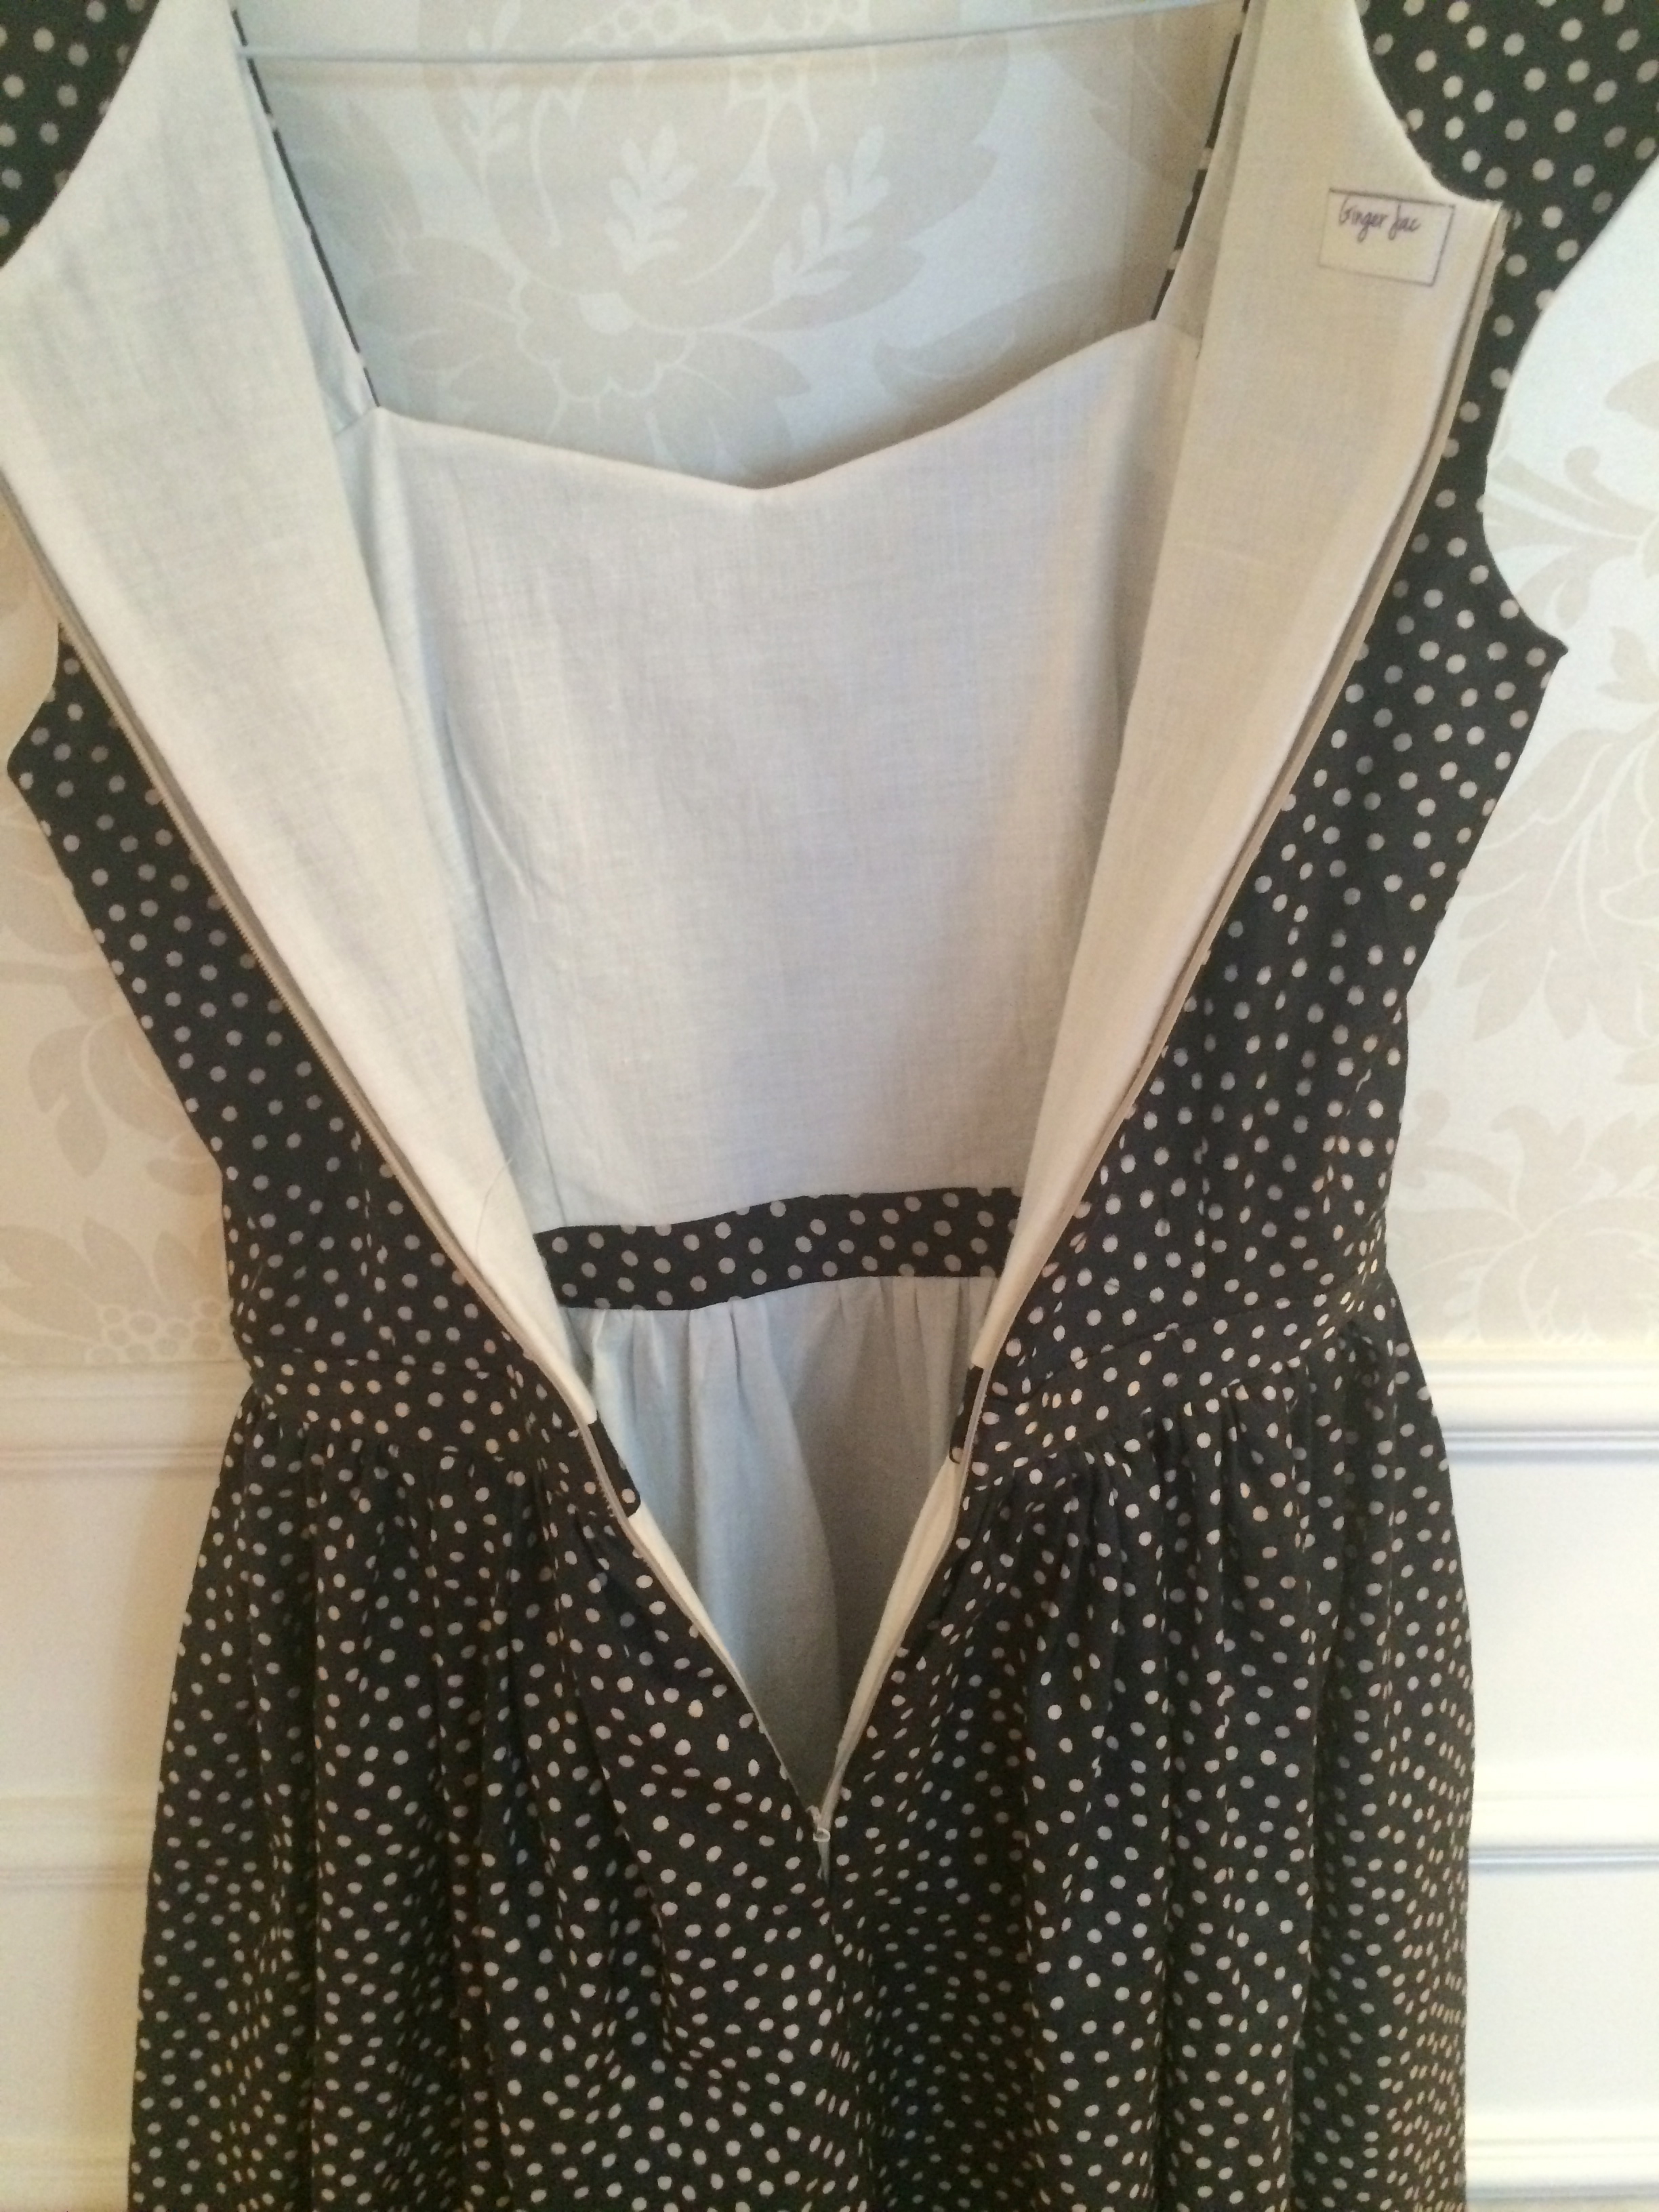
I used Tasia’s method of putting the zip in, and finishing around the edges, and it came up beautifully. This was the first fully lined dress I have made, and found putting in the zip an absolute breeze! I’ve always found zips to be troublesome, but this was so easy!!
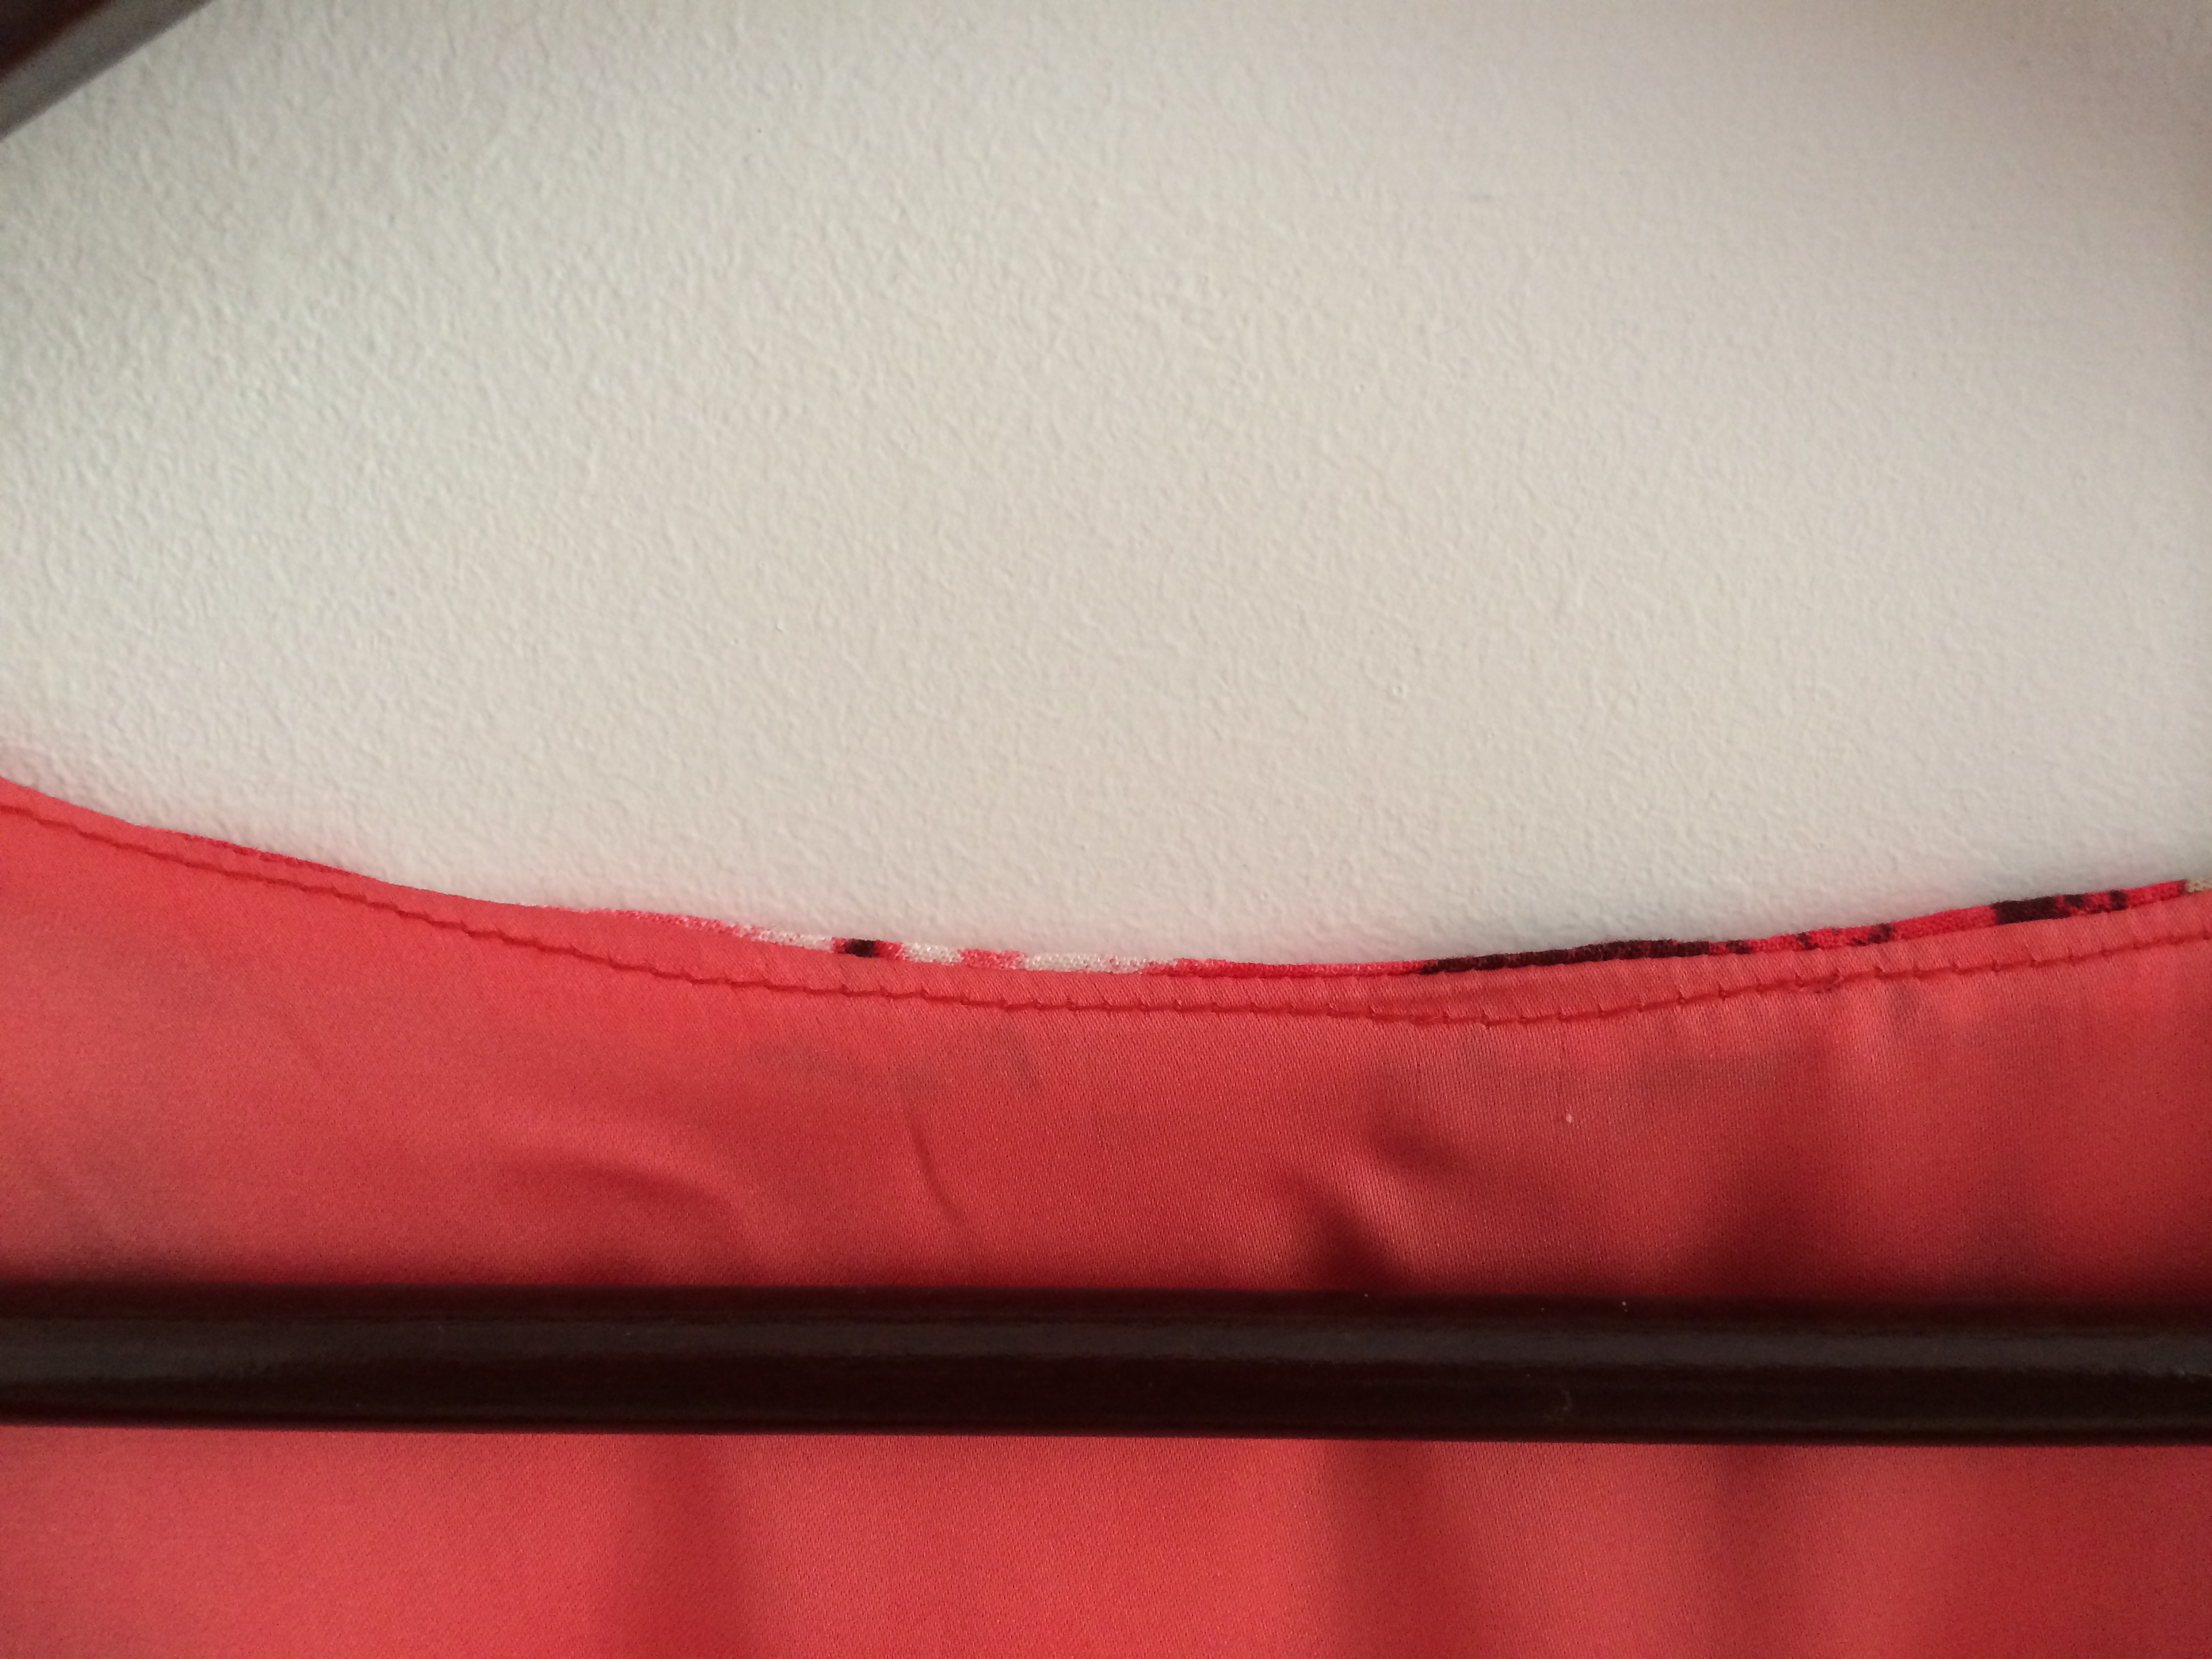
I deliberated over how to finish the hems on my lovely pretty dress. For the lining, I just serged around the edge, ironed it up about 2inches and did a straight stitch through the serged section. But since its turned out to be a bit of a fancy dress, I wanted to do a seamless finish on the outer hem. I trawled through blogs and tutorials on how to do a blind stitch, and figured out that my machine actually came with a blind hem foot – who knew!
I found the Colette tutorial (here) on blind hems with a machine foot to be the best one I discovered, and followed her instructions (since my machine manual just made me ridiculously confused). Then it just kept annoying me, so I gave up and straight stitched it around. And it looks great!!
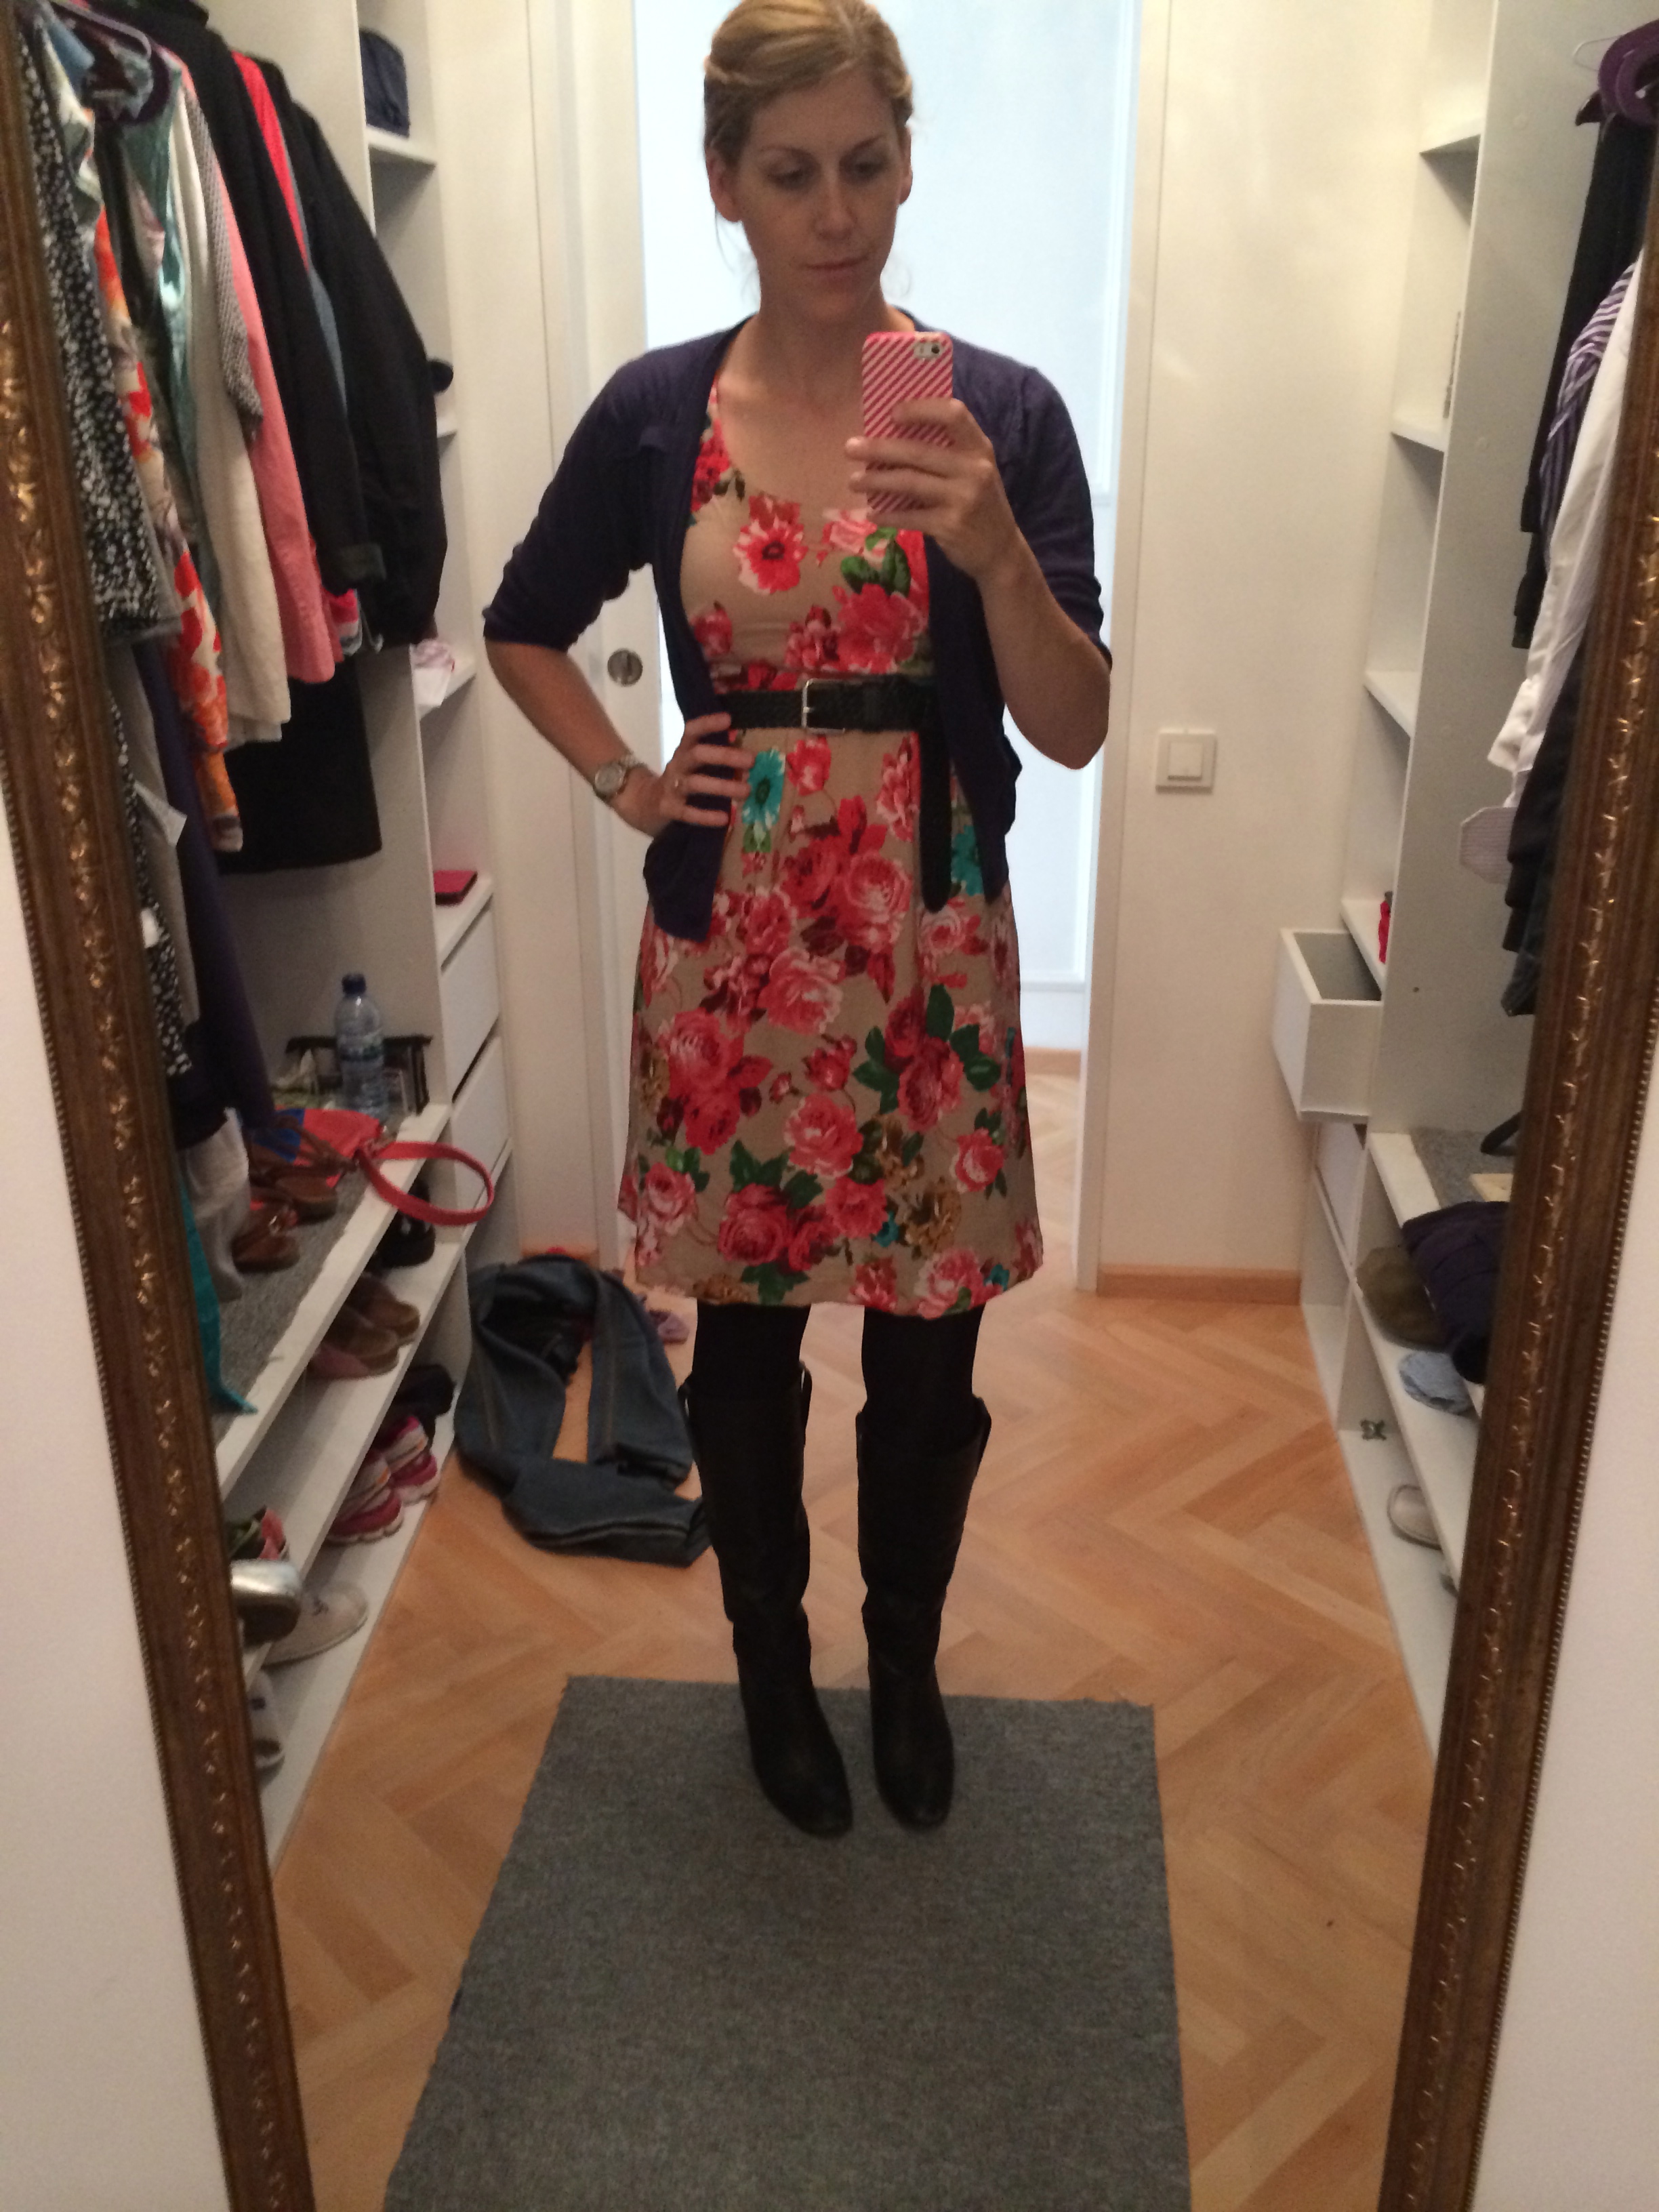
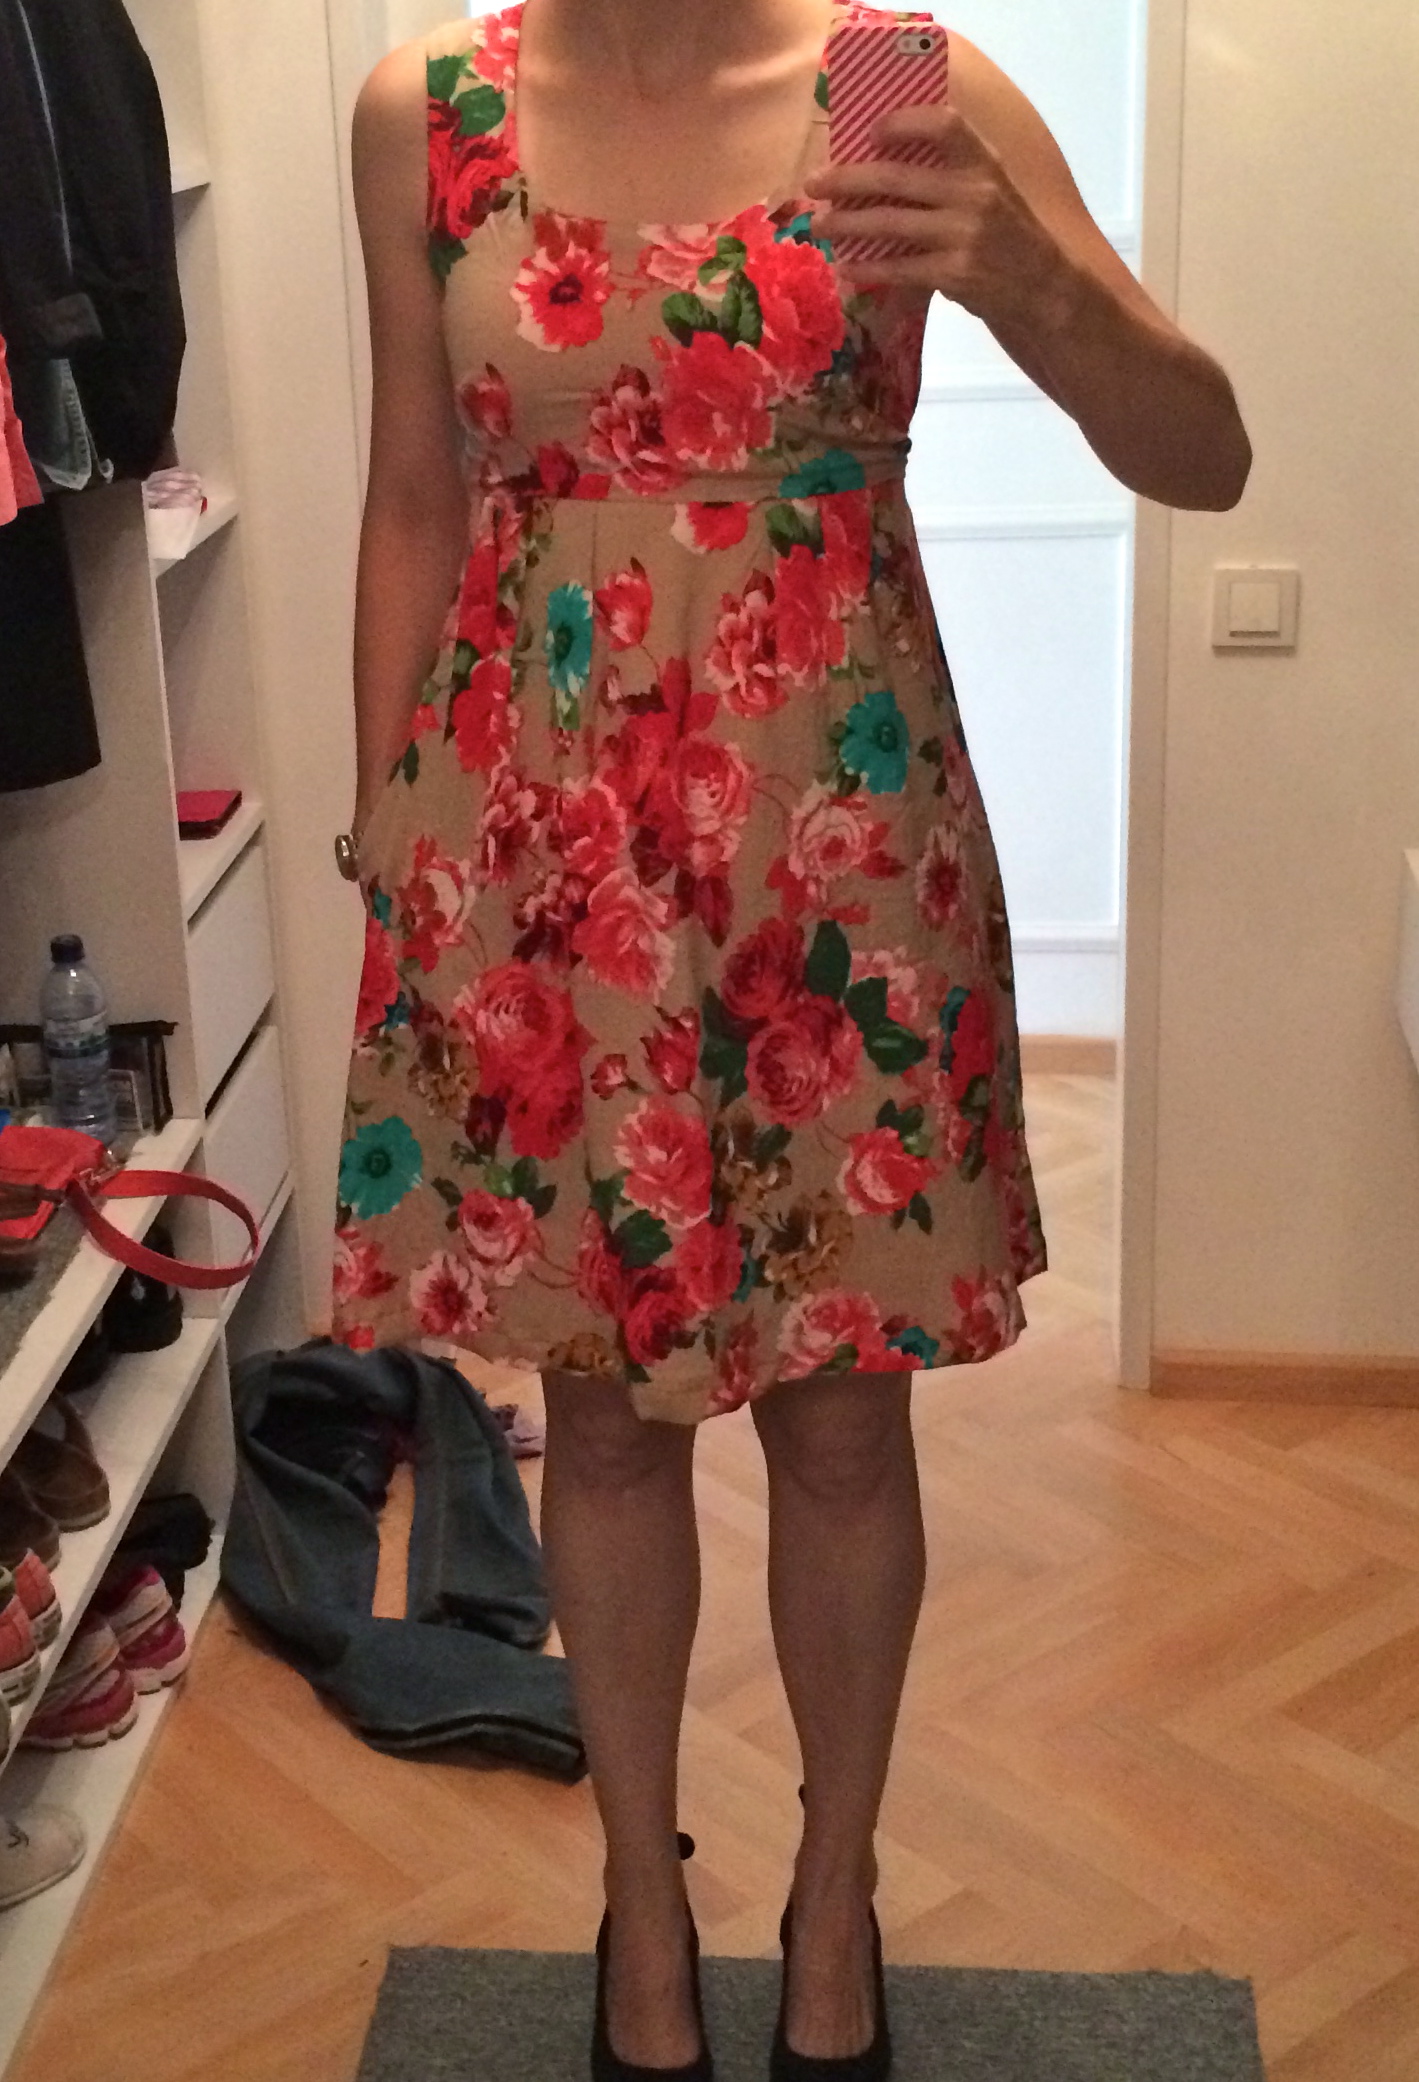
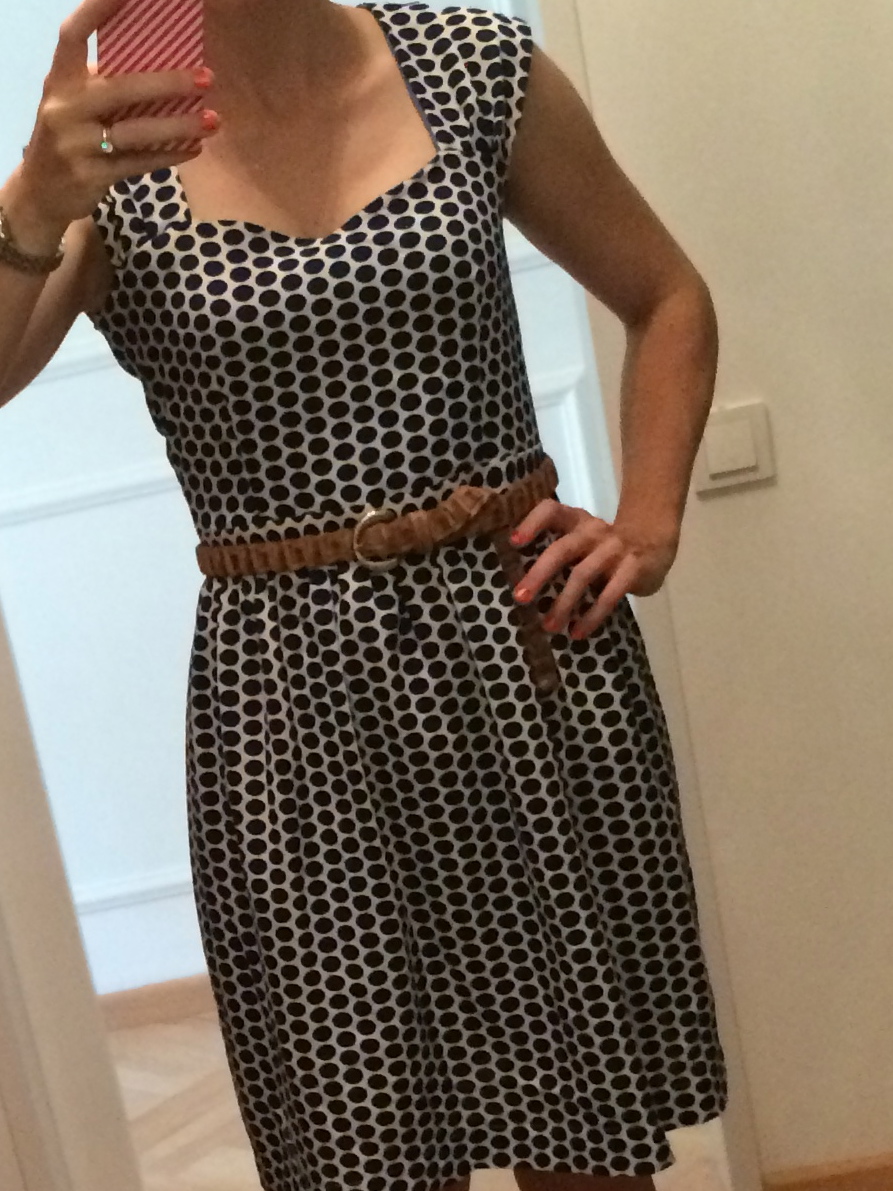
As I was trying on the dress to take some photos for this post, the zip pull broke off… Oh seriously! Stacey (a la Stacysews.com) gave me the suggestion via Instagram to get a jewellery charm to attach to it – SOOOO glad she suggested it, as I was working myself up to unpick the entire lining, shell and insert a new zipper… So only the one bad “selfie” pic of me in the dress, as I can’t do it up by myself with no zip pull!!
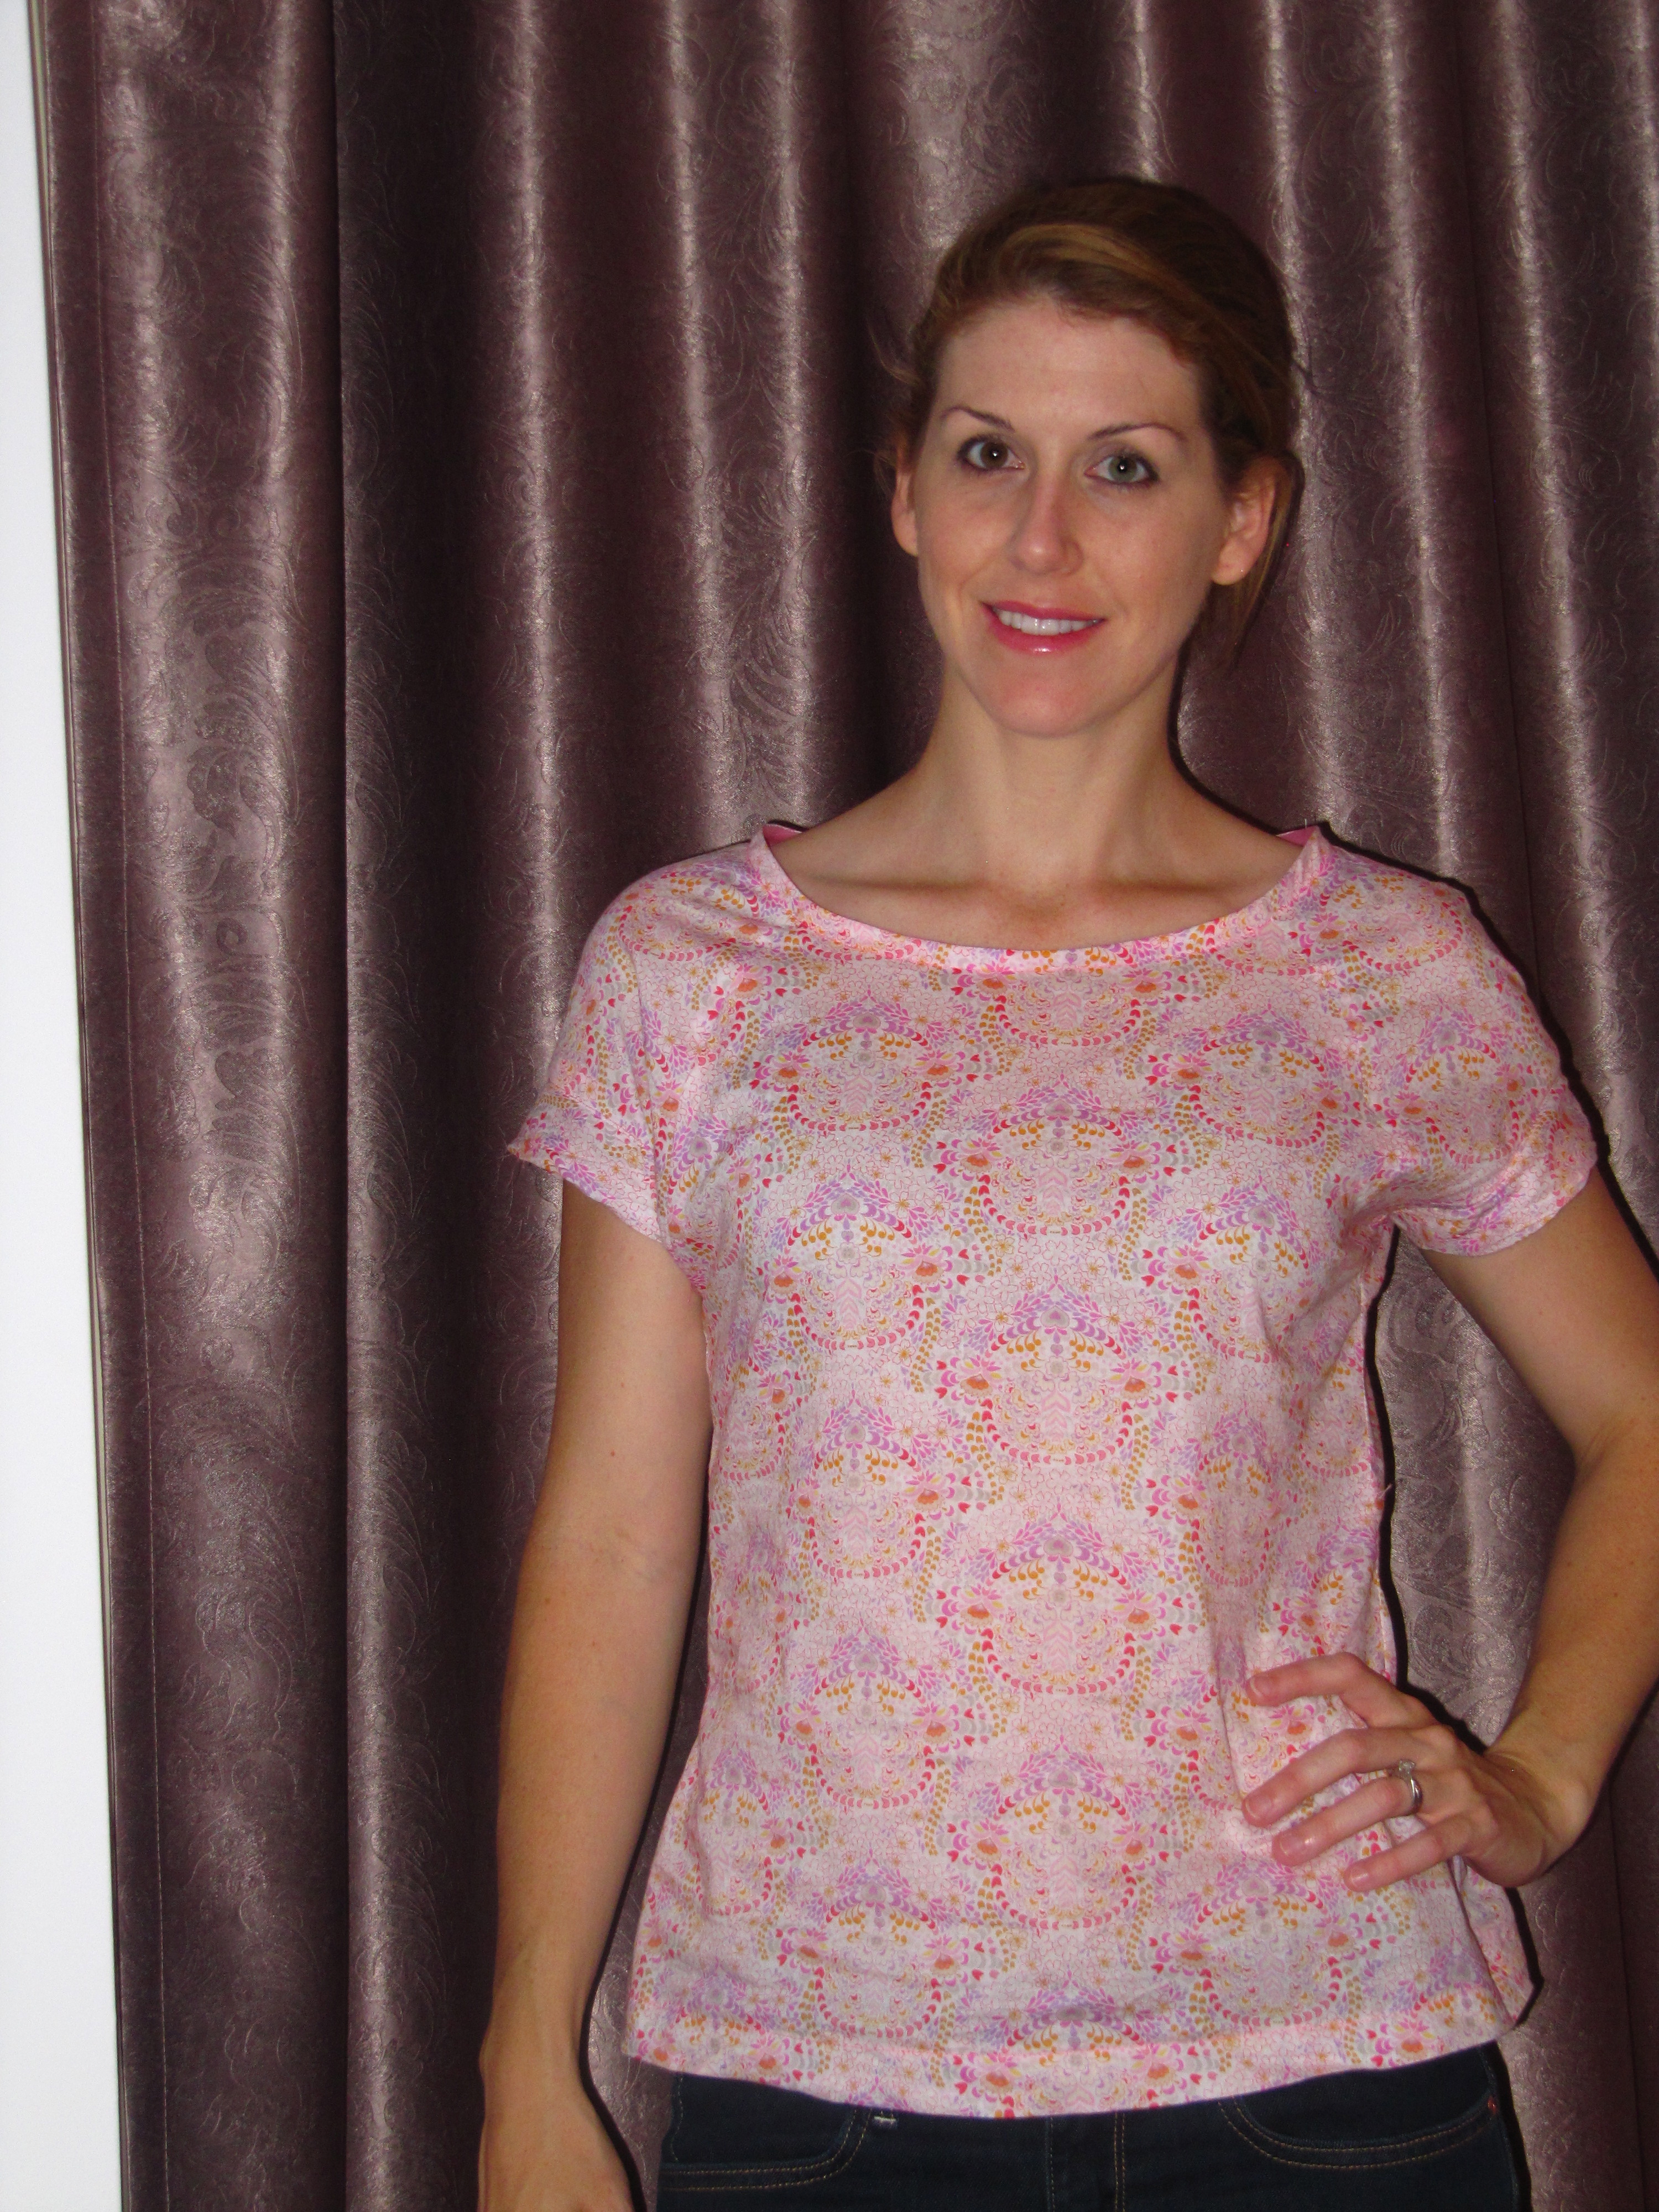
So as you can gather, I’m so totally in love with this dress, but find this version a bit fancy for everyday wear, so I’ve already made another more casual version that I wore to the pool yesterday! For this second dress, I just lined the top section & slip stitched the bottom edge of the waistband together. I did this as it is over 35 degrees (Celcius) most days and it is just too HAWT to wear a fully lined dress!
The only other change that I made to this “casual Cambie” was making the skirt less “poufy (??!!!)”. I cut the skirt front out about 2inches less on the fold line, and used the front skirt pattern piece to cut the two back pieces as well. It still has a lot of gather, but about half as much as the original version! Again, did no pockets….
Wore this to the pool, and my girlfriends had no idea that I’d made my dress until I told them, I LOVE that it is not immediately obvious that I made it! Very impressed with myself. (**pats self on sunburnt back**)
Blue Spotty Cambie
Didn’t realise that I cut the waistband with the dots in the “wrong” direction… but now I think it looks really cool because of the centralised line of large dots! 🙂
I did get some grey / flowery fabric that I think would look great as an Alder shirtdress, so thinking of making a pattern purchase … I’ve never done a collar, button placket, done 3 button holes in my life, so it will be an interesting challenge I think!! Stay tuned, and for a post on Cambie #3… ….!